
Summary of Contents for CaterCool 905.610
- Page 1 Pro fes s i o n a l Su p p l i e s ICE MAKER *905.610 MANUAL Read and follow all safety rules and opera ng instruc ons before fi rst use of this product 905610 en ma 2012.12...
-
Page 2: Table Of Contents
TABLE OF CONTENTS Important Safety informa on Safety Precau ons Grounding Instruc ons Opera ng instruc ons Features of Your Ice Maker The Controls of Your Ice Maker Ice Making Ice Size Selec on Delayed Start Self-Clean Mode Helpful informa on Draining Your Ice Maker Care and Cleaning If something goes wrong... -
Page 3: Important Safety Informa On
IMPORTANT SAFETY INFORMATION READ ALL SAFETY INFORMATION BEFORE USING WARNING To reduce the risk of fi re, burns, electric shock, or injury to persons when using your appliance, follow basic precau ons, including the following sec ons. SAFETY PRECAUTIONS • This appliance must be grounded. Connect only to a properly grounded outlet. See “Grounding Instruc ons”... -
Page 4: Grounding Instruc Ons
IMPORTANT SAFETY INFORMATION GROUNDING INSTRUCTIONS WARNING Improper use of the grounding plug can result in a risk of electric shock. This appliance must be grounded. In the event of an electrical short circuit, grounding reduces the risk of electric shock by providing an escape wire for the electric current. This appliance is equipped with a power cord having a grounding wire with a grounding plug. -
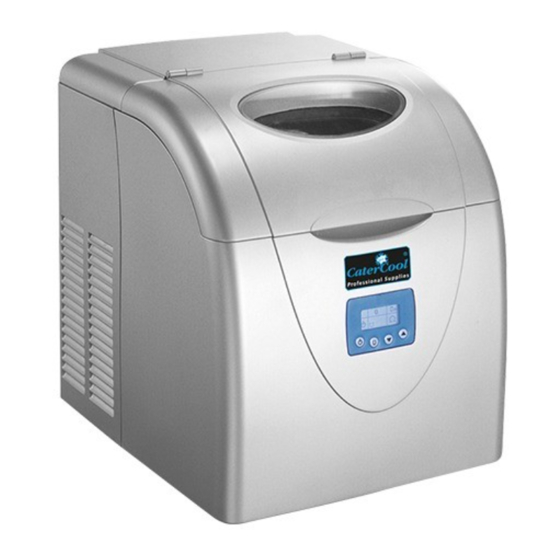
Page 5: Opera Ng Instruc Ons
Opera ng Instruc ons Features of your Ice Maker Exterior 1. Ice Maker Door with Viewing Barrier. 2. Control Panel. (see page 5 for details) 3. Adjustable Legs. Interior 4. Evaporator Coils. 5. Water Box. 6. Ice Shovel. 7. Water Fill line. (Located in internal reservoir, beneath ice bucket.) Accessories... -
Page 6: The Controls Of Your Ice Maker
The Controls on Your Ice Maker Electronic Display - Shows mer Small Cube - Denotes that the Add Water - Illuminates when se ng, selec on indicators, ice maker is currently set to the internal reservoir requires and status icons. produces small size cubes. -
Page 7: Ice Making
Opera ng Instruc ons Ice Making 1. Add water to ‘fi ll line’. 2. Press the power bu on. 3. Change the ice size if you don’t want medium cubes. To immediately begin the ice making process; • Remove ice bucket and add water to Fill line. (approx. 3.5 L) •... -
Page 8: Self-Clean Mode
Opera ng Instruc ons Self-Clean Mode 1. Add water & vinegar (1:1) 2. With the power off , simultaneously depress the increase & decrease arrows twice. 3. Drain a er program is complete. 4. Add fresh water to ll line. 5. -
Page 9: Helpful Informa On
Helpful Informa on Draining Your Ice Maker WARNING: The internal holding compartment of this appliance tor both stored ice cubes and stored water is NOT a refrigerated compartment. We recommend changing (replacing) any stored water that has not been used within a 12 hour me period of the machine being opera onal. -
Page 10: Care And Cleaning
Care and Cleaning Helpful Hints Allow the ice maker door to remain open for a few minutes a er the ice making process is complete, running the self-clean mode or manual cleaning, to air out and dry the inside of the ice maker cabinet. -
Page 11: If Something Goes Wrong
If Something Goes Wrong Before You Call For Service Problem Possible Cause What to do Ice Maker will not start. A fuse in your home may be Replace fuse or reset circuit blown or the circuit breaker breaker. tripped. Power surge. Unplug the ice maker, wait a few seconds and then plug it back in.
Need help?
Do you have a question about the 905.610 and is the answer not in the manual?
Questions and answers