Advertisement
Quick Links
Advertisement

Related Manuals for Kensington V18P01BP25EU

Summary of Contents for Kensington V18P01BP25EU
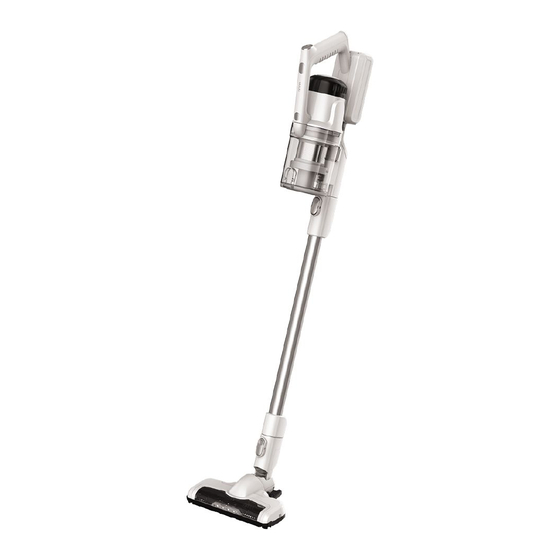
- Page 1 CORDLESS STICK VACUUM CLEANER INSTRUCTION MANUAL MODEL V18P01BP25EU...
-
Page 2: Table Of Contents
Page Important Safety Instructions Product Overview Operation 5-10 Maintenance 11-14 Technical Data Troubleshooting Warranty... -
Page 3: Important Safety Instructions
IMPORTANT SAFETY INSTRUCTIONS This section contains safety instructions that will help protect from risk of personal injury or property damage. Failure to follow these instructions invalidates the given warranty. • This appliance complies with international and New Zealand safety standards. •... - Page 4 IMPORTANT SAFETY INSTRUCTIONS • Use the appliance only with the power adapter supplied. • Do not use the appliance without filters fitted, otherwise it can get damaged. • If you keep the packaging materials, store them out of the reach of children. •...
-
Page 5: Product Overview
PRODUCT OVERVIEW Floor head wall bracket Adaptor / charger Combination nozzle Extension tube Wall fixings Crevice nozzle Part identification Accessory attachment point Collection container lid Dust release button Dust container release button Battery indicator light Low/high mode button Power on/off button Handle Filter cover 10 Motor filter... -
Page 6: Operation
Operation Charging the Vacuum This vacuum uses a rechargeable 25.2V Lithium battery. We recommend to fully charge before using for the first time. It takes 3-5 hours. 1. Place the body of the cleaner onto a flat surface either a table or fit into the wall bracket. - Page 7 Operation Assembling your vacuum Bringing it all together • Before drilling into wall surface, check for hidden cables or Safety pipes. • Wear safety goggles and dust mask when drilling. • The use of a residual current device (RCD) is recommended when working with power tools.
- Page 8 Operation 2. Place the bracket in the desired position and using a pencil, mark the position for the two screw holes. Using a ruler, draw a line joining the points marked for the two screws and using a spirit level, check that it is on the same level.
- Page 9 Operation Assembly Insert the extension tube onto the body of the vacuum as shown (fig. 8) and push to secure, a click will be heard. Push fit the floor head onto the extension tube (fig. 8), a click will be heard.
- Page 10 Operation Fig. 9 4. To remove the all parts press the release button and accessories firmly pull apart. Getting started Fit the correct nozzle for the cleaning application, ensure that the battery has sufficient charge. Power button Click power button once to start, the LED lights on the floor head (if fitted) will Low/Mid/High button illuminate and the vacuum cleaner will...
- Page 11 Operation Nozzle use The table below is a use guide for the accessories supplied but there is no hard and fast rule when it comes to vacuuming and the use of each accessory. Use whichever attachment seems to accomplish the job quickly and easily without damaging the surface to be cleaned.
-
Page 12: Maintenance
MAINTENANCE Maintenance Disconnect the charger from the vacuum cleaner before carrying out cleaning and maintenance. To ensure your vacuum cleaner works at optimum efficiency, keep the ventilation holes and vacuum cleaner surface free from dirt. Ensure that the dust container is emptied and the air filters are washed regularly. - Page 13 MAINTENANCE Cleaning the filters The frequency that the filters should be cleaned will depend on appliance usage. For maximum efficiency the filter within the dust container should be cleaned every time the dust container is emptied and the exhaust filter at the top every three months. Click the dust container release button, located on the front of the handle just above the dust container and pull dust container out(Fig 13) Lift out the cyclone from dust container(Fig 14), lift out pre-motor filter...
- Page 14 MAINTENANCE 4. Tap the filter against a dustbin to remove most of the dust and then wash the filter in cold running water until the water runs clear. Allow to air dry fully. Using a damp or wet filter will reduce the suction and damage the motor.
- Page 15 MAINTENANCE Cleaning the brush The frequency that the brush should be cleaned will depend on appliance usage. Always stop the vacuum and clean the brush head if the indicators turn white or if the floor head brush stops rotating. Remove the floor head from the cleaner (fig. 19). Push the small lever at the side of the brush in the direction of the front of the floor head and lift off the retaining plate (fig.
-
Page 16: Technical Data
TECHNICAL DATA Motor Power: 350W Adaptor Input: 100-240V ~ 50-60 Hz 0.8A Output: 25-29V~ 0.8A Battery Type: 25.2V, 2000mAH, Li-ion battery Charging Time: 3-5 hours Dust Bin Volume: 0.65L Running Time: Max Power Mode: ≥8mins Mid Power Mode: ≥25mins Min Power Mode: ≥45mins WARNING: For the purposes of recharging the battery, only use the detachable power adaptor unit MC2505A-S provided with this appliance. -
Page 17: Troubleshooting
Charger not properly connected Please check connections Mains supply is not Check the mains supply is Product can not be charged switched on switched on Situation still remains Check with a service centre AFTER SALES SUPPORT '8' @ 0800 422 274 Kensington... -
Page 18: Warranty
Kensington Warranty We pride ourselves on producing a range of quality home appliances that are both packed with features and completely reliable. We are so confident in our products, we back them up with a 3 year warranty. Now you too can relax knowing that you are covered.
Need help?
Do you have a question about the V18P01BP25EU and is the answer not in the manual?
Questions and answers