Table of Contents

Summary of Contents for Click SCCL002HA
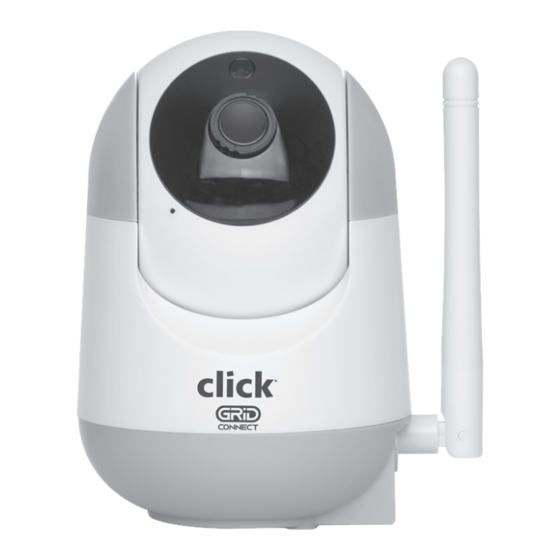
- Page 1 SMART HOME SMART PAN & TILT SECURITY CAMERA Wi-Fi CONNECTED AUTOMATICALLY DETECTS & TRACKS MOTION SEE & RECORD EVERYTHING THAT HAPPENS USING YOUR SMARTPHONE QUICK START GUIDE IMPORTANT! PLEASE READ THESE INSTRUCTIONS CAREFULLY SCCL002HA...
- Page 2 SMART HOME 1 INTRODUCTION 3 IDENTIFICATION This SMART wireless pan & tilt security camera is designed for use in homes, Reset Hole Camera Lens Micro SD Card Slot apartments, offices, garages and sheds. It has been developed to be easily set up and Press and hold for 5 1080p HD, with Rolling storage micro...
-
Page 3: Download The App
SMART HOME 4 DOWNLOAD THE APP 5 INSTALL THE APP GRID Open the CONNECT App. If you are a new user, tap create new account and follow NEW ACCOUNT the prompts to complete LOG IN SETUP account setup. Download and install GRID CONNECT create new account... -
Page 4: Pairing Your Device
SMART HOME 6.0 PAIRING YOUR DEVICE 6.1 PAIRING YOUR DEVICE Power on your smart camera by using Enter the Wi-Fi password supplied USB cable and 5VDC 1A power and tap confirm to proceed. adaptor (not included) Start up takes approximately 25 seconds, confirm and is indicated by a rapidly blinking blue light. - Page 5 SMART HOME 6.2 PAIRING YOUR DEVICE 6.3 PAIRING YOUR DEVICE Once the pairing process is complete a page showing device added successfully scan will appear. You may choose to edit the code device name or assign the on screen device to a dedicated room before tapping done to finish...
-
Page 6: Operating Your Camera
SMART HOME 7 OPERATING YOUR CAMERA Once your camera is paired to your Wi-Fi network, you can view your camera at anytime from your smartphone as long as there is internet access. Live Screen Playback Screen Access Settings Back to Device including share Screen device, motion... -
Page 7: Installation
SMART HOME 9 INSTALLATION Before choosing your preferred location, check the Wi-Fi strength/coverage to Wall Plugs ensure the camera is fully functional. CEILING MOUNT 1. Use the mounting stand as a template to mark the screw positions on the ceiling. Drill holes into the ceiling and push wall plugs into Mounting Stand the holes. -
Page 8: 10 Trouble Shooting
GRID recommended to pair the GRID device as close to the 1. Navigate the Settings menu and click on Wi-Fi. network is 2.4GHz? router as possible to assist with a successful pair device or mobile... -
Page 9: Smart Home
SMART HOME WARRANTY Any claim under this warranty must be made within 12 months of the date of purchase of the product. To make a claim under the warranty, take the product (with proof of purchase) to any Bunnings store, (see www.bunnings.com.au for store locations) or contact Arlec Australia Pty Ltd.
Need help?
Do you have a question about the SCCL002HA and is the answer not in the manual?
Questions and answers