Advertisement
Table of Contents
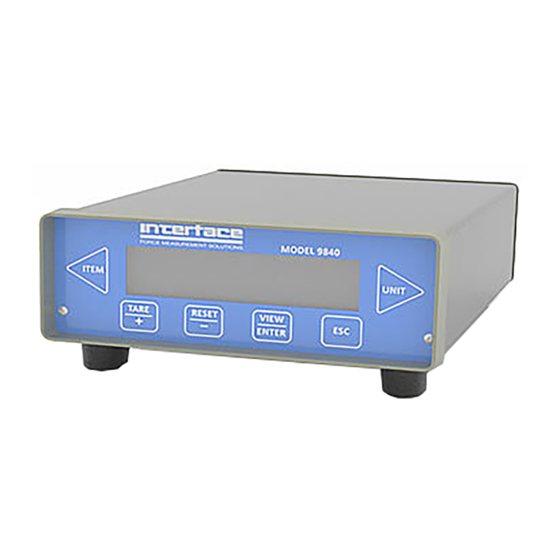
9840 Load Cell Indicator
Before starting anything, be sure to first
plug in the sensor(s) you will be using.
As it starts up, you will see a series of
screens introducing you to the 9840 Load
Cell Connector and displays of the
settings from its last use.
7418 East Helm Drive • Scottsdale, Arizona 85260 • 480.948.5555 • www.interfaceforce.com
Setting up the
(1)
(3)
(2)
To turn on the 9840 Load Cell
Connector, reach behind in the back
corner and flip the switch up.
(4)
In starting out, you will see
">User Data Entry" on the screen.
To enter setup mode, press the two end
buttons at the same time (◄ and ►).
Page 1 of 7
Advertisement
Table of Contents

Summary of Contents for Durham 9840
- Page 1 Setting up the 9840 Load Cell Indicator Before starting anything, be sure to first To turn on the 9840 Load Cell plug in the sensor(s) you will be using. Connector, reach behind in the back corner and flip the switch up.
- Page 2 Before you can enter the calibration settings, you will be required to enter a password. After being brought to the next screen, press ► ‘till you get to the “>Calibration” option and then press ENTER. Enter the password “888” by pressing to select the numbers while —...
- Page 3 Press ► until you get to the Select the measurement cell type that you are using. For this example, we are using a “>>Cal by mV/volt” option and then press ENTER. load cell, so we select “Load”. Then press ENTER. (10) Enter the cell’s serial number by using the Using ►, select...
- Page 4 (11) (12) Select the necessary unit of measure and press ENTER. Enter the month using the — then ◄ for the next digit(s). Do the same for the day and year, and press ENTER after each one. 7418 East Helm Drive • Scottsdale, Arizona 85260 • 480.948.5555 • www.interfaceforce.com Page 4 of 7...
- Page 5 Next, you will need to refer to the sensor’s Calibration Certificate. In it, identify the value ,◄ , and ►. for the max capacity and enter it into the 9840 using the same buttons: — For this example, the max capacity of the 1210AF is 10K, so we enter “10000”...
- Page 6 10K that we entered earlier. While the screen is displaying “Reading...”, the 9840 is calibrating. Wait for just a few With that information from the calibration , ◄ , and ►. buttons —...
- Page 7 (18a) (18b) Calibration setup is now complete. To return to the main menu, press ESC. 7418 East Helm Drive • Scottsdale, Arizona 85260 • 480.948.5555 • www.interfaceforce.com Page 7 of 7...
Need help?
Do you have a question about the 9840 and is the answer not in the manual?
Questions and answers