Advertisement
Quick Links
Advertisement

Subscribe to Our Youtube Channel
Related Manuals for Ghent Nexus NEX223MMP


Summary of Contents for Ghent Nexus NEX223MMP
- Page 1 PARTITION ASSEMBLY INSTRUCTIONS Models NEX223MMP and NEX224MMP IS-NEX22XMMP 9/12...
-
Page 2: Recommended Tools
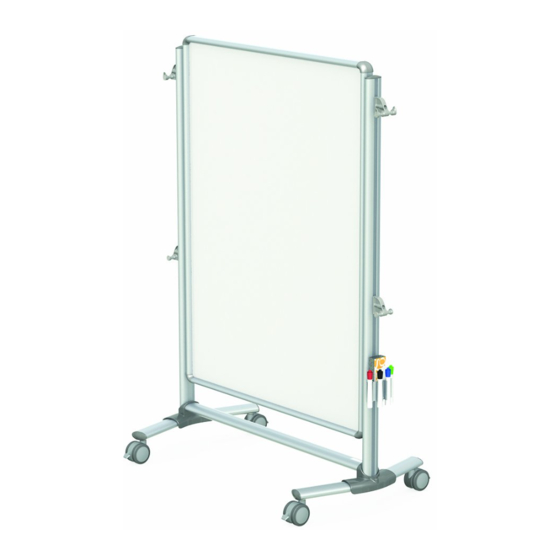
Before discarding the packaging, inventory the components and fasteners. (Some may be taped to the foam packaging.) FASTENERS AND HARDWARE (HOOK) TABLET HANGER TABLET HANGER MARKER/ERASER (WITH HOOKS) HOLDER 2 EA. 2 EA. 1 EA. #10 X 2 1/2" PAN HEAD #12 X 1"... - Page 3 PARTITION COMPONENTS (NEX224MP SHOWN) TABLET HANGER (WITH HOOKS) 2 EA. SIDE POST 2 EA. MARKERBOARD 1 EA. TABLET HANGER 2 EA. MARKER/ERASER HOLDER 1 EA SIDE POST ACCESSORY CHANNEL (REFERENCE) CROSS RAIL 1 EA. FOOT ASSEMBLY 2 EA. www.nexusbyghent.com - Lebanon, OH - 800-543-0550...
- Page 4 Loosely attach the markerboard and #10 X 2 1/2" PAN the accent panel, with rails, to the HEAD MACHINE SCREW side posts as shown. (4 PLACES) USE #2 DRIVER BIT TABLET HANGER BRACKET TABLET HANGER BRACKET (WITH HOOKS) #10 X 1 1/2" PAN HEAD MACHINE SCREW (2 PLACES) (NEX224MP ONLY)
- Page 5 Attach the foot assemblies to the cross rail, as shown. INSTALL WITH CHANNEL SIDE FACING DOWN ASSEMBLE THE FEET ASSEMBLY ON A FLAT SURFACE, SO THAT THE CASTERS STAY LEVEL. #12 X 1" PAN HEAD MACHINE SCREW (4 PLACES) USE #3 DRIVER BIT WITH A BIT ENTENSION Attach the feet assembly to...
- Page 6 Slide the marker/eraser holder up into position below the lower tablet hanger and attach with the screw as shown. #10 X 2 1/2" PAN HEAD MACHINE SCREW USE #2 DRIVER BIT Tighten all screws to complete the assembly. www.nexusbyghent.com - Lebanon, OH - 800-543-0550...
Need help?
Do you have a question about the Nexus NEX223MMP and is the answer not in the manual?
Questions and answers