Advertisement
Mini-X2 Quick Start Guide
1
Equipment List
•
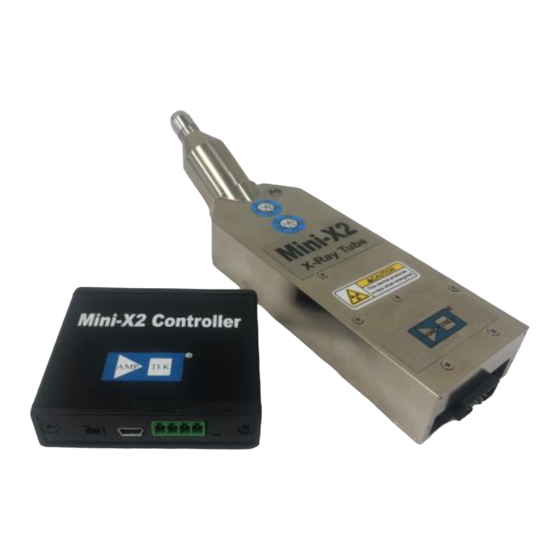
Mini-X2 X-ray Tube Module
•
Mini-X2 Controller Module
•
X-ray tube to controller interconnect
•
Mini-USB Cable
•
+12 VDC supply
•
Interlock connector
•
Amptek installation CD
•
A computer with Internet access, supplied by the user, with Windows XP Pro SP3 or higher
2
Warnings and precautions
The Mini-X2 is intended to generate X-ray radiation during normal operation. It includes a high
voltage power supply, with voltages up to 70 KV, and has other potential hazards. These are described in
the Mini-X2 User Manual. Please refer to this before using the Mini-X2.
STOP: ONLY QUALIFIED PERSONNEL SHOULD PROCEED BEYOND THIS POINT.
3
Safety interlock
The Mini-X2 includes a safety interlock which must be used before the X-ray tube turns on and
produces X-rays. This interlock, including the pinout of the interlock connector and the requirements on
its wiring, are described in the Mini-X2 User Manual. Please refer to this and configure the interlock before
using the Mini-X2.
4
Software Installation
1. Install the WINUSB driver. Please see the "WINUSB Driver Installation Instructions", on your
installation CD. We strongly recommend that you use Windows Update to install the USB driver!!
If you computer is on the Internet, Windows will find the driver on its update site and install it.
2. Install the Mini-X2 control software. Locate the directly called "Mini-X2" on the Amptek
Installation CD and run the setup program. The software can also be downloaded from
www.amptek.com.
5
Mini-X2 Connection Instructions
1. Connect the Mini-X2 Controller to the computer with the USB cable.
2. Connect the AC power adapter to the Mini-X Controller and plug it into an appropriate 110/220
AC power outlet.
3. Connect the ten pin connector from the Mini-X2 Controller to the Mini-X2 X-ray tube module.
Note that the connectors on each end are polarized and can only be inserted one way.
+1 781 275-2242 Fax: +1 781 275-3470 www.amptek.com Amptek.Sales@ametek.com
Mini-X2 Quick Start Guide
This device produces X-RAYS when energized.
AMPTEK, Inc.
14 DeAngelo Drive, Bedford, MA 01730-2204 USA
Caution
Advertisement
Table of Contents

Related Manuals for Amptek AMETEK Mini-X2

Summary of Contents for Amptek AMETEK Mini-X2
- Page 1 If you computer is on the Internet, Windows will find the driver on its update site and install it. 2. Install the Mini-X2 control software. Locate the directly called “Mini-X2” on the Amptek Installation CD and run the setup program. The software can also be downloaded from www.amptek.com.
- Page 2 5. If it displays the “Mini-X2” in the box, as shown, then click the “Connect” button. 6. If you are operating another Amptek device, for example an X123 spectrometer, you will see a display like one on the right. The software has found the digital processor.
- Page 3 Mini-X2 User Manual Rev A0 9. Click the HV ON button to turn on the tube. The software will ask you to confirm. Click Yes. THE MINI-X2 IS NOW PRODUCING X-RAYS 10. The Mini-X2 will start to beep and the red LED on the end panel of the unit will flash. In addition the yellow and black “Radiation Symbol”...
- Page 4 If you cannot get it to connect, then open the software and take a screen shot showing the software. Open device manager and take a screen shot showing the devices. Sent to Amptek, at the address below, an e-mail with both screen shots and the LED status (from table below).
Need help?
Do you have a question about the AMETEK Mini-X2 and is the answer not in the manual?
Questions and answers