Advertisement
Advertisement
Table of Contents

Related Manuals for Plexgear Pixaver Expo

Summary of Contents for Plexgear Pixaver Expo
- Page 1 Pixaver Expo English manual...
-
Page 2: Specifications
Specifications Image sensor 1/3,2” 5 megapixels CMOS Lens F = 2,8, f=4,76 mm Focus Fixed Exposure control Automatic Color balance Automatic Scan resolution 1800 dpi Image resolution 2592 x 1728 pixles (3:2) Light source: PC interface: USB 2.0 Image size Slide and negative (36 x 24) Power source USB from computer... -
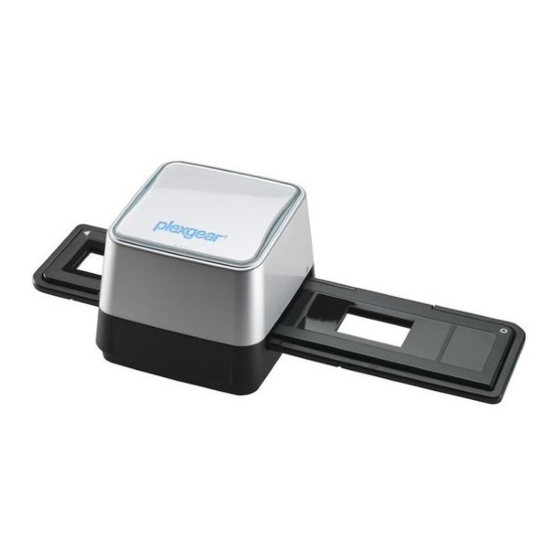
Page 3: Part Names
Part names Power LED USB Cabel Film/slide holder slot Slide holder Negative holder Cleaning brush Note: We suggest using the bundled cleaning brush to clean the glass of the Digital image scanner film holder slot periodically to produce a clear image. -
Page 4: Software Installation (Windows)
Software installation (Windows) (Mac OS X, page 8) Plexgear Pixaver Expo does not need a driver to be installed. The driver will be installed automatically when the scanner is connected to your com- puter. You will need the MediaImpression software to cature and edit your pictures. - Page 5 Place film / slides into the holder Place the negative/slides into the holder as illustrated below. Open the holder Place the negative/slides Close the holder Correct! Wrong! Please make sure the holder is correctly closed.
-
Page 6: Connect To A Computer
Connect to a computer Plug the USB cable into your computer’s USB 2.0 port. Once connected the Power LED light will turn on. Insert the holder Insert the loaded film/slide holder properly into the slot according to the signs. You can adjust the location of the film by moving the film holder, the film holder can be moved in both directions. - Page 7 Capture Start MediaImpression. Click “Acqurire” and choose “Acquire from Film Scanner”...
- Page 8 Select file format and quality, source folder, film size, film type and resolu- tion. Click ‘OK’. Click ‘Capture’.
-
Page 9: Editing Pictures
Editing pictures Photo Editing Tools The Photo Editing Tools module includes a complete set of photo enhance- ment, editing and retouching controls. The windows can be stretched to provide a large size view of the active photo. Double click the module’s tool bar to maximize the window to fill the computer screen. - Page 10 1.2 Color This feature is designed to fix Digitize photos that have unnatural color or appear too dark. It’s also great for fixing scanned versions of old prints that have faded or whose colors have changed after many years. How to fix the color of a photo: 1.
- Page 11 1.4 Crop This feature enables you to trim photos for a dramatic effect or cut off the distracting parts of a picture. How to use the crop function: 1. Choose the crop orientation (portrait or landscape). 2. Select a fixed proportion for the crop rectangle (4:6, 5:7 , 8:10) or choose “Custom”...
- Page 12 2. Retouch 2.1 Healing Brush The Healing Brush is good for fixing dust, scratches and removing skin blemishes. How to use the Healing Brush to fix a skin blemish: 1. Establish a source point for the Healing Brush by holding the Shift key and clicking on an area of the skin that is close in color and texture to the area you want to heal.
- Page 13 2.5 Sharpen Sharpen blurry areas. Click and drag the sliders to change the brush size and transparency. 2.6 Blur Smooth out rough areas. Click and drag the sliders to change the brush size and intensity. 2.7 Paint Brush Allows you to “paint” on your image when you click and drag the mouse. Click and drag the sliders to change the brush size and transparency.
Need help?
Do you have a question about the Pixaver Expo and is the answer not in the manual?
Questions and answers