Table of Contents
Advertisement
Quick Links
Qualification
To replace the Newton™ Backlight-Foil, you need to be skills in modifying
electronics and mechanics.
We want to inform that replacing the foil without being skilled will damage
your device in an irreparable manner.
Non-Warranty
If you replace the foil by yourself ,backlight4you is not liable to any damage of
the foil or your device. We guarantee for the quality and lifecycle of the foil.
This manual neither entitles nor implies any right for claims for compensation.
It is merely a recommendation.
Needed Tools and Materials
• Cross-Screwdriver Philips Size 1
• Cross-Screwdriver Philips Size 0
• Screwdriver max. 1mm
• Knife
• Insulating Tape
• Pliers for electronics
• Elektronics edge cutter
• Soldering Iron
• Solder (S-Sn60Pb38Cu2 recommended)
• SMD-de-solder knifes (or SMD de-solder tool)
• Soldering iron for SMD (or low-power soldering iron with very small tip)
backlight4you | Hauptstr. 25 | D-79725 Laufenburg |
info@backlight4you.com
|
http://www.backlight4you.com
Advertisement
Table of Contents

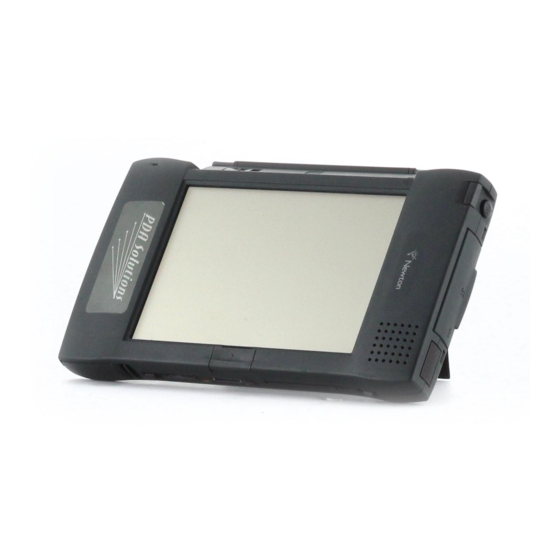
Summary of Contents for Newton MessagePad 2000
- Page 1 Qualification To replace the Newton™ Backlight-Foil, you need to be skills in modifying electronics and mechanics. We want to inform that replacing the foil without being skilled will damage your device in an irreparable manner. Non-Warranty If you replace the foil by yourself ,backlight4you is not liable to any damage of the foil or your device.
- Page 2 Remove the following parts before you continue: • (Rechargeable-) Battery-Pack • Stylus • Memory- and Dummy-Cards • Display-Lid Put your Newton™ face down on a soft surface to avoid scratches on the dis- play. Step 2 Remove all screws marked with circles.
- Page 3 Note the different types of screws. Note the different lenght and thread of the screws (they will damage the Newton™ if screwed into the wrong hole). Open the battery-box by carefully using a knife. Start at the side with the opening for the battery.
- Page 4 The marked spots on the left are only important when you reassamble the Newton™. Lift-off the display-frame, starting at the stylus-holder. Be careful to not harm the dis- play-cable! yellow marks are important in Step 11.
- Page 5 Step 10 The display is kept in place by the handle (shown in Step 9) that is marked yellow, only. Don't press the handle with too much power. It breakes very fast. Push the handle leftwards (relative to the image shown here) and lift up the display by pushing it up with a finger (use the square opening).
- Page 6 Step 15 Reassamble your Newton™ by doing the above steps in backwards order. Make sure to place the cables in their correct positions in order to avoid squeezing or sheering them between the housing-parts.
Need help?
Do you have a question about the MessagePad 2000 and is the answer not in the manual?
Questions and answers