Table of Contents
Advertisement
Quick Links
Connecting the Power + SWR Meter
DC Power connection
The power lead supplied with the meter mates with the black DC jack on the rear panel of the meter. The
other end of the cable ends in tinned wires marked red and black. These need to be connected to the
station 12 Volt supply, or indeed any DC power supply in the range 6 to 16 Volts. Some transceivers have a
switched 12 Volt outlet for accessories. This would also be a good place to connect the meter supply. The
red wire must go to the positive and the black to negative. If a mistake is made, an internal series diode will
prevent damage to the meter. Note the negative supply is grounded in the meter.
RF connections
The SO239 co-ax socket marked "RF IN" should be connected to your transceiver or linear amplifier. This is
the input to the meter. The other SO239 socket marked "RF OUT" is the output of the meter and should be
connected to your antenna matching unit, which in turn is connected to the antenna. If there is no
matching unit, connect the antenna directly to the "RF OUT" SO239 socket.
Advertisement
Table of Contents

Summary of Contents for Monitor Sensors Power + SWR
- Page 1 Connecting the Power + SWR Meter DC Power connection The power lead supplied with the meter mates with the black DC jack on the rear panel of the meter. The other end of the cable ends in tinned wires marked red and black. These need to be connected to the station 12 Volt supply, or indeed any DC power supply in the range 6 to 16 Volts.
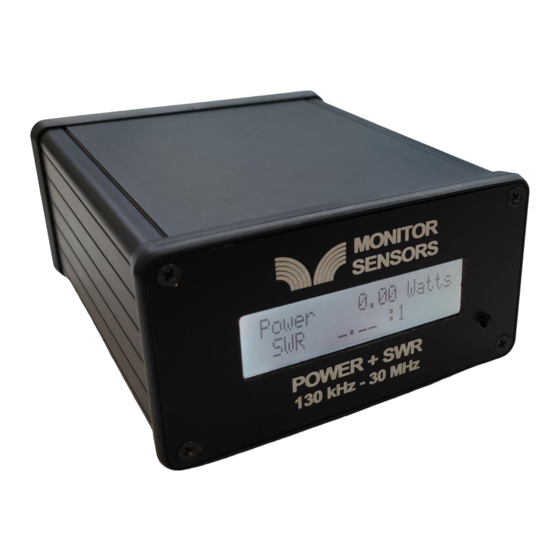
- Page 2 Operating the Power + SWR Meter As soon as power is applied to the meter, it will be in the “on” state and the display screen will be as below: The top line of the display gives the true output power in watts being supplied to the antenna. This is a value dependent on both the forward and reverse power flows through the meter.
- Page 3 This is a warning that the transmitter may be stressed. Most modern transceivers and linear amplifiers have built-in high SWR protection. For those that do not, the meter provides alarm contacts. To the right of the SWR reading is an indication of the band in use. Using the meter to adjust an antenna matching unit The normal display screen could be used to adjust a matching unit while observing the SWR reading.
- Page 4 Turning the meter off and on If the meter is powered by your transceiver power supply, it will simply go off when the transceiver goes off and come on again when the transceiver comes on. No power switching of the meter is needed. If however you are powering the meter from a source that is always on, you may wish to switch the meter off and on independently.
- Page 5 Setting up the high SWR alarm The high SWR alarm provides an alarm contact which could be used to turn off a transmitter or linear amplifier in the event of a high SWR. The contact is available at the two pin green socket on the rear of the meter.
- Page 6 Operating the meter with the Alarm activated. When the SWR rises above the alarm threshold, the alarm relay is operated. The contact will close if “normally open” operation has been selected. It will open if “normally closed” operation has been selected.
- Page 7 Specifications Power ranges: 0.00 to 19.99 Watts, resolution 0.01 Watt 20.0 to 999.9 Watts, resolution 0.1 Watt 1000 to 2000 Watts, resolution 1 Watt The correct power range is auto selected. SWR range: 1.00 : 1 to 99.9 : 1. Above 99.9 : 1, the meter reads “infinity”. Frequency range: 130 kHz to 30 MHz Amateur bands, 2200m, 630m, 160, 75m, 60m, 40m, 30m, 20m, 17m, 15m, 12m, 10m.
- Page 8 Warranty Monitor Sensors products are covered by a warranty which warrants "that all equipment supplied is free from defects in material and workmanship for a period of one year from the date of delivery from the works, providing there is no evidence of abnormal use. The obligation under the warranty is limited to replacing or repairing, at our option, any of the items so determined to be defective.
Need help?
Do you have a question about the Power + SWR and is the answer not in the manual?
Questions and answers