Advertisement
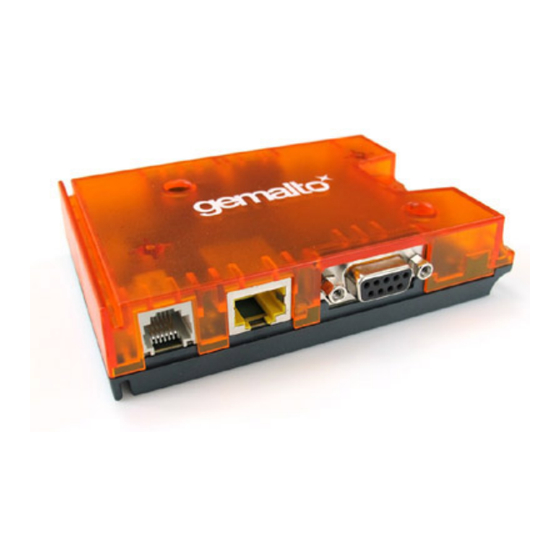
Gemalto EHS6T-LAN Basic Configuration
Introduction
Gemalto's EHS6T-LAN with Ethernet + Serial interfaces will function 'out-of-the-box'
without any changes of the configuration settings. In such a scenario the device
automatically connects to the Cellular network (APN) using pre-defined credentials for the
SIM card. The Ethernet LAN interface functions as a DHCP server.
For applications where an alternative APN or Ethernet LAN configuration is required the
http-web interface is available to make quickly make and save changes. The following
guide is intended to show where to find and change necessary parameters.
Pre-requisite: This guide is not a replacement for the Cinterion® Java Terminal - Hardware
Interface Description, released by Gemalto. Please refer to that document for information
regarding the device, interface and functionality of the EHS6T family of devices.
What is covered in this basic configuration guide:
•
•
•
Changing the Wireless Network settings such as Network APN Credentials
•
Page: 1
www.m2mconnect.co.uk
M2M Connect Ltd
Advertisement
Table of Contents

Related Manuals for Gemalto EHS6T-LAN

Summary of Contents for Gemalto EHS6T-LAN
- Page 1 Pre-requisite: This guide is not a replacement for the Cinterion® Java Terminal - Hardware Interface Description, released by Gemalto. Please refer to that document for information regarding the device, interface and functionality of the EHS6T family of devices.
- Page 2 Accessing the EHS6T-LAN http web interface After powering-up the device, connect an Ethernet cable between the EHS6T-LAN & PC. The EHS6T-LAN Ethernet interface functions as a DHCP server. The PC Ethernet LAN port should be configured as a DHCP client.
- Page 3 Changing the Password Under the ‘System’ heading is the Administration Page as shown below. The device password can be changed on this page. After entering the new password click on the Save-Apply button at the base of the page. Do not forget the new password! Note: there is also a direct link to this page in the ‘No Password Set!’...
- Page 4 Changing the Wireless Network settings such as Network APN Credentials On the top level menu options hover over the ‘Network’ heading then select ‘Interfaces’ The Network Interfaces Overview page will be displayed as follows. To edit the APN credentials or other settings for the 3G Wireless Wide Area Network click on the Edit button in the 3GWAN section, as highlighted above.
- Page 5 Remember to click Save & Apply! NOTE: For ease of use, it’s also possible to transfer directly to the above page from the initial status page. On the Initial Status Page (first screen shot in this document), within the Network section, the 3G-WAN word and icon is a clickable-link directly to the above settings page.
- Page 6 Changing the Ethernet LAN Settings On the Network->Interfaces Overview page (see page 4), adjacent to the LAN information, click on the Edit button. The LAN Interface Configuration settings page will be displayed. To disable the DHCP server, check the tick-box in the DHCP Server section.
Need help?
Do you have a question about the EHS6T-LAN and is the answer not in the manual?
Questions and answers