Synology DiskStation DS411j Quick Installation Manual
Hide thumbs
Also See for DiskStation DS411j:
- User manual (238 pages) ,
- Manual (168 pages) ,
- Quick installation manual (17 pages)

Subscribe to Our Youtube Channel
Related Manuals for Synology DiskStation DS411j


Summary of Contents for Synology DiskStation DS411j
- Page 1 All manuals and user guides at all-guides.com DiskStation DS411j Quick Installation Guide Document ID: Synology_QIG_DS411j_20111017...
-
Page 2: Safety Instructions
All manuals and user guides at all-guides.com SAFETY INSTRUCTIONS Please read these safety instructions carefully before use, and keep this manual in a safe place for your future reference. Keep away from Keep Synology Do not place the direct sunlight and product upright. Do Synology product... -
Page 3: Package Contents
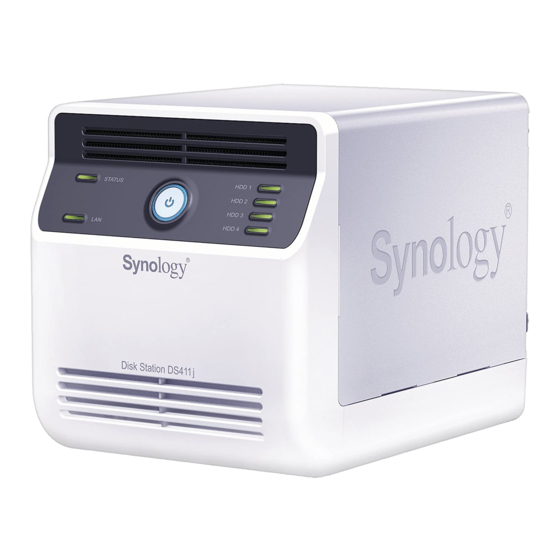
All manuals and user guides at all-guides.com PACKAGE CONTENTS Before you begin, please check the package contents to verify that you have received the items below. Main Unit X 1 (4 hard disk trays Installation CD AC power adapter included) 2M RJ-45 LAN AC power cord cable... - Page 4 Power Button Front Panel To turn off Synology DiskStation, press the power button and hold it until you hear a beep sound and the Power LED starts blinking. The LED indicator is used to display the status of the internal disk and the system.
-
Page 5: Installing Hard Disks
All manuals and user guides at all-guides.com INSTALLING HARD DISKS DiskStation requires at least one 3.5” or 2.5” SATA hard disk for installation. Refer to the following steps for details: Warning! If you use a hard disk with data on it to install, system will format the hard disk and erase all data in some cases. - Page 6 All manuals and user guides at all-guides.com Lift the upper case and then pull it out. You will see four hard disk trays. Pull one hard disk tray out. a. If you are using 3.5” hard disks, place the hard disk into the hard disk tray.
- Page 7 All manuals and user guides at all-guides.com b. If you are using 2.5” hard disks, align the hard disk with the 4 smaller holes on the hard disk tray, and secure the hard disk from the bottom with the screws (for securing 2.5” hard drives) provided.
- Page 8 All manuals and user guides at all-guides.com Place the upper case back to its position.
- Page 9 All manuals and user guides at all-guides.com Attach the cable lock to the corresponding hole above The power port on the back cover. Make sure the cable lock is hooked on the inner side of the back cover. Close the back cover and fix it with the four screws.
-
Page 10: Turn On Server
All manuals and user guides at all-guides.com TURN ON SERVER Connect the AC adapter to The power port, and fix the cable to the cable lock. Then plug the power cord into a power socket. Connect the RJ-45 cable to the server and connect the other end to your switch/hub/router. -
Page 11: Install System Software
All manuals and user guides at all-guides.com INSTALL SYSTEM SOFTWARE Windows User Insert the installation CD to your computer. Choose “Start” on the autorun menu. Follow the on-screen instructions to complete the setup process Note: If you choose One-Click Setup, the admin password will be blank. - Page 12 All manuals and user guides at all-guides.com Double click MacOSX. Double click SYNOLOGY-Assistant.dmg. Double click on the automatically generated thumbnail SYNOLOGY-Assistant.dmg on the desktop. Double click Synology Assistant to run the Setup Wizard.
- Page 13 Note: If you choose One-Click Setup, the admin password will be blank. When you have completed the setup process, the LED light for Status should be blinking orange. Log into DiskStation Manager and create a storage volume. Refer to Synology DiskStation User’s Guide to learn more.
- Page 14 All manuals and user guides at all-guides.com CONGRATULATIONS! Server has been set up. Refer to the User’s Guide in the installation CD for advanced settings and management. For more information or online resources, please visit http://www.synology.com.
-
Page 15: Specifications
All manuals and user guides at all-guides.com SPECIFICATIONS Item DS411j Internal HDD 3.5 SATA (II) x 4 12TB Max. Capacity (4 x 3TB hard drives) Hot Swappable HDD External HDD Interface USB x 2 LAN Port Gigabit x 1 Copy Size (HxWxD) (mm) 168 x 184 x 230 Weight (Kg) -
Page 16: Led Indication Table
All manuals and user guides at all-guides.com LED INDICATION TABLE LED Indication Color Status Description Static Volume Normal Green HDD Hibernation Available volume space < 1GB STATUS Static Available volume space < 1 % Orange Volume degraded or crashed Blinking No volume Static Gigabit Link...
Need help?
Do you have a question about the DiskStation DS411j and is the answer not in the manual?
Questions and answers