Table of Contents
Advertisement
Quick Links
IB 835
Installation Manual
Integrated Bidet Toilet
■ Cautions before installation
Water supply should have a minimum water pressure of 10 psi
For smooth drainage, water pressure must stay
TABLE OF CONTENTS
3.
4.
5.
8. Troubleshooting
at
its required level.
.......................................
.......................................
.......................................
.......................................
.......................................
.......................................
.......................................
.......................................
.......................................
.......................................
.......................................
.......................................
...................
1
...................
2
...................
3
...................
4
...................
4
...................
5
...................
5
...................
5
...................
6
...................
6
...................
7
...................
8
Advertisement
Table of Contents

Subscribe to Our Youtube Channel
Related Manuals for Uspa IB 835


Summary of Contents for Uspa IB 835
-
Page 1: Table Of Contents
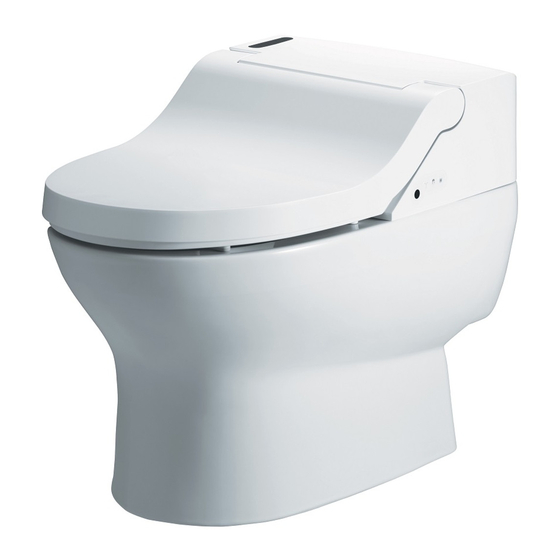
IB 835 Installation Manual Integrated Bidet Toilet ■ Cautions before installation Water supply should have a minimum water pressure of 10 psi For smooth drainage, water pressure must stay its required level. TABLE OF CONTENTS 1. Dimensions ............before Installation ........ -
Page 2: Dimensions
1. Dimensions - 1 -... -
Page 3: Precautions Before Installation
2. Precautions before Installation ■ Before installation, please check locations of water inlet and drain hole. ■ Connect angle valve to water inlet. ■ Make sure the floor is level before installing. Angle Valve Flange Drain Hole - 2 -... -
Page 4: Package Contents
3. Package Contents Toilet Bowl Mounting Bracket Screws Washer Mounting Bracket <A Hose> <B Hose> Anchor 3/8” and 7/8” 1/2” and 1/2” Wax ring Toilet Bowl Mounting Screw Wax ring asher Cover 7/8” T-Valve *Hose “B” packed in *T-valve is packed in Bidet package Bidet package Water Supply lines Glass &... -
Page 5: Preparation For Installation
5. Preparation for Installation ■ Secure the wax ring on the bowl. ■ Wax ring installation 1) Remove protective wrapping. 2) With bowl upside down on a protective pad, place wax ring around opening. 3) Press wax ring firmly into place to assure adhesion when bowl is inverted. Wax ring Toilet Bowl - 4 -... -
Page 6: Toilet Bowl Installation
6. Toilet Bowl Installation Installing the mounting brackets ■ 1) Align the installation template at center of drain socket. 2) Drill holes in the marked location ( 3/8”), and then insert the anchors into the holes 3) Remove the installation template and install bracket. 9"(228mm) 4"(100mm) Bracket... - Page 7 8. Troubleshooting Problem Possible cause Corrective Action Water supply valve closed Open valve and allow water to fill tank. Supply line blocked Shut off water supply, disconnect Does not flush supply line and inspect all washers. Pushrods do not contact Adjust pushrod length as required flush valve Water supply hose is not...
-
Page 8: Toilet Seat Installation
7. Toilet Seat Installation 1) Insert the seat mounting nut into the toilet seat mounting hole on the toilet bowl. 2) Hold the E-bidet with two hands and slide it into place. - Connect water hose to the bidet. Bidet Fixing Nut Overhang Installation Hole... -
Page 9: Warranty
See the included warranty statement for more information. Replacement Parts Model Flush Valve Fill Valve IB 835 WP373 WP222 ■ Inquiries For further product information, please contact your local USPA dealer or contact our Customer Support Center. - 8 -...
Need help?
Do you have a question about the IB 835 and is the answer not in the manual?
Questions and answers
Where to purchase the replacement parts for fill valve (wp222)?