Advertisement
Quick Links
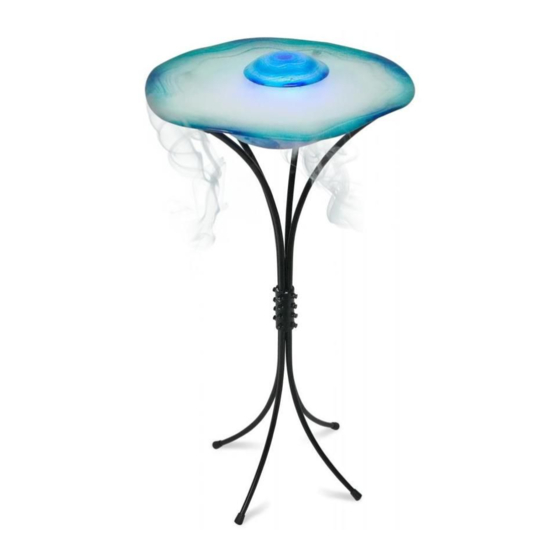
OBreeze
FM102BL
Instruction Manual
Thank you for purchasing Canary Products.
Please do not return back to store. We will
resolve any issue you have- simply email
info@canaryproducts.com
To properly use this Mist Fountain/Diffuser, please read the instruction manual
carefully. Please keep this instruction manual for future reference. An extra copy
will also be available online at canaryproducts.com.
FEATURES AND FUNCTIONS
• The changing LED Lamp generates comfortable & relaxing lighting.
• Our unique patent pending inline control mist maker can be set to any color by
pressing the button and selecting the desired color. You can also select two
different mist levels; high and low.
• When the water-level is low, the sensor will automatically shut the fogger unit
off. The auto-shut off protects the ceramic disc from running dry.
• USE ONLY MINERALIZED WATER OR TAP WATER. Distilled water can
reduce the effect of the mist or not allow it to mist at all. Minerals in the water
allow the sensor to work due to its conductivity. IF FOR SOME REASON-
YOUR ITEM STILL DOES NOT FOG- WHENYOU ADD TAP WATER- add
a ¼ spoon of salt to the water, and you should see it fog immediately (This
allows the sensors to sense the ions in the water).
• Drop a couple of drops of your favorite essential oil in this mist fountain for
relaxing aromatherapy.
•
TECHNICAL DATA
Working Voltage
(VAC)
24
Generate mist
(ml/h)
≥250
Working Electric
Ultrasonic
Current (A)
Frequency(KHz)
0.5
1700±40
Water temp. Range
Lifespan of Ceramic
( ℃ )
Disc ( hour)
0 ~ 50
>1000
Advertisement

Related Manuals for Canary Products O Breeze FM102BL

Summary of Contents for Canary Products O Breeze FM102BL
- Page 1 Water temp. Range Lifespan of Ceramic ( ℃ ) (ml/h) Disc ( hour) ≥250 0 ~ 50 >1000 Thank you for purchasing Canary Products. Please do not return back to store. We will resolve any issue you have- simply email info@canaryproducts.com...
- Page 2 ASSEMBLY DIAGRAM ASSEMBLY AND OPERATING INSTRUCTIONS A. Splash Guard B. Plastic Tower Stand C. Glass Bowl D. Metal stand (8 leg pieces with a metal round holder) E. Screw Driver F. Fogger Unit...
- Page 3 Fogger Unit Drawing to install the new ceramic disc. It is advisable to Metal Leg Holder”. purchase Canary Products ceramic fogger disc so that it will fit your fogger d) Place the bowl on the stand unit accordingly.
- Page 4 INSTRUCTIONS FOR REPLACING FOGGER UNIT DISC WARRANTY a. Unplug the unit and remove from the glass bowl. Dry the fogger unit completely Our fogger has a 1 year hassle free warranty. Please provide proof of purchase with a soft cloth. when claiming a warranty.
Need help?
Do you have a question about the O Breeze FM102BL and is the answer not in the manual?
Questions and answers