Table of Contents
Advertisement
Quick Links
Advertisement
Table of Contents

Subscribe to Our Youtube Channel
Related Manuals for BRIGHT Home 800


Summary of Contents for BRIGHT Home 800
- Page 1 User manual & quick setup guide Home 00...
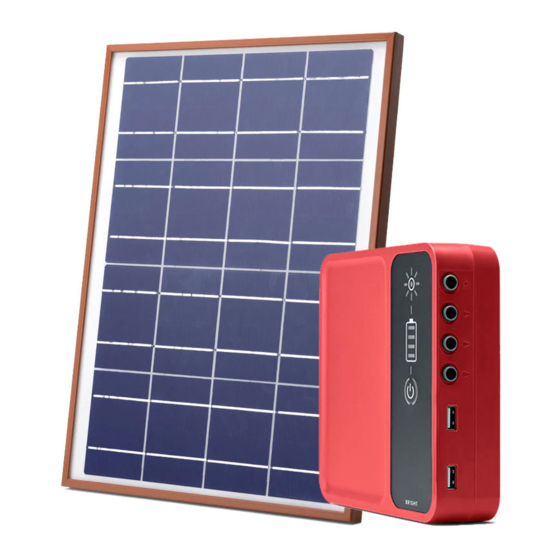
- Page 2 Box content Box content Ports & buttons 100% Solar port Lamp power ports 3x button USB ports 2x 100% Micro-USB cable Indication lights Power status Low battery 30 min left: No USB power. Control unit & bracket Solar panel & mounting wire Splitter System on (Green light) Excess...
-
Page 3: Test Lamps
Test lamps Check that the Plug in lamp Turn on system battery is charged cables firmly – minimum 100% Test lamps and switches 100% Switching lamps on: Press switch to move between light levels After 5 seconds without pressing Test tube lights and switches the switch, the next press will always turn OFF the light. - Page 4 Step by step Installation guide...
- Page 5 STEP 1 Find placement for control unit and solar panel • Find the most sunny place to install the panel Check if the panel is correctly facing the sun by plugging the panel to the control unit (full sun icon) •...
- Page 6 STEP 2 Install panel 1. Use the wires to fasten the panel CAUTION: Use the included nails if needed Place control unit in a dry 2. Install panel facing the sun and protected 3. Pull the cable inside the house location CAUTION: Make sure the solar panel...
- Page 7 100% STEP 3 Install bracket and control unit 1. Find a secure wall suitable for fastening the bracket 2. Fasten bracket securely as shown 3. Attach the control unit CAUTION: Make sure the bracket and control unit are securely fastened.
- Page 8 STEP Set up remaining lamps Place the remaining lamps where you want them. Fixed-focus lamps can be mounted in the ceiling and to the wall. Wall lamp Tube light Ceiling lamp Use ceiling hooks to mount Mark correct nail position Use ceiling hooks to mount lamp(s) to the wall and hammer nails to the wall...
- Page 9 STEP Place light switches 1. Mount the cables and swithces to the wall 2. Plug the two remaining splitters into the control unit 3. Plug the lamp plugs into the splitters CAUTION: Do not damage the cable!
- Page 10 • Maintenance • Troubleshooting • Technical info • Warranty...
-
Page 11: Care And Maintenance
Care and maintenance Troubleshooting It’s sunny, but the charge level is low 1. Check if anything is shadowing the solar panel 2. Check if the solar panel is mounted facing the sun 3. Clean the solar panel Can’t change the light level 1. -
Page 12: Technical Info
Technical info Battery Full battery run time Battery type: LiFePO4 Phone charging will reduce the run time of the product’s light. Battery capacity: 80 Wh (6,400 mAh at 12.8 V) Lights only Battery lifespan: 5-7 year 5 h on high (1400 lm total) (2,000 full charge cycles) Advanced circuit protection Power... -
Page 13: Warranty Card
Warranty card If your product stops working within 2 years of purchase, simply return it along with this stamped and dated warranty card to your retailer for repair or replacement. This warranty covers product failure from normal use and is void if the product has been tampered with, repaired by unauthorised repairer, modified, submerged in water or in case of misuse. -
Page 14: Warranty
”The product” in this warranty is defined phone used has specifications that does USED IN CONNECTION WITH THE as BRIGHT Home 800 and accessories not comply with the charging current or PRODUCTS, INCLUDING, BUT NOT included in the original packaging. - Page 16 From larger cities to remote areas, from Norway to Kenya! At BRIGHT we shape the future by bringing smarter, cleaner and more sustainable energy solutions to the world, creating better living conditions for people and societies around the planet. Read more about us and our products on www.bright-products.com...
Need help?
Do you have a question about the Home 800 and is the answer not in the manual?
Questions and answers