Table of Contents
Advertisement
Quick Links
Advertisement
Table of Contents

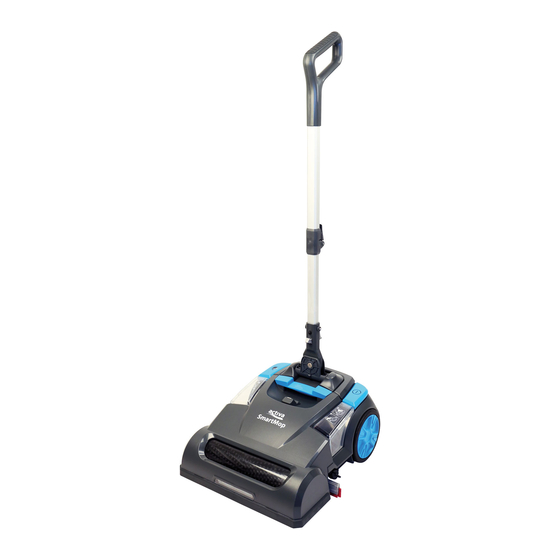
Summary of Contents for Activa SmartMop
- Page 1 User Manual Activa SmartMop...
-
Page 2: Introductory Comment
PURPOSE AND CONTENT OF THE MANUAL The aim of this manual is to provide customers with all the information needed to use the appliance in the safest, most appropriate and most autonomous way. It includes information concerning technical aspects, safety, operation, appliance downtime, maintenance, spare parts and scrapping . -
Page 3: Technical Data
TECHNICAL DATA XD209 TECHNICAL DATA XD209 Total power Rated battery voltage V/mAh 6000 Working width Weight Suction width Air fow 14.66 Brush(diameter×length) mm×mm 110×352 Noise dB(A) <70 Brush speed Fully charging time Brush motor(rated) 24/32 Running time Vacuum motor(rated) 24/100 Vacuum degree Solution tank capacity Product size... -
Page 4: How To Unpack The Appliance
HOW TO UNPACK THE APPLIANCE The procedure for removing the device from its packaging is the 4. Take the appliance out of the box. following: ATTENTION: it is recommended that all the packaging 1. Place the lower part of the outer packaging in contact with the floor. components be kept for any future transportation of the ATTENTION: use the pictograms printed on the box as a appliance. -
Page 5: Battery Type
BATTERY TYPE To power the appliance, use only t he battery supplied in the ATTENTION: for the maintenance and disposal of the package or by a specialised technician. battery read the document supplied by the battery OTHER BATTERY TYPES CANNOT BE USED. manufacturer. -
Page 6: Preparing The Appliance
9. Once the charging cycle is completed ( the green LED (8) fully lights up , remove the plug (2) on the battery charger from the mains socket (Flg.6). ATTENTION: to prevent any damage to the mains socket, pull directly on the plug (not on the cable) when taking it out. 10. -
Page 7: Preparing To Work
PREPARING TO WORK Before beginning to work, it is necessary to: 3. Activate the appliance using the main switch (1) (Fig.1). ATTENTION: if the LED of the main switch (1) (Fig.1) ATTENTION: before beginning the first work cycle , fully is lit up,this means the electrical system of the appliance recharge the battery (read "RECHARGING THE BATTERY"). - Page 8 WORK Before beginning to work, it is necessary to: ATTENTION: if the LED of the electric pump control switch (3) (Fig.3) is active, this means the pump will 1. Carry out the operations described in the "PREPARING TO supply detergent solution. WORK"...
-
Page 9: At The End Of The Work
AT THE END OF THE WORK ATTENTION: Fig. 2 shows the Ieft side of the device. At the end of the work, and before carrying out any type of maintenance, perform the following operations: Rotate the knob on the right-hand side in the opposite direction. -
Page 10: Maintenance
CLICK ATTENTION: during this operation, do not rest your foot on 25. Take the appliance to the designated storage area. the appliance. 26. Position the appliance with its rear part in contact with the floor (Fig.16) 22. Rotate the stop lever of the command handlebar (13) in the direction of the arrow (Fig.13). - Page 11 ATTENTION: these operations must be carried out using 9. Clean the brush under running water to remove any impurities present in the bristles. Check that the bristles are not worn;in the protective gloves to avoid any possible contact with the event of excessive wear, replace the brush (the bristles should be edges or tips of metal objects.
- Page 12 25. Block the handlebar in the horizontal position (Fig.21). 26. Rotate the stop lever of the command handlebar (16) in the direction of the arrow (Fig.22). ATTENTION: during this operation, do not rest your foot on 27. Close the command handlebar, pushing the handle (17) towards the appliance.
- Page 13 Careful maintenance of the squeegee rubbers guarantees better • Replace the worn/damaged rubber. cleaning and drying of the floor, as well as a longer vacuum motor • Repeat the operations in reverse order to reassemble all the life. To replace the squeegee rubbers, proceed as follows: parts.
Need help?
Do you have a question about the SmartMop and is the answer not in the manual?
Questions and answers