Advertisement
Quick Links
CONTACT
www.bradleycollection.com
Web
info@bradleycollection.com
Email
Follow
WORLD
The Bradley Collection Ltd
Lion Barn • Maitland Road
Needham Market • Suffolk
IP6 8NS • UK
+44 (0)1449 722 724
Te l ep h one
+44 (0)1449 722 728
Fa x
U S A & C a n a d a
The Bradley Collection Inc.
3625 Hayden Avenue, Suite E
Culver City • CA • 90232 • USA
+1 (310) 815 8255
Te l ep h one
+1 (310) 815 9255
Fa x
thebradleycollection
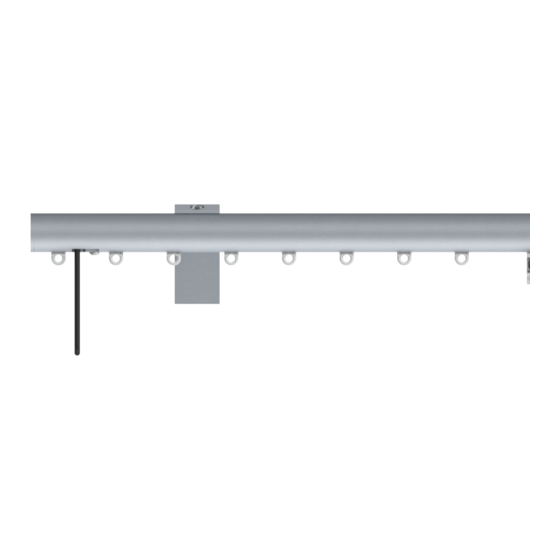
GLIDERPOLE
HAND DRAWN • CORDED
I ns t a l la t ion In s t ru c t io n s
®
Advertisement

Related Manuals for The Bradley Collection GLIDERPOLE


Summary of Contents for The Bradley Collection GLIDERPOLE
- Page 1 I ns t a l la t ion In s t ru c t io n s CONTACT www.bradleycollection.com info@bradleycollection.com Email Follow WORLD The Bradley Collection Ltd Lion Barn • Maitland Road Needham Market • Suffolk IP6 8NS • UK +44 (0)1449 722 724 Te l ep h one +44 (0)1449 722 728 Fa x U S A &...
- Page 2 Please retain these instructions for future reference. Bracket positioning and fixing Side brackets should be positioned approximately 100mm (4”) in from the end of the gliderpole. Single Brackets To align the brackets, the top of the mid brackets should be fitted inline with the top of the side brackets.
- Page 3 Square Gliderpole Square Gliderpoles Swivel Clamps are pre-attached to the brackets. Offer the gliderpole up to the bracket, and turn the swivel clamps until there is a positive click. Making sure that the overhangs at each end are equal. If the gliderpole is made of two connected lengths, the mid bracket should be fitted on the join.
- Page 4 Screw in the button head screws into the bracket Please note, bracket must be secured to the gliderpole before being fitted to the ceiling. all arm and slide to the desired projection, once joins must be supported by a bracket. where gliderpoles join, substitute the t-bar for a joiner the projection is set tighten the screws to ensure the bracket arm is firmly secure.
- Page 5 Adding and Removing Gliders/Rollers CORDED GLIDERPOLES Gliderpoles are supplied with gliders/rollers pre-installed, in some instances it may be necessary to WARNING add or remove gliders, to do this follow the steps below Hand Drawn Before fitting the finial or flush end cap add/remove gliders or rollers from the bottom channel.
Need help?
Do you have a question about the GLIDERPOLE and is the answer not in the manual?
Questions and answers