Table of Contents
Advertisement
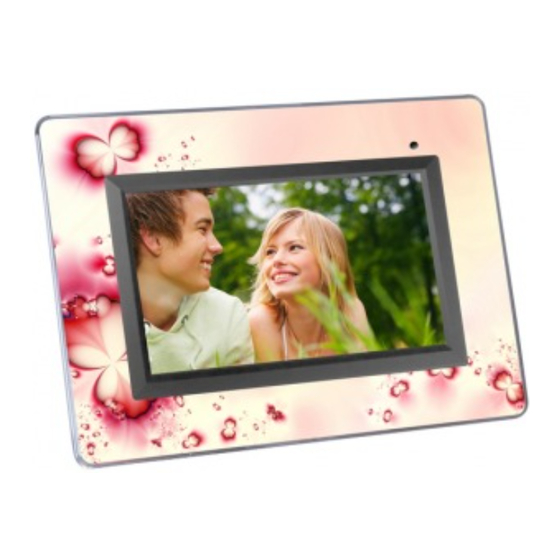
Digital Photo Frame
Cadre Photo Numérique
Marco de Fotos Digital
Digitaler Fotorahmen
Cornice fotografica digitale
Porta-Retratos Digital
Digitaal fotomontuur
Digital fotoramme
Digital fotoram
Ramka do Cyfrowych Fotografii
Digitální fotorámeček
Digital bilderamme
Digitaalinen valokuvakehys
Цифровая фоторамка
User's Guide
Guide de l'utilisateur
Guía del usuario
Bedienungsanleitung
Guida dell'utente
Guia do Usuário
Gids voor de gebruiker
Brugervejledning
Bruksanvisning
Instrukcja Użytkownika
Uživatelská příručka
Brukermanual
Käyttöopas
Руководство пользователя
Advertisement
Table of Contents

Subscribe to Our Youtube Channel
Summary of Contents for Cenomax F7024B
-
Page 1: Digital Photo Frame
Digital Photo Frame Cadre Photo Numérique Marco de Fotos Digital Digitaler Fotorahmen Cornice fotografica digitale Porta-Retratos Digital Digitaal fotomontuur Digital fotoramme Digital fotoram Ramka do Cyfrowych Fotografii Digitální fotorámeček Digital bilderamme Digitaalinen valokuvakehys Цифровая фоторамка User’s Guide Guide de l’utilisateur Guía del usuario... -
Page 2: Fcc Compliance Statement
FCC ComplianCe Statement Note: This equipment has been tested and found to comply with the limits for a Class B digital device, pursuant to Part 15 of the FCC Rules. These limits are designed to provide reasonable protection against harmful interference in a residential installation. -
Page 3: Controls And Connections
top View P OW E R P L A Y /P A U S E M EN U D OW N P R EV . M O DE C O P Y / D E L E TE R O TA T E R E T U R N SiDe View D C 9 V... - Page 4 FRame cenOmax Digital Photo Frame can be used as a free standing display by unfolding the attached stand to its fully extended position. note: the stand can be rotated to support the frame in either horizontal or vertical position.
- Page 5 Press MENU button to enter main menu. Use the directional keys to highlight the “SETTINg” icon then press “Play/Pause/Mode” button to select. a. General Setup page • BRIgHTNESS: Adjust brightness from -10 to 10 • SlIDE SHOW TIME: Select 05, 10, 30 sec; 01 minute, or 01 hour display time for each photo •...
- Page 6 SetUp B. Clock Setup page • ClOCK MODE: 12-hour or 24-hour display • ClOCK SETTINg: Adjust the time • AUTO POWER ON: Set the time when the frame is automatically ON. • AUTO POWER OFF: Set the time when the frame is automatically OFF. •...
-
Page 7: Photo Slide Show
SliDe SHow CenOmax Digital Photo Frame will automatically start a photo slide show every time it is powered on. The source of the picture will be as following: memory Card Reader -> USB devices ->internal memory (Note: to manually change file location, press the “Source” button on the remote control to select the desired location) At any time during the slide show, you may press the “Play/Pause/Mode”... -
Page 8: Music Playback
mUSiC plaYBaCk Press the “MENU” button to access menu screen of the frame. Use the direction button to select the “AUDIO” icon then press “Play/Pause/Mode” to confirm. The frame will display a list of audio file found on the selected source media (press “SOURCE”... -
Page 9: Video Playback
ViDeo plaYBaCk Press the “MENU” button to access menu screen of the frame. Use the direction button to select the “VIDEO” icon then press “Play/Pause/Mode” to confirm. The frame will display a list of video file found on the selected source media (press “SOURCE”... -
Page 10: Clock/Calendar Display
CloCk/CalenDaR DiSplaY Press the “MENU” button to access menu screen of the frame. Use the direction button to select the “ClOCK” icon then press “Play/Pause/Mode” to confirm. The frame will display current time and alarm time. Press the “MENU” button to access menu screen of the frame. Use the direction button to select the “CAlENDAR”... - Page 11 alaRm CloCk opeRation Press “MENU” button to enter main menu. Use the directional keys to highlight the “SETTINg” icon then press “Play/Pause/Mode” button to select. Press “NEXT/RIgHT” button to enter “ClOCK SETUP PAgE”. Press “DOWN/ROTATE” button 6 times then press “Play/Pause/Mode” button to set alarm time. Press “LEFT/RETURN”...
- Page 12 CopY/Delete piCtURe Copying photos to your frame To copy photos from a memory card to your frame, locate the photo, press the “Play/ Pause/Mode” button once to pause, and press UP/COPY/ DElETE. It will ask if you would like to copy the photo. Select YES, and press PlAY/MODE. The frame will then copy up to 15 photos to the frame’s internal memory.
- Page 13 A: Check to see if the power lED is illuminated that indicates the power supply is properly connected and providing power. Q: Why the frame won’t recognize my memory card? A: Please check the type of memory card you are using. For more information: www.cenomax.com or support@cenomax.com...

Need help?
Do you have a question about the F7024B and is the answer not in the manual?
Questions and answers