Advertisement
Table of Contents
MIDEA
2 in 1
Cordless Handstick
Warning notices: Before using this product,
please read this manual carefully and keep
it for future reference. The design and
specifications are subject to change without
prior notice for product improvement.
Consult with your dealer or manufacturer
for details.
INSTALLATION
INSTRUCTIONS
USER GUIDE
385611
Advertisement
Table of Contents

Related Manuals for Midea 385611

Summary of Contents for Midea 385611
- Page 1 Warning notices: Before using this product, please read this manual carefully and keep it for future reference. The design and specifications are subject to change without 385611 prior notice for product improvement. Consult with your dealer or manufacturer for details.
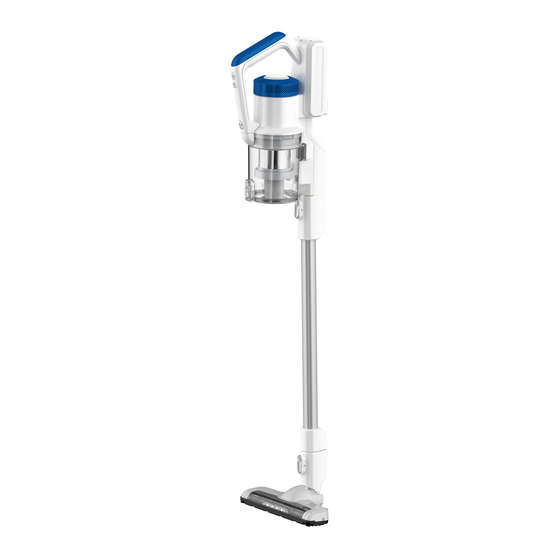
- Page 2 Instruction Manual Assembly and other parts instruction Body Tube Power button Mode Motorized brush button Power indicator Max mode Indicator Power volume Indicator Power volume Accessories list: Indicator Instruction Crevice Adaptor Manual Nozzle Tips: When cleaning the high places, please assemble the accessories on tube.
- Page 3 Operation 1: Battery charging: Tips: Battery is not full when leaving factory, please remember to charge up before first usage. Operation instruction 充 端口 Charging port Put the body on horizontal surface. Connect the adaptor to charging port on battery pack and plug the adaptor to socket. When charing, power indicator will twinkle continuously.
- Page 4 Operation 2: Cleaning: Note: To avoid the air flue being blocked, please clean the big particle waste.(such as paper, cloth and others) 。 No. Operation instruction 1 Knob down ”Power button” to start Knob down “Power button” again to stop When only one power indicator is on and twinkle, please charge it.
- Page 5 2. Choose the mount assembly location Floor a. Fix the mount 螺钉孔 Screw Hole Operation 4 Replace Battery Tips: 1. Laypeople don’t disassemble battery please. 2. Battery must be replaced and repaired by professional after-sales service personnel.
- Page 6 Operation 5 Clean and maintain cleaner Dust cup disassembly and clean Tips: To keep the suction power of cleaner, please clean the dust in it regularly. 1. Push the locker button, open the bottom cover and release dust Push 按下 尘满位置...
- Page 7 3. Take out the cyclone from dust cup 4. Disassemble cyclone and clean, all parts are washable. 5. After airing all parts completely, assemble them according to disassembly steps. Operation 6 Clean and maintain motorized brush Note: 1. To avoid affect the normal operation of brus, when roller brush and wheels is entangled or dusty, please clean and maintain them.
- Page 8 1. Push button and take off the brush. Push 按下按钮 2. Open the gland of brush, then take out the roller brush and clean, After cleaning it completely, assemble them according to disassembly steps. 拆下滚刷压盖 Open the gland Take out roller brush 拆卸滚刷...
Need help?
Do you have a question about the 385611 and is the answer not in the manual?
Questions and answers