Advertisement
Advertisement
Table of Contents

Summary of Contents for FS FMU Passive Multiplexer Series
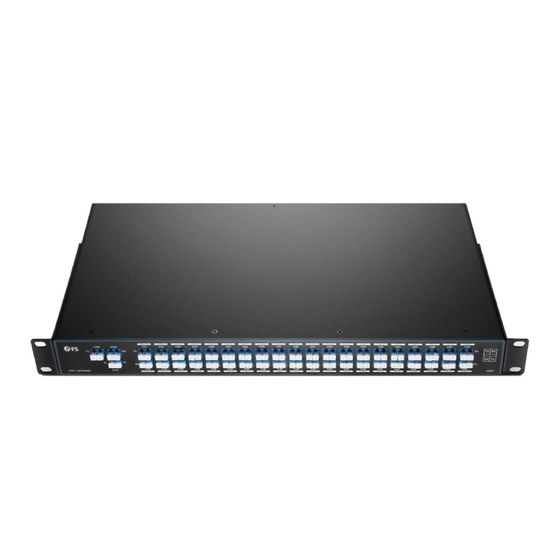
- Page 1 FMU Passive Multiplexer Series Mux Demux & OADM Quick Start Guide V3.0...
- Page 2 Introduction Thank you for choosing FS FMU Passive Multiplexer Series. This guide is designed to familiarize you with the layout of the Mux Demux & OADM and describes how to deploy the Mux Demux & OADM in your network. LINE...
-
Page 3: Functional Description
Functional Description 8ch CWDM Mux, DF LINE 1470 1510 1550 1590 1490 1530 1570 1610 FMU-MC084761EM 1470 RX → TX Line RX Line → 1470 TX 1490 RX → TX Line RX Line → 1490 TX 1510 RX → TX Line RX Line →... - Page 4 4ch DWDM OADM East and West, DF Line W C57W C58W C59W C60W Line E C57E C59E C60E C58E DOADM-DF RX Line W → TX C57 W RX Line E → TX C57 E RX Line W → TX C58 W RX Line E →...
- Page 5 2ch DWDM OADM East and West, SF C21W C23W LineW LineE C22E C24E DOADM-SF Line W → TX C22 W Line E → TX C21 W Line W → TX C24 W Line E → TX C23 W RX C21 W → Line W RX C22 E →...
- Page 6 Installing FMU Plug-in Module Inserting MUX Demux modules in a 1U 2-slot chassis 1. Align the module with the chassis shelf. 2. Gently push the module into the shelf cavity. 3. Press on the M3 captive screws rst and then tighten it on each side. NOTE: Put the top surface of FMU module close to the cover of chassis for easy installation.
- Page 7 2. Put the enclosure that inserted the Mux Demux on the rack. 3. Use M6x12mm screws and M6 nuts to secure. 1U Rack Mount NOTE: Flexible mounting bracket can be adjusted to 19" or 23" rack for easy installation. Mounting the equipment in a rack 1.
-
Page 8: Installing Fiber Cables
Installing Fiber Cables Online Resources Download https://www.fs.com/download.html Help Center https://www.fs.com/service/help_center.html Contact Us https://www.fs.com/contact_us.html... -
Page 9: Product Warranty
Product Warranty FS ensures our customers that any damage or faulty items due to our workmanship, we will o er a free return within 30 Days from the day you receive your goods. This excludes any custom made items or tailored solutions.

Need help?
Do you have a question about the FMU Passive Multiplexer Series and is the answer not in the manual?
Questions and answers