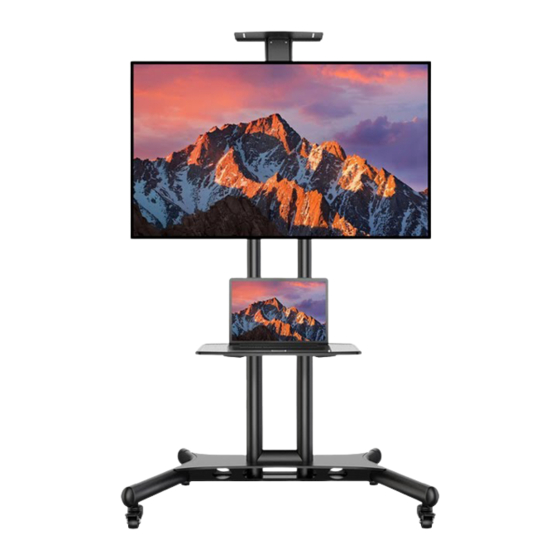

Summary of Contents for Perlesmith PSTVMC05
-
Page 2: Important Safety Information
We hereby disclaim any liability for injury or damage arising from incorrect assembly, incorrect mounting, or incorrect use of this product. • Please check www.perlesmith.com for more products and company information. • Serious or fatal crushing injuries can occur from tipover. - Page 3 Parts and Hardware Supplied Base Monitor Plate Height Adjustable Post (x1) (x1) (x1) Connecting Plate Decorative Cover Fixing Ring AV Shelf Camera Bracket (x1) (x1) (x1) (x1) (x2) AV Shelf Monitor Bracket Cable Cover Caster Camera Tray Support (x2) (x2) (x4) (x4) (x1)
- Page 4 1. Secure Casters to Base Turn the base upside down to keep the bottom side of the base upwards Lock the casters [12], then secure the four casters [12] to the base [01] Turn the base upside down again to keep top side of the base upwards.
- Page 5 2. Connect Post Assembly to Base Fasten the four bolts [A2] using wrench [F2] to secure the height adjustable post [03] to base [01] Note: Make sure cables management windows are facing the rear of base. Front Side Caution: Ensure bolts are secured firmly.
- Page 6 3. Adjust the Height of the Post Step 1. Use thumb or finger to depress spring plunger ball of the right upper post located at the cable hole, then twist and pull upper post upward to your desired height. As shown in fig-1, twist upper post toward the plunger holes direction and engage the spring ball into the plunger hole to fix the post inplace as shown in fig-2.
- Page 7 4. Secure AV Shelf to the Height Adjustable Post Secure the AV shelf support [10] to AV shelf [08] 4-1-1 4-1-2 Pull the AV shelf supports [10] down Attach the AV shelf support [10] to AV shelf [08] to secure them to the AV shelf [08], then put them to the holes on the AV shelf [08] as shown 4-1-3...
- Page 8 5. Secure the Monitor Plate to Height Adjustable Post Secure the monitor plate [02] to height adjustable post [03] by tightening the bolts [B2] via connecting plate [05] 1500m Caution: 1450mm Ensure bolts are 1400mm secured firmly. 6. Secure the Monitor Bracekts to Monitor Only one bolt size fits your TV.
- Page 9 Select Spacers (if needed) NO SPACER SPACER A/C/E/F/G Long Bolt Washer Short Bolt TV Bracket [If needed] TV Bracket Washer I/J/K Spacer [If needed] EXTRA SPACE For Flat TV For Flat TV with: Spacer not necessary Inset Holes Cable Interference For Rounded TV Attach the Monitor Brackets to Your Monitor A/B/C/D/E/F/G...
- Page 10 7. Secure the Monitor to Monitor Plate Hang the monitor to monitor plate [02] Caution: Warning: Note: Lift the TV may Ensure bolts are Move TV to center. require two people secured firmly. Fasten the bolts [C2] via safty locks [D2] to secure the monitor to monitor plate [02]...
- Page 11 8.Install the Camera Tray to the Height Adjustable Post Secure the camera tray [13] to the top of camera bracket [04] using the bolt [G2] Remove the preassembled bolts and washers from the connecting plate [05]. Then fasten the preassembled bolts and washers to secure the camera bracket assembly to the height adjustable post Caution:...
- Page 12 9. Cables and Wires Management Note: Be caution when routing wires to avoid damage. Note: Cable Tie (Not Included)
-
Page 13: Product Specifications
10. Product Specifications... - Page 14 Thank you for choosing this Perlesmith product! At Perlesmith we strive to provide you with the best quality products and services in the industry. Please share your experience of our product with others on Amazon if you are satisfied. Should you have any issues, please don't hesitate to contact us.