Table of Contents
Advertisement
Quick Links
Advertisement
Table of Contents

Subscribe to Our Youtube Channel
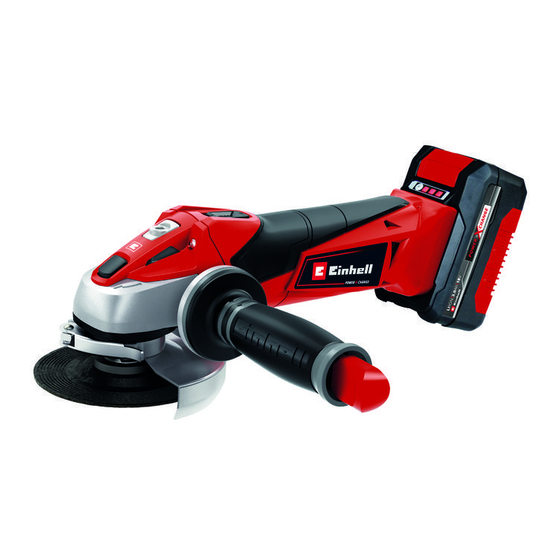
Summary of Contents for EINHELL TE-AG 18/100 Li
- Page 1 TE-AG 18/100 Li TE-AG 18/100 Li-Solo Original operating instructions Cordless Angle Grinder Art.-Nr.: 44.311.27 (3,0 Ah) I.-Nr.: 21010 Art.-Nr.: 44.311.26 (Solo) I.-Nr.: 21010 Anl_TE_AG_18_100_Li_EX_PH_SPK7.indb 1 Anl_TE_AG_18_100_Li_EX_PH_SPK7.indb 1 28.10.2020 12:58:39 28.10.2020 12:58:39...
- Page 2 - 2 - Anl_TE_AG_18_100_Li_EX_PH_SPK7.indb 2 Anl_TE_AG_18_100_Li_EX_PH_SPK7.indb 2 28.10.2020 12:58:42 28.10.2020 12:58:42...
- Page 3 180° - 3 - Anl_TE_AG_18_100_Li_EX_PH_SPK7.indb 3 Anl_TE_AG_18_100_Li_EX_PH_SPK7.indb 3 28.10.2020 12:58:46 28.10.2020 12:58:46...
- Page 4 - 4 - Anl_TE_AG_18_100_Li_EX_PH_SPK7.indb 4 Anl_TE_AG_18_100_Li_EX_PH_SPK7.indb 4 28.10.2020 12:58:50 28.10.2020 12:58:50...
-
Page 5: Table Of Contents
Table of contents 1. Safety regulations 2. Layout and items supplied 3. Proper use 4. Technical data 5. Before starting the equipment 6. Operation 7. Cleaning, maintenance and ordering of spare parts 8. Disposal and recycling 9. Storage 10. Charger indicator - 5 - Anl_TE_AG_18_100_Li_EX_PH_SPK7.indb 5 Anl_TE_AG_18_100_Li_EX_PH_SPK7.indb 5... - Page 6 Danger! - Read the operating instructions to reduce the risk of inquiry Caution! Wear ear-muff s. The impact of noise can cause damage to hearing. Caution! Wear a breathing mask. Dust which is injurious to health can be generated when working on wood and other materials.
-
Page 7: Safety Regulations
Danger! b) Avoid bodily contact with earthed sur- When using the equipment, a few safety pre- faces such as pipes, heating, ovens and cautions must be observed to avoid injuries and fridges. The risk of electric shock is increa- damage. Please read the complete operating sed if your body is earthed. - Page 8 balance at all times. This will enable you to control. control the power tool better in unexpected g) Use the power tool, accessories, plug-in situations. tools, etc. as set out in these instructions. Wear suitable clothes. Never wear loo- Take account of the conditions in your se fi...
- Page 9 6. Service 7. Do not exhaustively discharge batteries. a) Have your electric tool repaired only by Exhaustive discharge will damage the battery trained personnel using only genuine cells. The most common cause of exhaustive spare parts. This will ensure that your elec- discharge is lengthy storage or non-use of tric tool remains safe to use.
- Page 10 cordless tool out of children’s reach. damage. Never charge or work with batteries 4. Do not use damaged battery chargers. which have been overheated – replace them 5. Do not use the supplied battery charger to immediately if possible. charge other cordless tools. 7.
- Page 11 b) This electric tool is not designed for range of applications. Dust masks or respi- sanding, working with wire brushes or ration masks must fi lter the dust generated polishing. Use of the electric tool in ways it by the application. If you are exposed to loud was not intended could lead to dangerous noise for a lengthy period of time, you may situations and injuries.
- Page 12 opposite direction to the plug-in-tool at the point b) The safety hood must be securely faste- of blockage. ned to the electric tool and adjusted so that it off ers maximum safety, in other If for example a grinding wheel gets jammed or words it prevents the smallest possible blocked by the workpiece, the edge of the grin- part of the grinding/sanding wheel from...
-
Page 13: Layout And Items Supplied
• hold it still until the wheel has reached a Inspect the equipment and accessories for complete standstill. Never attempt to pull transport damage. • the cuttingoff wheel out of the cut whilst If possible, please keep the packaging until it is still rotating, otherwise it may suff... -
Page 14: Technical Data
4. Technical data 5. Before starting the equipment Motor power supply: ....... 18 V DC Warning! Always remove the battery pack before making Rated speed: ........8500 min adjustments to the equipment. Max. wheel diameter: ......100 mm Grinding wheels: ...... 100 x 16 x 6 mm Be sure to read the following information before Cutting wheel: ...... -
Page 15: Operation
Wait until the machine has reached its top Never use the angle grinder without the speed. You can then position the angle grin- guard. der on the workpiece and machine it. 5.3 Test run for new grinding Wheels 6.3 Battery capacity indicator (Fig. 1c/Item 9) Allow the right-angle grinder to run in idle for at Press the battery capacity indicator switch (a). -
Page 16: Cleaning, Maintenance And Ordering Of Spare Parts
6.5 Flange arrangements when using grin- Warning! ding wheels and cutting wheels (Fig. 6.8 Operating Modes 7-10) • Flange arrangement when using a de- 6.8.1 Rough grinding (Fig. 11) pressed-centre or straight grinding wheel For the best rough grinding results, hold the grin- (Fig. -
Page 17: Disposal And Recycling
7.2 Maintenance There are no parts inside the equipment which require additional maintenance. 7.3 Ordering replacement parts: Please quote the following data when ordering replacement parts: • Type of machine • Article number of the machine • Identification number of the machine •... -
Page 18: Charger Indicator
10. Charger indicator Indicator status Explanations and actions Red LED Green LED Off Flashing Ready for use The charger is connected to the mains and is ready for use; there is no battery pack in the charger Off Charging The charger is charging the battery pack in quick charge mode. The charging times are shown directly on the charger. - Page 19 5. To make a claim under the guarantee, please register the defective device at: www.Einhell-Service.com. Please keep your bill of purchase or other proof of purchase for the new device. Devices that are returned without proof of purchase or without a rating plate shall not be covered by the guarantee, because appropriate identifi...
- Page 20 EH 10/2020 (01) Anl_TE_AG_18_100_Li_EX_PH_SPK7.indb 20 Anl_TE_AG_18_100_Li_EX_PH_SPK7.indb 20 28.10.2020 12:58:53 28.10.2020 12:58:53...


Need help?
Do you have a question about the TE-AG 18/100 Li and is the answer not in the manual?
Questions and answers