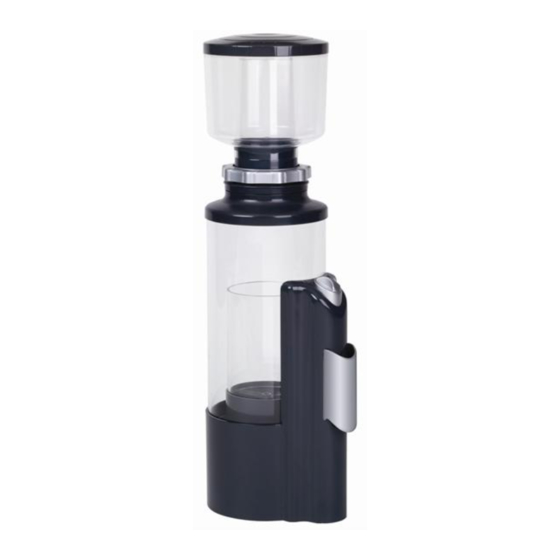
Advertisement
Quick Links
Start Here -
NOTE:
Part Identification
1
Models 100 & 300
Lid
Collection Cup
Lockring
Gasket
Water Flow Control Knob
and Venturi Muffler System
Water Deflector Shield
NOTE:
Pump is Preassembled and
Preinstalled in Skimmer Body
3
Skimmer Adjustment
NOTE:
Skimmer takes 4 to 5 days to settle into
new system when first installed. During this time
excess bubbles may be present and exiting skimmer.
A.
Adjust Flow Control Knob to raise or lower
water level inside the skimmer.
Adjust water height so "dry" bubbles start to
B.
appear in Collection Cup neck with little to no bubbles
flowing out of the skimmer into sump.
NOTE:
• Flow Control Knob position will vary with each specific installation
and water quality. If foam collected is excessively wet, adjust water
level down in skimmer body. If foam collected is to dry or there is
no foam present, adjust water level up in skimmer body.
• Any bubbles returning to the sump should diminish after the
5 day break-in period.
Questions or Missing Parts call Customer Service at (800) 322-1266.
IN-SUMP
Protein Skimmer
After setup, allow your Protein Skimmer to operate for 4 to 5 days to become established in the new system.
NOTE:
Protein Skimmers are Preassembled
Venturi Muffler System
Flexible Cleaning Tool
Adapter
Skimmer Body
Needle Wheel Impeller
O-Ring
Venturi Adapter
Locknut
Venturi Intake
Collection
Cup Neck
Water Flow
Control Knob
Water
Outlet
Water Intake
2
A.
Sump should already be filled with water. Place assembled Protein
Skimmer into sump. Skimmer may float until pump is activated.
(Model 300 ONLY)
Pump Body
Top View
Bubble Line
Clean
Muffler
System
with
Cleaning
MAX
Tool
Operating Water Level
MIN
Operating Water Level
www.marineland.com
Quick Setup Guide
Installation & Activation
B.
Skimmer, just plug it in. Skimmer
will begin to fill with the air and
water mixture. Once the Skimmer
is full it will rest on the bottom of
sump even if unplugged.
Trouble Shooting
If NO bubbles are forming in skimmer body.....
A.
Check for obstructions in Venturi Muffler System. Remove blockages
with a jet of water or use the cleaning tool (provided).
Check pump
B.
connections and
the Needle Wheel
Impeller.
Air Vent
Bottom View
To activate your Protein
NOTE:
Drip Loop
(for safety)
C.
Check for kink in
airline tubing. Unkink.
Bottom View
03/08 AQ12118
Advertisement

Summary of Contents for Marineland 100
- Page 1 After setup, allow your Protein Skimmer to operate for 4 to 5 days to become established in the new system. Part Identification Installation & Activation Models 100 & 300 NOTE: Protein Skimmers are Preassembled Sump should already be filled with water. Place assembled Protein Venturi Muffler System Skimmer into sump.
- Page 2 Installation et mise en marche Modelos Modèles 100 & 300 A. El depósito de decantación debe estar lleno de agua. Coloque el eliminador de proteína armado dentro del depósito de decantación. Es posible que flote hasta que se active la bomba.

Need help?
Do you have a question about the 100 and is the answer not in the manual?
Questions and answers