Advertisement
Table of Contents
Quick Start Guide
SL-RMU
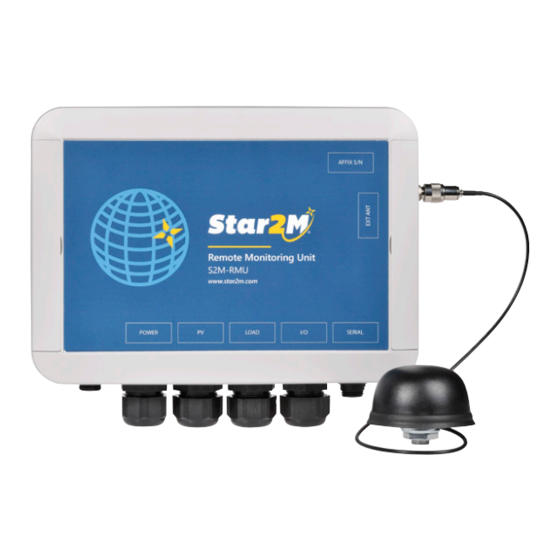
Your system will consist of: 1 x SL-RMU remote monitoring unit.
To successfully set up this product, you require:
®
•
Star2M
portal access
•
Internet connection
Introduction
The purpose of this quick start guide is to present a brief summary of the steps involved in the installation of
the Remote Monitoring Unit (RMU), from the physical installation of the enclosure itself to configuration in
Star2M.
Step 1: Installing the RMU
Remove the AV-RMU remote monitoring unit
from the packaging and carefully place on a solid
work surface.
Step 3: Complete wiring for applicable
external connection interfaces
Connect cables through the applicable cable glands in
the RMU enclosure.
Note: Ensure that the unused cable glands are sealed
using the provided bungs.
Note: Connection for serial comms monitoring can be
done either via Serial Cable (standard installation) or via
direct wiring (SL-PEL installations only).
Please see installation manual for further details.
For the full manual, visit the link below:
sealite.com/remote-monitoring-unit-sl-rmu
Thank you for purchasing this product. This guide will
provide you with a brief summary of the steps involved in
successfully installing the Remote Monitoring Unit (RMU).
Step 2: Open the RMU enclosure
Loosen and remove the 8 X M3 screws at the back
of the enclosure and remove the top cover.
Advertisement
Table of Contents

Summary of Contents for Sealite SL-RMU
- Page 1 Remote Monitoring Unit (RMU). SL-RMU Your system will consist of: 1 x SL-RMU remote monitoring unit. To successfully set up this product, you require: ® •...
- Page 2 RMU as a satellite enabled asset, create an alarm configuration (if alarming is required) and configure alerting and reporting profiles. Head Office Sealite USA Sealite UK Sealite Asia +61 (0)3 5977 6128 +1 (603) 737 1311...
Need help?
Do you have a question about the SL-RMU and is the answer not in the manual?
Questions and answers