
Related Manuals for BHM Medical JHI-9720010


Summary of Contents for BHM Medical JHI-9720010
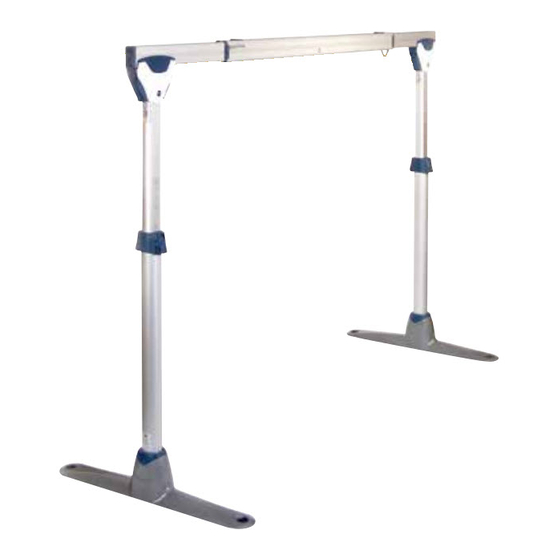
- Page 1 MODEL # 9720010 EASYTRACK FS...
-
Page 2: Table Of Contents
SAFETY INSTRUCTIONS AND WARNINGS....................4 .................................. 4 YMBOLS SPECIFICATIONS ............................6 W HAT S INCLUDED? ............................7 PRIOR TO THE INSTALLATION ........................8 STEP 1. POST TO BASE ASSEMBLY ......................9 STEP 2. INSTALLATION OF THE RAIL ....................10 VIEW OF THE RAIL WHEN PROPERLY INSTALLED AND LOCKED IN PLACE ........11 STEP 3. -
Page 3: Safety Instructions And Warnings
SAFETY INSTRUCTIONS AND WARNINGS Symbols WARNING! Notices apply to hazardous or unsafe practices, which could result in serious bodily harm. CAUTION! Notices apply to hazardous or unsafe practices, which could result in minor personal injury or property damage. Highlights procedures which will assist the operator in understanding the information contained in this manual. - Page 4 ALWAYS KEEP THESE INSTRUCTIONS with the Easytrack FS . FAILURE TO MEET REQUIREMENTS LISTED BELOW COULD RESULT IN SERIOUS BODILY HARM. Maintenance MUST be performed ONLY by qualified personnel. This equipment should never be used by a patient on their own. The Easytrack FS System and its accessories are intended to be used as an assistive device for transferring a person between the posts.
-
Page 5: Specifications
SPECIFICATIONS MAX. CAPACITY: 200 kg (440 lbs) -
Page 6: What S Included
What s included? Parts # Easytrack FS extendable rail with trolley 1 piece 700.17250 Easytrack FS base 2 pieces 700.17100 Easytrack FS post - 2 pieces 700.17000... -
Page 7: Prior To The Installation
PRIOR TO THE INSTALLATION WARNING : Read the section Safety instructions and warnings" before attempting to assemble the Easytrack FS system. Survey the room , where you plan to install the Easytrack FS system. Make sure the room meets the requirements specified below. Use the measurements below to determine the best place to put the Easytrack system : Approx. -
Page 8: Step 1. Post To Base Assembly
Step 1. Post to Base Assembly Note: The assembly can be performed by one person 1. Remove all parts from the boxes. Before assembling make sure that all parts are present and in good condition. 2. Layout the bases on a level and clean floor at the desired distance. 3. -
Page 9: Step 2. Installation Of The Rail
Step 2. Installation of the rail 1. Prior to the installation of the rail, unlock the hook handle by pressing on the safety latch and pulling outward (located on the blue colored component on the side of the post head). 2. -
Page 10: View Of The Rail When Properly Installed And Locked In Place
5. Lock the rail to the post by closing the hook handle while pushing the main hook over the rail pin. The red stripe on the hook handle should no longer be visible. You should feel a slight tension when closing the hook handle. View of the rail when properly installed and locked in place Make sure the main hooks are well engaged. -
Page 11: Step 4. Height Adjustment
Step 4. Height adjustment 1. The height adjustment of the posts is accomplished by starting with the blue locking collar clamp located in the centre of each post. Blue locking collar clamp 2. Pull on the lower portions of both sides of each locking collar to release the collar m echanisms and allow the inside section of the post to extend upwards. - Page 12 4. To ensure the rail is level use the measurement reference marks on the front of each post. Adjustments: To lower the post, consult the section Disassembling the Easytrack FS System (further in this manual). 5. Re-lock the clamping collars on both posts to secure the assembly.
-
Page 13: Step 5. Disassembling The Easytrack Fs
7. Your Easytrack FS is now ready to use with your BHM portable lift (not included with this kit.) Step 5. Disassembling the Easytrack FS ENSURE THERE IS NOBODY IN THE LIFT AND REMOVE LIFT FROM THE TROLLEY BEFORE ADJUSTING OR DISASSEMBLING THE EASYTRACK FS SYSTEM. -
Page 14: Easytrack Fs Visual Inspection
FAILURE TO FOLLOW MAINTENANCE INSTRUCTIONS COULD RESULT IN INJURY OR DAMAGE. PERIODIC INSPECTION SHOULD BE PERFORMED BY A PERSON WHO IS PROPERLY QUALIFIED AND WELL ACQUAINTED WITH THE DESIGN, USE AND CARE OF THE EASYTRACK FS SYSTEM. CONTACT YOUR LOCAL DEALER/DISTRIBUTOR. -
Page 15: Monthly Maintenance
MONTHLY MAINTENANCE Clean inside rail with a damp cloth to ensure there is no dust or grease build-up. Check to ensure all original parts are present. If any parts are m issing they should be replaced BEFORE USING THE EASYTRACK FS SYSTEM. -
Page 16: Troubleshooting
TROUBLESHOOTING PROBLEM CORRECTION Trolley moves substantially on Is the rail levelled? Is the floor levelled? Is the rail secured to the its own when the Easytrack posts? Press up on the rail to make sure that it is latched onto posts. system is fully assembled. -
Page 17: Warranty
Return Merchandise Authorization (RMA) Num ber. C.O.D. shipm ents will be refused; all shipm ents to BHM Medical m ust be prepaid. For this warranty to be valid, the purchaser m ust present its original proof of purchase at the m om ent of the claim . The defective unit, assem bly or part m ust be returned to BHM Medical for inspection.
Need help?
Do you have a question about the JHI-9720010 and is the answer not in the manual?
Questions and answers