Advertisement
Quick Links
Advertisement

Summary of Contents for Zone MJOLNIR
- Page 1 T H O R Z O N E M J O L N I R U SER MA NUA L (E NG)
-
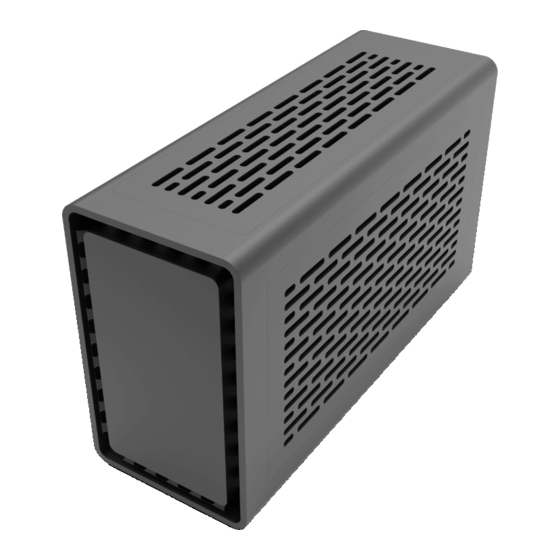
Page 2: What's In The Box
2X TEMPERED GLASS PANELS 2X PANELS SETS SCREWS 8X #6-32x1/4 COUNTERSUNK 8X #6-32x1/4 PAN HEAD 8X M3x4 MJOLNIR R — GODRAYS 2X RGB LED STRIPS 1X LED-TO-LED CABLE 1X LED-TO-MOTHERBOARD CABLE (3-PIN) 1X LED-TO-MOTHERBOARD CABLE (4-PIN) 4X M3x4 THOR ZONE MJOLNIR S:t Persgatan 23, 602 33 Norrköping Sweden... -
Page 3: Open The Case
Place the case on it’s back (hold the back panel so the Core doesn’t slide out) Put a soft cloth underneath to avoid scratches Gently pull the Shell up and off the Core Perform steps 1-3 in reverse when closing the case again THOR ZONE MJOLNIR S:t Persgatan 23, 602 33 Norrköping Sweden contact@thor-zone.com thor-zone.com... - Page 4 FLIP LAYOUT TOOLS SCREWS INSTRUCTIONS • NOTE: The Core can be inserted normally or reversed 180° Reversed orientation benefits thermals when using water coolers NORMAL FLIPPED THOR ZONE MJOLNIR S:t Persgatan 23, 602 33 Norrköping Sweden contact@thor-zone.com thor-zone.com...
- Page 5 TOOLS SCREWS INSTRUCTIONS • TIP: Push on the panel (using one hand) from the inside until it releases Hold the panel with your other hand when it releases THOR ZONE MJOLNIR S:t Persgatan 23, 602 33 Norrköping Sweden contact@thor-zone.com thor-zone.com...
- Page 6 MJOLNIR R — GODRAYS TOOLS SCREWS • Hex key (size: H2.0) M3x4 INSTRUCTIONS Attach the LED strips to the Core with four M3x4 screws NOTE: Connect the LED strips to each other, use the LED-to-LED cable Connect the IN-port on one LED strip to the OUT-port on the other...
- Page 7 Install the I/O shield (usually included with your motherboard) Align the motherboard with the I/O shield and secure it with four #6-32x1/4 Pan Head screws Connect the PCIe riser Connect the power button THOR ZONE MJOLNIR S:t Persgatan 23, 602 33 Norrköping Sweden contact@thor-zone.com thor-zone.com...
- Page 8 Loosen the GPU bracket screw and slide the backet up Insert the GPU into the PCIe riser Slide the GPU bracket back down and tighten the screw again THOR ZONE MJOLNIR S:t Persgatan 23, 602 33 Norrköping Sweden contact@thor-zone.com thor-zone.com...
- Page 9 #6-32x1/4 Pan Head INSTRUCTIONS Attach the PSU to the PSU bracket and secure it with four #6-32x1/4 Pan Head screws Plug in the power cable into the PSU power socket THOR ZONE MJOLNIR S:t Persgatan 23, 602 33 Norrköping Sweden contact@thor-zone.com thor-zone.com...
- Page 10 Remove the PSU frame and reattach in the bottom position Attach the PSU to the PSU bracket and secure it with four #6-32x1/4 Pan Head screws Plug in the power cable into the PSU power socket THOR ZONE MJOLNIR S:t Persgatan 23, 602 33 Norrköping Sweden...
- Page 11 4-8x Phillips screw driver (size: PH1) #6-32x1/4 Countersunk INSTRUCTIONS • Fans, radiators and AIO water coolers can be mounted to the bottom rails using 4-8 #6-32x1/4 Countersunk screws THOR ZONE MJOLNIR S:t Persgatan 23, 602 33 Norrköping Sweden contact@thor-zone.com thor-zone.com...
- Page 12 HARDWARE — SSDs AND STORAGE TOOLS SCREWS • 4-8x Hex key (size: H2.0) M3x4 INSTRUCTIONS • Attach 1-2x 2.5in SSDs to the storage frame and secure them with 4-8 M3x4 screws THOR ZONE MJOLNIR S:t Persgatan 23, 602 33 Norrköping Sweden contact@thor-zone.com thor-zone.com...
Need help?
Do you have a question about the MJOLNIR and is the answer not in the manual?
Questions and answers