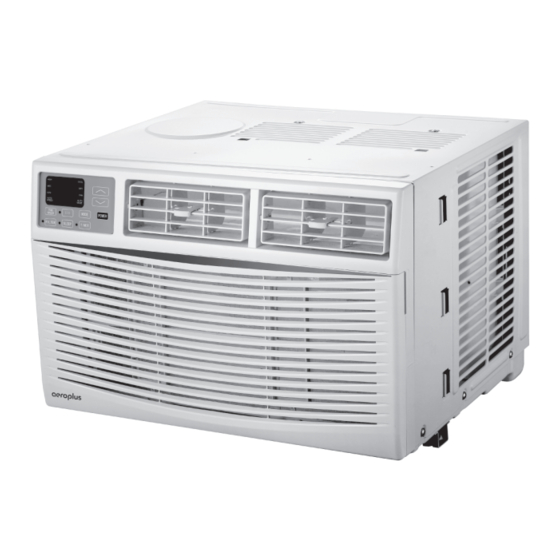
Summary of Contents for AeroPlus AARC8RE1
- Page 1 Electronic Window Air Conditioner Instruction Manual MODEL: AARC8RE1 Toll Free: 1-844-801-8880 IMPORTANT: Read the instructions carefully before operating the appliance and keep them for future reference.
- Page 2 INTRODUCTION IMPORTANT SAFETY INSTRUCTIONS ................. INTRODUCTION TO REFRIGERANTS R32 ..............ELECTRICAL REQUIREMENTS ................... PACKING LIST ......................INSTALLATION & ASSEMBLY INSTRUCTIONS ............. USING YOUR AIR CONDITIONER ................OPERATING YOUR AIR CONDITIONER ................ CARE AND CLEANING ....................TROUBLESHOOTING ....................
- Page 3 below: FCC Caution. This device complies with part 15 of the FCC Rules. Operation is subject to the following two conditions: (1) This device may not cause harmful interference, and (2) this device must accept any interference received, including interference that may cause undesired operation. Any Changes or modifications not expressly approved by the party responsible for compliance could void the user's authority to operate the equipment.
- Page 4 INTRODUCTION TO REFRIGERANTS R32 The refrigerants used for air conditioners are environmentally friendly hydrocarbons R32. This kind of erant is combustible and odorless. Moreover, it can burn and explode under certain condition. However, there will be no risk of burning and explosion if you comply with the following table to install your air conditioner in a room with an appropriate area and use it correctly.
- Page 5 (6K-8K) 0-8 amps (10K-12K) 0-12 amps (6K-8K) 10-amp (10K-12K) 15-amp...
- Page 7 FIG. 1 EXTERIOR STOOL WALL OFFSET SILL INTERIOR WALL FIG. 2 EXTERIOR STOOL WALL OFFSET SILL INTERIOR WALL...
- Page 8 (Only used for 6K/8K) 6K-8K Head 10K-12K...
- Page 9 FIG. 3 Head FIG. 4 FIG. 5...
- Page 10 FIG. 10 (Suggest to keep a downward angle , to let accumulated rain water to drain out, from back side of the unit bottom.) FIG. 6 FIG. 11 FIG. 7 FIG. 12 FIG. 8 FIG. 13 FIG. 9...
- Page 11 FIG. 14...
- Page 12 INSTALLATION & ASSEMBLY INSTRUCTIONS Introduction to Refrigerants R32 Before installing the appliance, you must read the manual carefully to get the safety information and notes. When filling the combustible refrigerant, any of your rude operations may cause serious injury or injuries to human body or bodies and object or objects. A leak test must be done after the installation is completed.
-
Page 13: Operation Safety
INSTALLATION & ASSEMBLY INSTRUCTIONS Introduction to Refrigerants R32 1. Site Safety Open Flames Prohibited Ventilation Necessary 2. Operation Safety Open Flames Prohibited Mind Static Electricity Must Wear Protective Clothing and anti-static gloves Don't use mobile phone 3. Installation Safety Refrigerant Leak Detector Appropriate Installation Location The left picture is the schematic diagram of a refrigerant leak detector. -
Page 14: Digital Display
Cool Mode: The cooling function allows the air conditioner to cool the room and at the same time reduces humidity. Press the MODE button to activate the cooling function. T o optimize this function adjust the temperature by pressing the up and down arrows and the speed by pressing the Fan Speed button. -
Page 15: Directional Louvers
6. Eco Button: When the unit is in ECO mode, the Directional Louvers: Use the horizontal wheels light will turn on. In ECO mode, the unit will to control horizontal airflow and the air deflectors turn-off once the room is cooled to the user set to control vertical airflow. -
Page 16: Auto Mode
5. Timer: Use these buttons on the control panel and remote to set the Timer. Timer Off: The timed stop is programmed by pressing TIMER button. Set the rest time by pressing the button until the rest time displayed is to your demand then press TIMER button again. - Page 17 Check Filter light will automatically turn on after the fan motor has been in operation for a total of 500 hours. FIG. 15...
- Page 19 For any questions or Technical Support, Please Call Customer Service: 1-844-801-8880...
