Advertisement
Advertisement
Table of Contents

Summary of Contents for Linsar LSSTB
- Page 1 SET TOP BOX MODEL: LSSTB User Manual...
-
Page 2: Welcome
By doing so you now have the assurance and peace of mind that comes with purchasing a product made by one of the leading manufacturers. All products brought to you by Linsar are manufactured to the highest standards of performance and safety and, as part of our philosophy of customer service and satisfaction, are backed by a comprehensive 1 Year Warranty. -
Page 3: Table Of Contents
Contents Welcome General Safety Instructions Product Overview Controls and Connections Remote Control Setup Operation Specifications Compliance and Responsible Disposal... -
Page 4: General Safety Instructions
General Safety Instructions Read this manual thoroughly before first use and WARNING: To reduce the risk of fire or electric shock, do not expose this equipment keep it for future reference. The safety precautions to rain or moisture. enclosed herein reduce the risk of fire, electric shock and injury when correctly adhered to. - Page 5 Location Maintenance • Place the unit away from any heat sources, • Unplug the unit from power before cleaning. radiators or other products (including Do not use liquid or aerosol cleaners. amplifiers) that produce heat. • This unit is transistorised and does not •...
-
Page 6: Product Overview
Product Overview What’s in the box: A. Set Top Box B. Remote Control C. AAA Batteries D. AC Adaptor E. AV Cable F . User Manual G. Warranty Certificate 6 | PRODUCT OVERVIEW... -
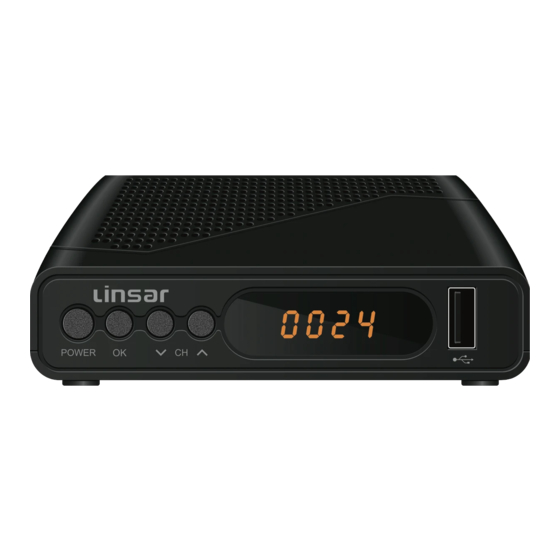
Page 7: Controls And Connections
Controls and Connections Front view POWER: Turn on or set to standby. OK: Enter the channel list menu. / CH : Go to the next or previous channel. LED Display USB Port: Plug in your USB drive for PVR recording, Rear view Timeshift, playing multimedia, and for... - Page 8 Plug in your USB for PVR recording, Timeshift, playing multimedia and for software updates. Connect your antenna for live TV. (Antenna ANT IN cable not included). HDMI Connect to a TV. This requires a HDMI cable Use a HDMI cable for best (not included).
-
Page 9: Remote Control
Remote Control Setup Insert two AAA size batteries according to the polarity markings (+ / -) inside the AAA size batteries compartment. Make sure the batteries included are correctly aligned and properly pushed into place. Precautions When Using Batteries • Do not use old and new batteries together. - Page 10 Remote Control (POWER): Turn the unit on or to standby. (MUTE): Mute the REC: Record programs sound; press again to (requires a USB drive). restore the sound. VOL + / VOL -: Increase/ LIST: Show the list of decrease the volume level. recorded programs on MEDIA: View media files the current disk.
- Page 11 FAV: Go to the favourites NUMBER BUTTONS: Enter a channel directly. menu. : Go to the last viewed : Fast rewind during media playback. channel. : Skip to the next media : Fast forward during media playback. track. : Skip to previous media : Play or pause during playback.
-
Page 12: Setup
Setup Get Started Connect the set top box to your TV using a HDMI cable or AV cable. Connect the TV antenna cable to the ANT IN port on the set top box. Connect the adaptor to the DC IN port of the set top box, then plug the adaptor into the wall socket. -
Page 13: Operation
Operation Basic operation • Use the VOL + / VOL - buttons to adjust the volume level, and use MUTE button to mute the sound. • Use the CH / CH buttons or the number buttons to switch between channels. •... - Page 14 • General: includes Schedule List, Child Lock, Date, Time, and Factory Reset (reset password:0000 or 4711). • A/V: includes Aspect Ratio, Video Resolution, and HDMI Audio. • Media Centre: includes Multimedia and PVR settings. When you press the MENU button, the first sub menu title is selected. Use the buttons to switch between different sub menus.
-
Page 15: Specifications
Specifications Input: AC 100-240V Power Adaptor Output: DC 12V, 1A NTFS or FAT32 format, 1TB max. supported Media Formats MP3, JPEG, BMP Weight Dimensions 125 x 75 x 29 mm For Technical and Warranty Support 1300 886 649 www.tempo.org info@tempo.org Distributed by Tempo (Aust) Pty Ltd, PO Box 6056, Frenchs Forest DC 2086 SPECIFICATIONS | 15... -
Page 16: Compliance And Responsible Disposal
Compliance and Responsible Disposal Packaging Product The packaging of your product has At the end of its working life, do not throw been selected from environmentally this product out with your household friendly materials and can usually be rubbish. An environmentally friendly method recycled. - Page 17 Notes...
- Page 18 Notes...
- Page 19 Notes...
Need help?
Do you have a question about the LSSTB and is the answer not in the manual?
Questions and answers