Table of Contents
Advertisement
Quick Links
Advertisement
Table of Contents

Summary of Contents for Hawke NITE-EYE 2000
- Page 1 NITE-EYE 2000...
-
Page 2: Battery Installation
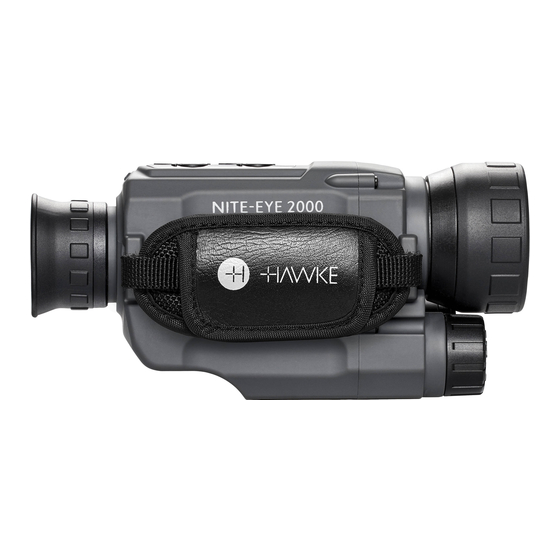
OVERVIEW • The Hawke Nite-Eye 2000 digital camera can be used for observation and photo/video capture in complete darkness or low light conditions. • View up to 200 meters in complete darkness using digital night vision technology. • A built-in infrared illuminator provides additional light when in darker conditions. The infrared strength can be adjusted to suit your situation. -
Page 3: Memory Card Installation
“ON/OK” button for 3 seconds. • The Nite-Eye 2000 can also be charged by connecting directly to a computer via USB. In this mode data transfer will also be available. -
Page 4: Power Off
In Photo/Video mode, press and hold the “ON/OK” power button for 3 seconds to power off. SCREEN FOCUS The Nite-Eye 2000 has an ocular lens adjustment that controls the focus of the screen and icons. • To correct the focus of the screen for your eyesight, simply grip and rotate the eyepiece to adjust. -
Page 5: Display Icons
• The image focus will need to be adjusted when viewing different distances. MAGNIFICATION The Nite-Eye 2000 has a built in 5× magnification into its optical lenses. A further 5× magnification can be achieved using the digital zoom. The digital zoom is operated by pressing the left and right... -
Page 6: Photo Mode
PHOTO MODE • When the camera is powered on it will enter photo mode. In this mode you can take still images of your environment. • If the monocular is not in photo mode, press the “M” button to cycle through the available modes until you see the photo mode symbol (camera icon) in the top left corner. -
Page 7: Playback Mode
• Press the “ON/OK” button to confirm your selection. • It is also possible to delete photos and videos by connecting the Nite-Eye 2000 to a computer via USB, or by removing the memory card and inserting it into a computer via card reader. - Page 8 SCREEN BRIGHTNESS AND INFRARED • The adjustment menu allows you to alter the brightness of the digital display and IR lamp. • While in photo or video mode, press and hold the “M” button for 3 seconds to enter the adjustment menu.
-
Page 9: Time And Date Setting
TIME AND DATE SETTING • The adjustment menu allows you to alter the time and date setting stored on photos and videos. • While in photo or video mode, press and hold the “M” button for 3 seconds to enter the adjustment menu. -
Page 10: Monitor Connection
• Always make sure to power off the Nite-Eye 2000 before disconnecting the USB lead. Failure to do so could result in memory card corruption and lost data. This is done by holding the “ON/ OK”... -
Page 11: Additional Information
TV. • While the Nite-Eye 2000 is powered on, all displays are mirrored through the video lead to your connected monitor or TV. All functions are still possible and the Nite-Eye 2000 can be operated as normal using the buttons on the camera. - Page 12 For full warranty details or to make a claim please see www.hawkeoptics.com/warranty Hawke products are covered and/or licensed by one or more of the following registered designs, patents or are patent pending – visit www.hawkeoptics.com/ip...
Need help?
Do you have a question about the NITE-EYE 2000 and is the answer not in the manual?
Questions and answers