
Subscribe to Our Youtube Channel
Related Manuals for Clou first toilet CL/04.50010


Summary of Contents for Clou first toilet CL/04.50010
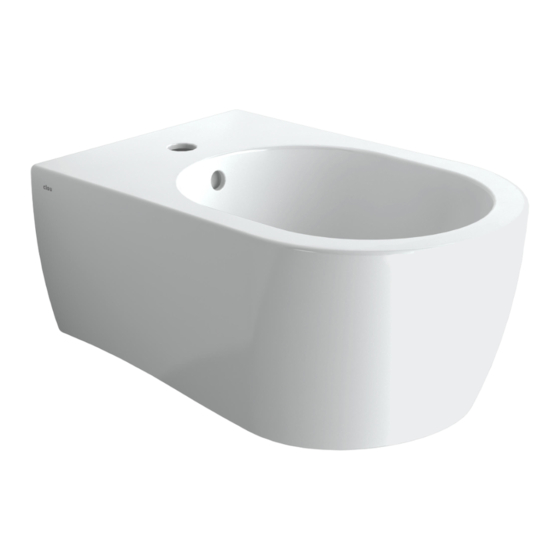
- Page 1 CL/04.50010 Montage instructies Installation Instructions Notice de montage Montageanweisungen Dimensions in mm, for reference only / 22.01.2016 / rev_01 www.clou.nl...
- Page 2 All mentioned dimensions in this manual should be verified before executing the action. - Clou b.v. can not be held responsible for the results of improper use, improper trans- portation or any damage caused during interim storage. - The current terms of guarantee are always valid.
- Page 3 Pour d’autres finitions ou murs plus faibles, prévoir d’autres fixations et éventuellement consolider le mur si nécessaire. - Clou se réserve le droit pour tout changement technique ou optique par rapport à la photo représentant le produit. - Des changements de production peuvent faire en sorte que les dimensions affi- chées ne correspondent plus, nous vous prions de vérifier avant de procéder à...
- Page 4 Gegenstände die Oberfläche der Produkten beschädigen. Gebruiksvoorschriften: zie ook de onderhoudsvoorschriften op www.clou.nl User’s instructions: See also the maintenance guides at www.clou.nl Instructions d’utilisation: Voyer aussi les instructions de maintenance sur www.clou.nl Gebrauchsanweisungen: Wartungsanweisungen finden Sie auf unsere Homepage www.clou.nl...
- Page 6 Duidt met potlood en waterpas de middellijn van de bidet aan. Mark with pencil and level the centreline of the bidet. Marquez avec un crayon et avec un niveau la ligne de centre du bidet. 180 mm Markieren Sie mit einem Blei- stift und mithilfe der Wasser- waage die Mittellinie des Bidet.
- Page 7 Y-line Duidt met potlood de plaatsen aan waar u gaten moet boren. Het is aangeraden de gegeven afmetingen na te meten. 90 mm 90 mm Mark with pencil the spots to drill holes. It is recommended to verify the given dimensions. Marquez avec un crayon les endroits de perçage des trous.
- Page 8 Steek de pluggen in de gaten en schroef de stokschroeven in de pluggen. Insert the dowels in the holes and turn the hanger bolts in the plugs. Enfoncez les chevilles dans les trous et visez les boulons de suspension dans les chivelles. Bringen Sie die Dübel in den Löchern an und schrauben Sie die Stockschrauben in die...
- Page 9 Monteer handmatig de zelf gekozen montage onderdelen op de draadstangen via de onderzijde van het bidet. Install manually the self chosen mounting components on the threaded rods through the bot- tom of the bidet. Installez les éléments de fixa- tion choisis manuellement sur les tiges filetées par le fond du bidet.
- Page 10 Bevestig de afvoer (niet inbe- grepen) in de bidet. Mount the drain (not in- cluded) in the bidet. Fixez la bonde (non inclus) dans le bidet. Befestigen Sie den Ablauf (nicht im Lieferumfang ent- halten) am Bidet. Bevestig de sifon (niet inbe- grepen) aan de afvoer en aan de afvoerleiding.
- Page 11 Bevestig de kraan (niet inbe- grepen) op de bidet en sluit deze aan op de waterleiding. Mount the tap (not included) on the bidet and connect it to the water supply. Fixez le robinet (non inclus) sur le bidet et raccordez le à la conduite d’eau.
- Page 12 Clou bv Thermiekstraat 1 NL-6361 HB Nuth T +31 (0)45 524 56 56 F +31 (0)45 524 60 00 info@clou.nl www.clou.nl...
Need help?
Do you have a question about the first toilet CL/04.50010 and is the answer not in the manual?
Questions and answers