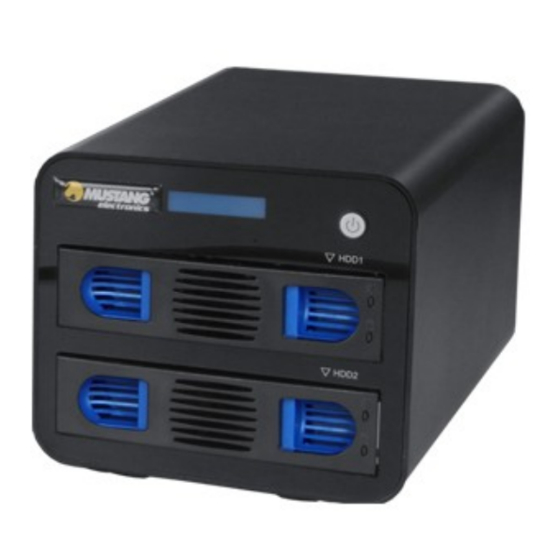
Summary of Contents for Mustang NASM12B-R
- Page 2 NAS. Due to new firmware releases for your NAS there may be slight changes to feature names or their descriptions. If you have any questions regarding the configuration of your NAS, please contact us at support@mustang-electronics.de NOTE: Deactivate all popup blockers when configuring your NAS. Only the “admin” account has access to the configuration web interface.
- Page 3 Main menu After successfully logging in, you will be redirected to the main menu of your NAS. The main menu gives you access to all functions and features. 1. Quick start Das Quick start menu combines the two most important categories: 1.1 Disks &...
- Page 4 This menu allows you to install a new firmware version on your NAS. Only use firmware upgrades directly from Mustang. Other software, that is not certified by Mustang may lead to loss of data, damage your NAS and may void your warranty. Firmware updates are available at www.mustang-electronics.de or may be downloaded automatically.
- Page 5 3. Disk and RAID management 3.1 Disks and volumes see 1.1 Shows information about your installed hard disk drives. 3.3 S.M.A.R.T. S.M.A.R.T. is short for Self-Monitoring, Analysis and Reporting Technology helps you monitor the health and status of your drives. The S.M.A.R.T. values are read from the drives directly and are not linked to your NAS.
- Page 6 SSH (Port 22): The Secure Shell service accepts incoming SSH and SFTP (Secure FTP) connections. Only the admin account can connect to the secure shell server. NFS: NFS is for Network File System, which is primarily used for Linux connections. If you use this NAS in a Windows environment, you may want to disable the NFS service.
- Page 7 The name of the DNLA server consists of the network name of your NAS and the appendix “DLNA sever”. You can change the name of your DNLA server, but changing the network name of your NAS will reset the DLNA server name. You can change the multimedia folder to any folder on your NAS.
- Page 8 11.2.2 Client configuration for network printer These instructions for network printer setup are based on a client PC with Microsoft Windows 7. However the settings are identical on all platforms. Open the Control Panel -> Devices and Printers and click the Add a printer button. Select add a local printer, create a new Port and select Standard TCP/IP Port from the list.

Need help?
Do you have a question about the NASM12B-R and is the answer not in the manual?
Questions and answers