Advertisement
Quick Links
Advertisement

Related Manuals for Jysk RAUMA 701-17-1004


Summary of Contents for Jysk RAUMA 701-17-1004
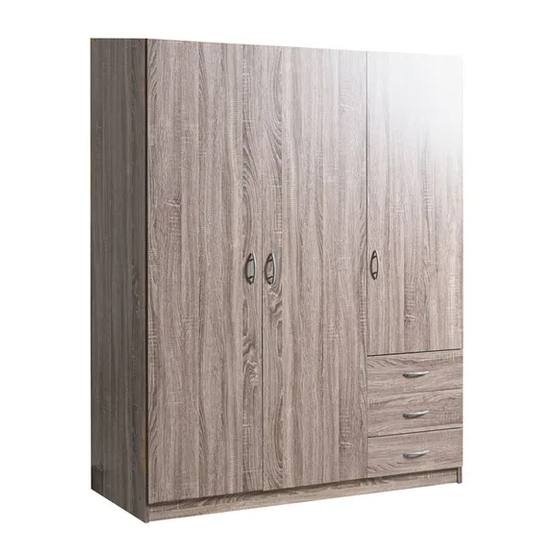
- Page 1 701-17-1004 RAUMA 701-17-1008 JYSK .com 06.01.2020-REV 0 Page 1/24...
-
Page 2: Svarbi Informacija
IMPORTANT INFORMATION! Please read the entire manual carefully before starting to assemble and/or using this product. Follow the manual thoroughly and keep it for further reference. INFORMATIONS IMPORTANTES SVARBI INFORMACIJA! OLULINE TEAVE! Page 2/24... - Page 3 WARING TO AVOID SCRATCHES ! In order to avoid scratching this furniture should be assembled on a soft layer - could be a rug. TE BR blile tuleb see kokku panna pehmel pinnal, nt kaltsuvaibal. Page 3/24...
- Page 4 IMPORTANT! It is important that any product which is assembled using any kind of screw is re-tightened 2 weeks after assembly, and once every 3 months - in order to assure stability through-out the lifespan of the product. IMPORTANT SVARBU! tagada stabiilsus kogu toote eluea jooksul.
- Page 5 GENERAL INSTRUCTION FOR FURNITURE MADE OF WOOD OR WOOD COMPOSITES SUCH AS MELAMINE, LAMINATE OR VENEER SURFACES! Wipe clean with a damp cloth. Use only water or a gentle detergent. Wipe dry with a clean cloth. BALD FANEROS SLUOKSNIU, BENDRIEJI VALYMO NURODYMAI! VINEERIST LDJUHISED! O ME E...
- Page 6 ANTI-TOPPLE WARNING! This product has to be permanently fixed to the wall with the bracket(s) included, to avoid fatal injury in case it topples over. The pack only contains screws for fastening the anti-topple bracket(s) itself to the product. Please contact your DIY or hardware store for advice on the correct type of screws/raw plugs for your type of wall.
- Page 7 A x26 B x16 C x16 D x32 E x16 M8x25mm M6x11mm M8x12mm M3.5x16mm F x12 G x12 H x50 I x12 J x6 M4x25mm M4x38mm K x1 L x6 M x2 N x12 O x6 Bracket M4x64mm Handle Shelf Support Stopper P x8 P x8...
- Page 8 Page 8/24...
- Page 9 7 X2 Page 9/24...
- Page 10 9 X3 14 X3 10 X3 15 X3 16 X3 17 X3 18 X3 Page 10/24...
- Page 11 A x26 C x16 Page 11/24...
- Page 12 E x4 M x2 R x6 Page 12/24...
- Page 13 E x12 N x12 D x16 P x8 Page 13/24...
- Page 14 D x16 P x8 J x6 Page 14/24...
- Page 15 F x6 L x3 B x12 K x1 Page 15/24...
- Page 16 G x12 F x6 L x3 Page 16/24...
- Page 17 B x2 K x1 K x1 S x6 Page 17/24...
- Page 18 B x2 K x1 K x1 S x10 Page 18/24...
- Page 19 H x50 I x12 Page 19/24...
- Page 20 Q x1 P x8 Page 20/24...
- Page 21 O x1 Page 21/24...
- Page 22 FURNITURE TIPPING RESTRAINT Dispossitif de Retenue pour Meuble RAUMA 1.First mark the wall with pencil as in diagram -Marquer le mur avec un crayon comme sur le diagramme. .Drill small hole at the pencil mark. Page 22/24...
- Page 23 FURNITURE TIPPING RESTRAINT Dispossitif de Retenue pour Meuble RAUMA .Insert plastic wall anchor (B) 4.Finally attach 4 hole L bracket (A) using 3.5x16mm screw (C) to the top panel and 4x38mm screw (D) to the wall. -Enfin, fixer les 4 trous du support en L (A) en utilisant les vis de 3.5x Page 23/24...
- Page 24 WARNING AVERTISSEMENT Serious of fatal crushing injuries can occur from peuvent se produire suite au renversement d'un furniture tipover. To help prevent tip-over: - Installezle dispositif de retenue inclus. Install tip over restraint provided. - Placez les articles les plus lourds dans les tiroirs du bas. Place heaviest items in the lower drawers.
Need help?
Do you have a question about the RAUMA 701-17-1004 and is the answer not in the manual?
Questions and answers
What about the 701-16-1118 maual