Table of Contents
Advertisement
Quick Links
Advertisement
Table of Contents

Related Manuals for Artist Guitars LP DIY KIT

Summary of Contents for Artist Guitars LP DIY KIT
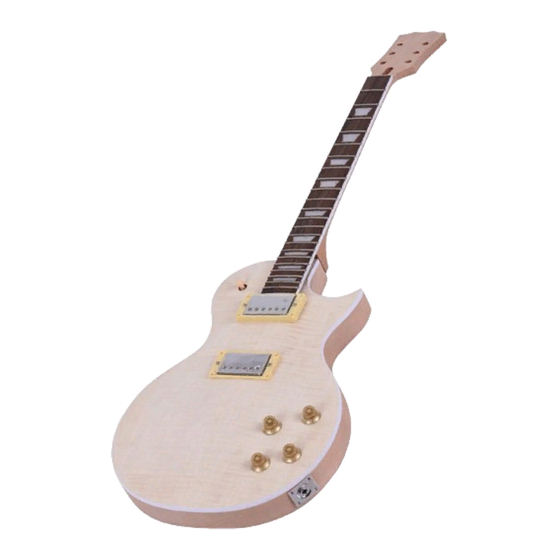
- Page 1 LP DIY KIT MANUAL...
-
Page 2: Table Of Contents
LP DIY KIT MANUAL CONTENTS Introduction ................... 3 Body finish .................... 4 Neck finish .................... 5 Assembling of tuners ................6 Neck ...................... 7 Wiring ....................8 Bridge Assembly ...................13 Strap buttons ..................14 Setting up ....................14 Notes .....................16... -
Page 3: Introduction
LP DIY KIT MANUAL INTRODUCTION Thank you for buying the guitar kit. All the wood, hardware and electrical components of the guitar are contained in this package. Please read the following instructions for assembly and finishing. -
Page 4: Body Finish
LP DIY KIT MANUAL BODY The first consideration to be made before assembling is to choose the preferred finish of the guitar body. The roasted poplar body of this kit is unfinished and unsealed, allowing you to apply any finish you like. A wide variety of finishes can be procured from DIY, timber and automotive outlets in aerosol cans making finishing straight... -
Page 5: Neck Finish
LP DIY KIT MANUAL NECK FINISH The neck of the guitar is supplied sealed with a light coat of matte lacquer and is ready to use. If preferred, the neck can be finished with a colour or gloss lacquer. If so, do the following. -
Page 6: Assembling Of Tuners
LP DIY KIT MANUAL ASSEMBLING OF TUNERS Before attaching the neck to the body, fit the tuning machine-heads to the headstock by inserting the thread through the pre-drilled holes and setting a washer and bush over it. Screw down the bush onto the thread until it fits tightly to the touch and then adjust the rear of the machine-head so that the tuning button sits vertically above the top edge of the headstock. -
Page 7: Neck
LP DIY KIT MANUAL NECK With the body placed face up on a protective surface, position the neck into the neck cutout until it is fully inserted. Turn the assembly over and position the neck plate (with its black protective... -
Page 8: Wiring
LP DIY KIT MANUAL WIRING Wiring is implemented as plug-in modules, soldering is not required. First take out the cables that are to be connected connected to the potentiometers. Put the end with the three connectors into the channel from the control cavity side until they reach the switch cavity. - Page 9 LP DIY KIT MANUAL Take out the cable without connector (string grounding cable) and insert it into the pre-drilled bridge hole through the channel. Just leave it in the bridge hole. It will connect to earth when the boots of the bridge are pressed on it.
- Page 10 LP DIY KIT MANUAL Secure the frames with dome-head screws into the pre-drilled holes. Take out the cable that does not connect to the potentiometers and connect it on the jack plate through the jack hole. Screw the jack plate on the...
- Page 11 LP DIY KIT MANUAL Connect the switch with the three cables coming from the control cavity according to the marking numbers located on the connectors. Put the switch on the right position and fix it from the front side. The rear body plastic plates now can be fitted to cover the control and switch cavity.
- Page 12 LP DIY KIT MANUAL Now you can fix the pickguard. This is very simple, just do it according to the following pictures.
-
Page 13: Bridge Assembly
LP DIY KIT MANUAL BRIDGE ASSEMBLY Use a hammer to knock the threads of the bridge and tailpiece into the pre-drilled holes accordingly,and fix the bridge and tailpiece on the screws. Put the knob on the shaft of each potentiometer. -
Page 14: Strap Buttons
LP DIY KIT MANUAL STRAP BUTTONS Screw the strap buttons into the pre-drilled holes at the bottom edge of the body and at the top next to the switch. -
Page 15: Setting Up
LP DIY KIT MANUAL SETTING UP Fitting strings to the guitar is achieved by threading from the tailpiece to the bridge, emerging through the relevant saddle on the bridge. Start with the thickest string bottom E in the uppermost position on the bridge. -
Page 16: Notes
LP DIY KIT MANUAL NOTES...
Need help?
Do you have a question about the LP DIY KIT and is the answer not in the manual?
Questions and answers