Advertisement
Caution:
Working with a live electronic circuit involves lethal voltage. We strongly recommend users to consult professional technician for tube
amp services. We are not liable for any body or property damages that may be caused by unauthorized or untrained personnel's own
action. Please proceed at your own risk.
A.Change front meter:
1. Take off the top cover and bottom cover by removing all screws. Make sure not to drop any screws inside the amp. If it happened, put the
amp on its side to take the screws out.
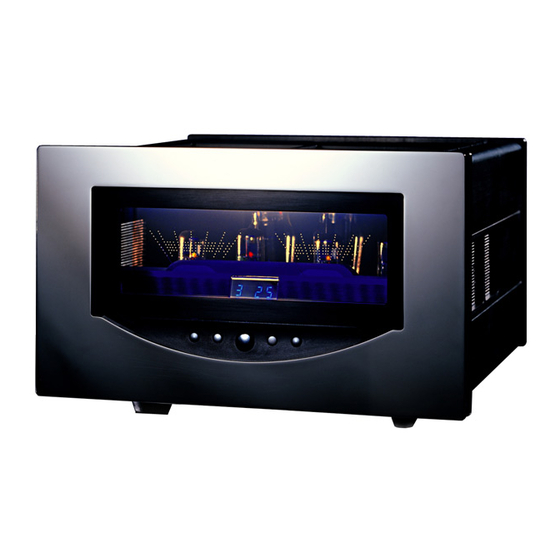
2. Put the amplifier upside down with bottom facing up (as shown in picture), make sure tubes are installed securely in their sockets before
you turn over the amp. Click off the twist-tie at B1 with a pair of small scissors or wire cutters. Make sure not to cut any wires.
3. Unplug all (5) connections as pointed as B2 in the picture. Do not pull the wires – you should only remove the connectors with hand at the
base with gentle force, otherwise the wires could be permanently damaged.
4. Put the amp with top facing up. Remove the (2) screws at both ends of the front meter, then you can lift it out from the top of the amp.
5. To install new meter, reverse all the above steps.
B.Bias the amplifier:
After you receive delivery of your new tubes, there could always be a chance that tubes were damaged in shipping and handling but such
damages are not visible by naked eyes. Ideally you should have a tube tester to tell you if a tube is shorted or not. If you don't have a tube tester,
follow the instruction below carefully and shut down the amp immediately at sign of problems to avoid damages to the amp. Install a bad tube to a
perfectly fine amp could result in damages to the amp.
RITA-880 Tube Amp Instructions
1 |
P a g e
Advertisement
Table of Contents

Related Manuals for Grant Fidelity RITA-880

Summary of Contents for Grant Fidelity RITA-880
- Page 1 RITA-880 Tube Amp Instructions Caution: Working with a live electronic circuit involves lethal voltage. We strongly recommend users to consult professional technician for tube amp services. We are not liable for any body or property damages that may be caused by unauthorized or untrained personnel’s own action.
- Page 2 1. Remove the amp top cover, remove all old tubes then iinstall all new tubes to the right sockets – make sure no tubes were installed in the wrong socket. This amp has all 8 sockets of same size so do not install wrong type of tubes to any socket! Leave the amp top cover off. 2.
- Page 3 Please note that the entire bias circuit for all 4 KT88 tubes is connected so adjusting any of the above will cause other test point value changes slightly. R1 and R2 are for voltage adjustments for all 4 KT88 tubes, R3 and R4 are for balancing between two KT88 tubes on one channel a time.
- Page 4 图 2 P a g e...
Need help?
Do you have a question about the RITA-880 and is the answer not in the manual?
Questions and answers