
Related Manuals for Air Delights OneShot


Summary of Contents for Air Delights OneShot
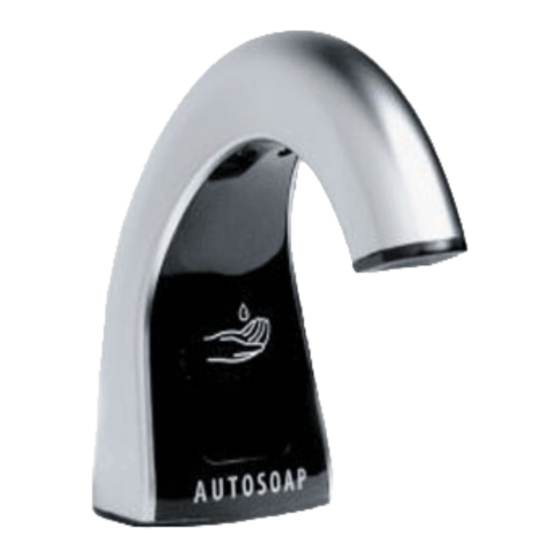
- Page 1 UTOMATIC YSTEM Expendedor Automático de Jabón • Système automatique pour délivrer savon Installation & Maintenance INSTALACION Y MANTENIMIENTO • INSTALLATION ET MAINTENANCE...
- Page 2 Components COMPONENTES - COMPOSANTS Spout Assembly • Montaje del pico vertedor • Montage de la pointe de robinet Mounting Nut Wrench • Llave de tuerca • Clef à vis Low Battery Indicator (yellow) • Indicador de batería baja (luz amarilla) • Indicateur de batterie faible (lampe témoin jaune) Low Refill Indicator (red) •...
-
Page 3: Prior To Installation
Prior to Installation ANTES DE LA INSTALACION - AVANT L'INSTALLATION Left Right Location Template Reemplazo del expendedor existente Remplacement de la charge existante Replacing Existing Soap Dispenser Plantilla de ubicación del Expendedor automático • Modèle de positionnement: Gauche ou Droit Retire los componentes viejos Remuez les vieux composants. -
Page 4: Spout Installation
INSTALACION DEL PICO VERTEDOR ACOPLE DEL ENSAMBLAJE DEL MOTOR Spout Installation Attach Motor Assembly INSTALLATION DE ROBINET ATTACHEMENT DE MOTEUR If using the spacer, line up the guide pins on the Slide C-clip (K) to the open position. spacer with the pin holes on the bottom of the Place the motor assembly (L) at the bottom of the spout. - Page 5 INSTALACION DEL CARTUCHO DE JABON ACOPLE EL COMPARTIMENTO PARA LAS BATERIAS Attach Battery Pack Install Soap Cartridge ATTACHEMENT DE COMPARTIMENT DES BATTERIES INSTALLATION DE LA CHARGE DE SAVON Place battery pack (N) in a convenient location ensuring ATTENTION When handling the soap refill cartridge, do not handle by easy access.
-
Page 6: Cleaning And Maintenance
Cleaning & Maintenance Use warm water and mild soap to clean the exterior surfaces of the dispenser. Do not use abrasive cleaners. Dry and polish with a soft cloth. Deactivate the soap dispenser by placing your fingers or thumb over the sensor area while you clean.
Need help?
Do you have a question about the OneShot and is the answer not in the manual?
Questions and answers