Advertisement
Quick Links
Advertisement

Summary of Contents for Gtech GTSIMF01
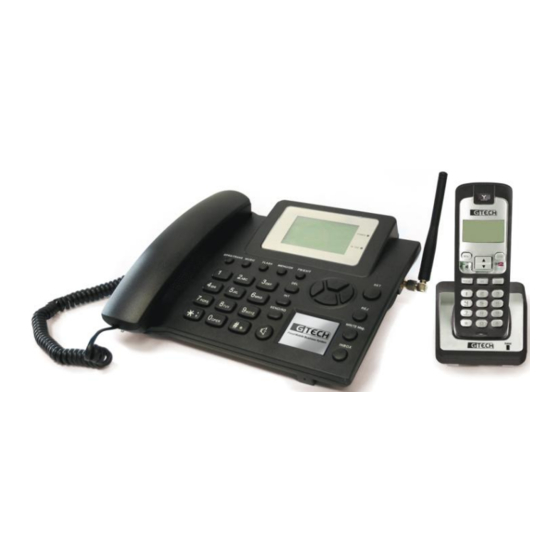
- Page 1 GTECH GTSIMF01 Desktop Wireless Phone USER GUIDE...
- Page 2 Table of Contents IMPORTANT NOTICE The GTECH Fixed/GSM small business system is not a mobile phone. As such please note the following in relation to the operation of the equipment. General Information This product has been designed to receive incoming calls on the fixed line...
- Page 3 Environmental IMPORTANT INFORMATION ON SAFE AND EFFICIENT OPERATION, READ THIS INFORMATION BEFORE USING YOUR PHONE. Only use the power supply suitable for the GTECH range. Using an unauthorized power supply will invalidate your warranty and may damage the Safety telephone.
- Page 4 Welcome WARNING!!!!! IMPORTANT INFORMATION ON SAFE AND EFFICIENT OPERATION Congratulations on your new purchase. Before you start using your GTSIMF01, OF THE GTSIMF01, PLEASE READ AND COMPLY WITH THE FOLLOWING make sure the On/Off switch is in the Off position. Do NOT turn the phone until the INFORMATION BEFORE USING YOUR PHONE.
- Page 5 Replace the battery cover when done Warning: New batteries for the units are shipped partially charged. Before you start using the GTSIMF01, you will need to charge the batteries for up to 14 Hours. External Power Adapter Insert the power adapter into the power port labeled DC 5V, and plug it into a power source..
- Page 6 Getting Started (Base Unit) Getting Started (Base Unit) MENU/OK In Standby Mode, press to access the Menu or move to the next screen. PB/EXIT In Standby Mode, press to access the Phone Book. In Menu Mode press to go to the previous screen. NAVIGATION KEYS Used to navigate through the menus.
- Page 7 Getting Started (Cordless Handset) Getting Started (Cordless Handset) REDIAL In Standby Mode, press to redial the last number. In Standby Mode, press to use the intercom. In Menu Mode press to transfer call to another handset. KEYPAD Used to dial numbers or send text messages. 10.
- Page 8 Replace the battery cover when done. You are now ready to connect the telephone line and start using your new GTSIMF01 phone. External Power Adapter Insert the power adapter into the power port at the back of the cordless handset cradle, labeled DC 9V and plug it into a power source.
- Page 9 Using the Phone Using the Phone Basic Operations for Base Unit Receiving more than one call at a time (Call Waiting) If you are using the PSTN (Landline) and you have an incoming call on the GSM(Mobile) Network, you will hear a beep at intervals to notify you of the Making Calls incoming call, and the display on the Base Unit will show TALK.
- Page 10 Using the Phone Using the Phone Menu Operations (Base Unit) Transferring an external call from one handset to another handset Press the INT key followed by the Cordless Handset Number you wish to transfer to, and wait for the call to be answered. The display shows INTERCOM H<nb>. Once Names the called handset is answered, you press and the call is transferred.
- Page 11 Using the Phone Using the Phone Edit Number Saved Messages are stored in Outbox Select the Edit Number option, and press Menu/OK to proceed. If you Send & Save a message, it will be stored in Outbox. Use DEL to delete any incorrect numbers, and then◄ or to move through the numbers then enter new ones using the keypad and press Menu/OK to Received Messages are stored in the Inbox save and exit.
- Page 12 Using the Phone Using the Phone Use the buttons to select the call from the list, and press Menu/OK. Edit Press Menu/OK to edit an existing message. Details of the call are displayed. Press Menu/OK again, and you will be presented with the following options. 1. Send Only 2.
- Page 13 Using the Phone Using the Phone Save to PhoneBook Language Press MENU/OK to save the selected entry to the Phone Book. The display Use the buttons to select Language and press Menu/OK to proceed. shows Saved To Memory, and the entry is saved to the phone book. Use the ...
- Page 14 Using the Phone Using the Phone Query Status (Shows the status of the current diversion) Press PB/EXIT 3 times to return to standby mode. Use the buttons to select Query Status and press Menu/OK to proceed. The display shows “Connect Net”, followed by the diverted number. Follow the same procedure if you want to set all 3 alarms.
- Page 15 Using the Phone Using the Phone Delete any incorrect characters using the BACK button for both the name and Menu Operations (Cordless Handset) number, and then enter new ones using the keypad and press Menu/OK to save and exit. Press Menu to proceed. Use the ...
- Page 16 Using the Phone Using the Phone SETUP CHANGE PIN CODE Use the buttons to select, CHANGE PIN CODE and press MENU OK to Allows you to Register your Cordless Handsets, and set BACKLIGHT TIME, AUTO proceed. TALK, UNIT NAME, LANGUAGE, CONTRAST, CHANGE PIN CODE, TIME FORMAT, Enter a 4 digit number and press MENU OK.
- Page 17 Using the Phone Using the Phone HS RINGER VOL BABY CALL Use the buttons to select HS RINGER VOL and press Menu/OK to In case of an emergency, you can set the handset to dial a designated number. proceed. Once the handset is activated for BABY CALL, pressing any key on the keypad will You have a choice of 1-6.
- Page 18 Using the Phone CALL LOG The call log holds up to 32 Missed Calls, 32 Dialed Numbers and 32 Received Calls. Calls are all stored in the order they were received or dialed. Press Menu OK to proceed. Use the buttons to select from (MISSED CALL, RECEIVED CALL, or DIALED CALL) and press Menu OK to proceed.
Need help?
Do you have a question about the GTSIMF01 and is the answer not in the manual?
Questions and answers