Advertisement
Quick Links
Rolyan
®
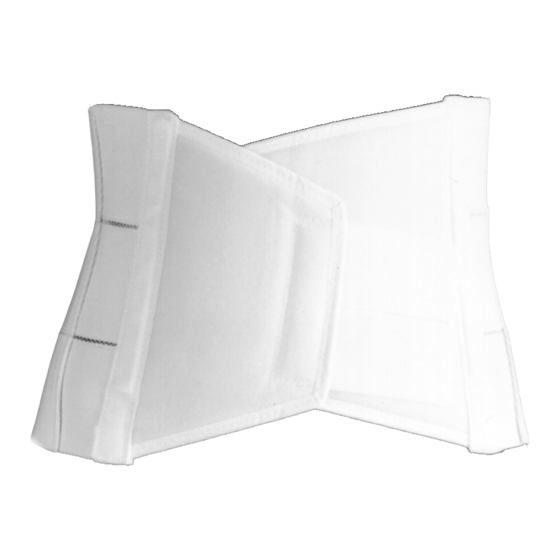
Positive Support Lumbo-Sacral Orthosis:
A325-1 through A325-3 and A153-1 through A153-3
Rolyan
®
Dual Support Lumbo-Sacral Orthosis:
A551-S through A551-XL and A550-S through A550-XL
A
INDICATIONS
Rolyan Positive Support Lumbo-Sacral
Orthosis and Rolyan Dual Support
Lumbo-Sacral Orthosis
• To support lower back following back injury
CONTRAINDICATIONS
• Not for use when complete immobilization of
lumbo-sacral area is required
• Not for use over open wounds and infected
areas
• May not be for people with circulatory
problems
PRECAUTIONS
• The inserts for these binders are to be fitted
initially by a healthcare professional who is
familiar with the purpose for which they are
prescribed. The healthcare professional is
responsible for providing wearing
instructions and precautions to other
healthcare practitioners, care providers
involved in the patient's care, and the
patient.
• If unusual swelling, skin discoloration or
discomfort occurs, use should be
B
discontinued and a healthcare professional
consulted.
• Be careful that the binder is not so tight
that circulation is impaired.
• After heating splinting material, always
check its temperature before applying it to
the patient.
CARE AND CLEANING
• Remove thermoplastic insert.
• Fasten closures and hand wash fabric in
warm water and mild soap. Rinse thoroughly.
Do not wring. Wrap in towel to absorb excess
moisture. Dry at room temperature. Be sure
support is completely dry before reapplying it.
• The insert will lose its shape in temperatures
over 135°F (57°C). It should be kept away
from sources of heat such as ovens, hot
water, open flames, and sunny car windows.
INSTRUCTIONS FOR USE
Molding thermoplastic insert
1. Heat insert with padded side up for one to
two minutes or until pliable as follows:
C
• Heat the Ezeform
®
insert in a heat pan of
water heated to 160° to 170°F (70°–75°C).
• Heat Polyform
®
insert in a heat pan of
water heated to 150° to 160°F (65°–70°C).
2. Remove insert from water, place on flat
surface, and pat dry.
3. With padding toward skin, mold insert to back
(A). Insert can be trimmed and flared as
needed.
4. Place insert in pocket of binder.
Applying binder
5. Center support binder across lower back to
cover lumbar area.
6. Bring sides of binder around body and close
over abdomen (B).
7. Center support binder across lower back to
cover lumbar area.
8. Bring sides of binder around body and close
over abdomen.
9. Thread one elastic strap on back of binder
through the other and wrap straps around
body (C).
10. Fasten front D-ring closure.
1
Advertisement

Related Manuals for Patterson Medical Rolyan A325-1

Summary of Contents for Patterson Medical Rolyan A325-1
- Page 1 Rolyan ® Positive Support Lumbo-Sacral Orthosis: A325-1 through A325-3 and A153-1 through A153-3 Rolyan ® Dual Support Lumbo-Sacral Orthosis: A551-S through A551-XL and A550-S through A550-XL INDICATIONS discontinued and a healthcare professional • Heat the Ezeform ® insert in a heat pan of consulted.
- Page 2 NEDERLANDS ® ® Rolyan positieve steun voor orthostase van het lumbo-sacrale gebied, Rolyan tweevoudige steun voor orthostase van ® het lumbo-sacrale gebied, en Rolyan zwangerschapssteun INDICATIES • Wanneer de spalk wordt opgewarmd, dient u altijd de temperatuur te controleren Rolyan positieve steun voor orthostase Aanbrengen van het verband alvorens de spalk bij de patiënt aan te van het lumbo-sacrale gebied en Rolyan...
- Page 3 DEUTSCH ® ® Rolyan Lumbosakrale Orthese mit positiver Unterstützung, Rolyan Lumbosakrale Orthese mit Doppelunterstützung, und INDIKATIONEN • Darauf achten, daß die Orthesen nicht so 2. Die Einlage aus dem Wasser nehmen, auf fest sitzen, daß sie die Durchblutung eine ebene Fläche legen und trockentupfen. Rolyan Lumbosakrale Orthese mit beeinträchtigen.
- Page 4 Fax: 800-547-4333 Fax: 800-547-4333 Direct Phone: 905-858-6000 International Direct Fax: 630-378-6310 Direct Fax: 630-378-6310 Direct Fax: 905-858-6001 Phone: +44 (0) 1623 448700 Fax: +44 (0) 1623 557769 © August 1994, Revised 2/98, 5/99, 3/05, 4/07, 1/12 Patterson Medical Products, Inc. 9104.541C...