Table of Contents
Advertisement
Quick Links
Advertisement
Table of Contents

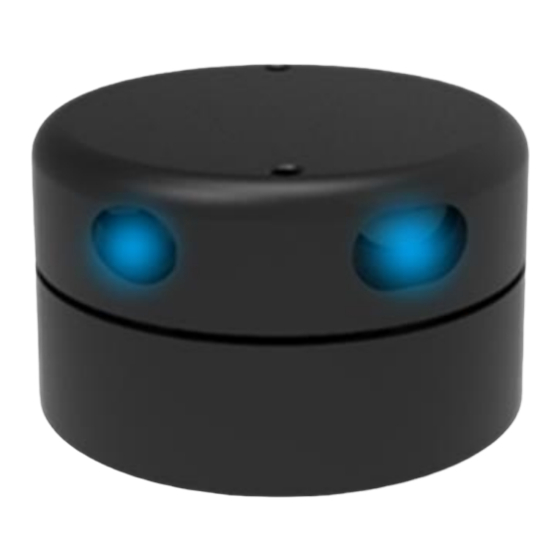
Summary of Contents for YDLIDAR G2
- Page 1 USER MANUAL Shenzhen EAI Technology Co.,Ltd.
-
Page 2: Table Of Contents
CONTENTS YDLIDAR G2 LIDAR DEVELOPMENT KIT ........1 1.1 Development Kit ................. 1 USAGE UNDER WINDOWS ............2 2.1 Device Connection ................2 2.2 Driver Installation ................3 2.3 Evaluation Software Usage ..............5 2.3.1 Start Scanning....................6 2.3.2 Data Storage ...................... 7 2.3.3... -
Page 3: Ydlidar G2 Lidar Development Kit
1 YDLIDAR G2 LIDAR DEVELOPMENT KIT The development kit of YDLIDAR G2 lidar (hereinafter referred to as G2) is an accessory tool provided for performance evaluation and early development of the G2. Through the G2 development kit, and with the evaluation software, users can observe point cloud data scanned by G2 on your environment or development on the SDK. -
Page 4: Usage Under Windows
FIG 3 YDLIDAR G2 DEVICE CONNECTION STEP 2 Connect the adapter board with G2 first, then connect the USB cable to the USB port of the adapter board and the PC. Note that the Type-C interface of the USB cable is connected to the USB_DATA of the USB interface board, and the idle mode is used after G2 is powered on. -
Page 5: Driver Installation
FIG 4 YDLIDAR G2 AUXILIARY POWER SUPPLY 2.2 Driver Installation To evaluate and develop the G2 under Windows, you need to install the serial port driver of the USB adapter board. The USB adapter board of this kit adopts CP2102 chip to realize serial port (UART) to USB signal conversion. - Page 6 Expand [Port] to see the serial port name corresponding to the identified USB adapter, that is, the driver installation is successful. The following figure shows COM3. (Note that the port must be checked in case of G2 and PC interconnection). FIG 7 YDLIDAR G2 DRIVER INSTALLATION CHECK...
-
Page 7: Evaluation Software Usage
LidarViewer. Using this software, users can intuitively observe the scanning effect of G2. YDLIDAR provides G2 real-time point cloud data and real-time scanning frequency. At the same time, G2 version information can be read, and the scanned data can be saved offline to an external file for further analysis. -
Page 8: Start Scanning
If the connection is correct, you will see the following screen: FIG 10 POINTCLOUD VIEWER INTERFACE 2.3.1 Start Scanning Click to start scanning and display the environment point cloud, the upper left corner displays the angle & distance information of the red line position (unit: mm). Click to stop it, as shown below: FIG 11 LIDAR SCANNING POINT CLOUD DISPLAY... -
Page 9: Data Storage
2.3.4 Display Mean and Standard Deviation Click [Tools] in the main menu, then select [Mean And STD] - [View]. FIG 14 YDLIDAR G2 DISPLAY MEAN AND STANDARD DEVIATION Choose one according to your needs, move the mouse to the test position, right-click the pop-up menu, and select [Lock Mouse Tracking]. -
Page 10: Display Intensity Value
FIG 15 LOCK MOUSE TRACKING 2.3.5 Display Intensity Value Click [Data] in the main menu and select [Intensity histogram]. FIG 16 DISPLAY INTENSITY VALUE The main window is displayed as follows, the intensity values of a total of 100 points on the left and right of the mouse lock position. -
Page 11: Play And Record
FIG 17 DISPLAY INTENSITY HISTOGRAM 2.3.6 Play and Record Click [Tools] in the main menu, then select [Record and Play]. FIG 18 RECORD AND PLAY The main window is displayed as follows: To record lidar data, click to start recording, and click to stop recording. -
Page 12: Debug
FIG 19 PLAY PROCESS 2.3.7 Debug Click [Tools] in the main menu, and then select [DebugON] to output the raw lidar data to the "viewer_log.txt" and "viewer_log_err.txt" files. FIG 20 START DEBUGGING 2.3.8 Filter Click [Tools] in the main menu, and then select [Filter] to add lidar data filtering algorithm. -
Page 13: Linux Ros Operation
YDLidar -SDK library. If you have never installed the YDLidar -SDK library, or it has expired, you must first install the YDLidar-SDK library. If you have the latest version of YDLidar -SDK installed, please skip this step, then go to the next step. -
Page 14: Run The Ydlidar_Ros_Driver
Run ydlidar_ros_driver with startup file, as shown below: $ roslaunch ydlidar_ros_driver G2.launch 3.5 RVIZ View Scan Results Run the launch file and open rviz to view the G2 scan results, as shown in the figure below: $ roslaunch ydlidar_ros_driver lidar_view.launch Note: G4 lidar is taken as an example by default. -
Page 15: Modify Scan Angle
FIG 22 YDLIDAR G2 RVIZ 3.6 Modify Scan Angle The scanning data seen by running the launch file is displayed by default with 360- degree data. To modify the display range, you need to modify the configuration parameters in the launch file. The specific operation is as follows:... -
Page 16: Caution
2) The G2 lidar coordinates follow the right-hand rule within ROS, with an angle range of [-180, 180]. "angle_min" is the start angle, and "angle_max" is the endangle. The specific scope needs to be modified according to actual use. -
Page 17: Power Supply
During the development process, since the drive current of the USB interface of each platform or the USB interface of the computer may be too low to drive the G2, the external power supply of the +5V to the G2 needs to be provided through the USB_PWR interface of the USB interface board. -
Page 18: Revise
5 REVISE DATE VERSION CONTENT 2019-05-28 Composing a first draft Add auxiliary power connection method, document description, 2020-01-15 configuration description, and power supply requirements 2020-06-09 Adapt to PointCloudViewer2.0 client 2021-08-02 Adapt LidarViewer client, update SDK and ROS tutorial 16 / 16 Copyright 2015-2021 EAI...

Need help?
Do you have a question about the G2 and is the answer not in the manual?
Questions and answers