Advertisement
Advertisement

Related Manuals for Hikari H93S

Summary of Contents for Hikari H93S
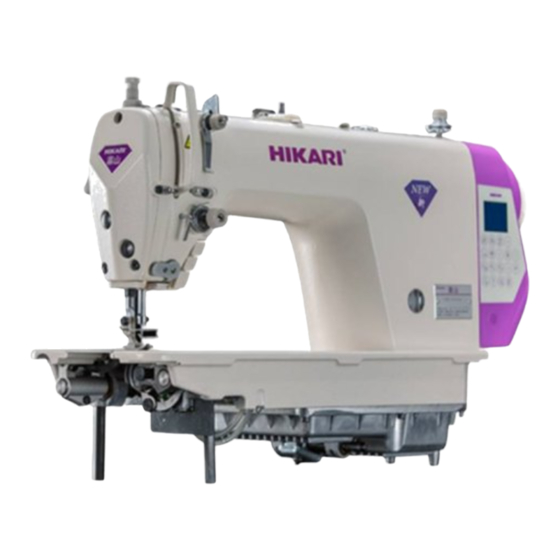
- Page 1 ENGLISH H93S ELECTRICAL CONTROL BOX INSTRUCTION MANUAL Version:V1.00...
- Page 2 前 言 感谢您选用本公司的产品,该手册提供了此系统所需的操作指导说明。 为了您更好地使用该产品,在使用之前请仔细阅读本手册。 一、 由于产品的改进,本手册内容可能随时变更,恕不另行通知。 二、 您在使用中若有任何疑问或对我们的产品和服务有任何意见,请随时与 我们售后服务部联系。 PREFACE Thank you for selecting our product. The introduction provides necessary knowledge and notes for using. Please read safety introduction carefully and understand them before using. The content of the introduction will be amended with the improvement of our product, the notice is not announced.
-
Page 3: Table Of Contents
Content I.Operation panel……………………………………………………………………………………1 II.System function setting manu……………………………………………………………………3 1.Monitoring state : ……………………………………………………………………………… 3 2.Accounting state : Plus/Minus…………………………………………………………………… 3 3.Lower thread detect mode:………………………………………………………………………3 4.Aging mode:…………………………………………………………………………… …………4 5.Setting mode:………………………………………………………………………………………4 6.Ressting mode:……………………………………………………………………………………5 7.Copy original parameter and resetting original parameter:……………………………5 8. Pattern design setting mode:……………………………………………………………………5 III. -
Page 4: I.operation Panel
1.Operation panel Function Button Description 1. Enter the level of different parameters (parameters are divided into 3) sewing set interface under short press P into the parameter interface, the level for the I parameter display parameter list. Long press the "P" button in the sewing setting interface to enter Parameters the "password input interface". - Page 5 Short press:free sewing Long press to switch one-stitch sewing/multi-stitch sewing/Circulation 1. Able to set several sections of several stitches, each section can set a range of 0 ~ Sewing mode 99 stitches. 2. Able to set several sections of several stitches, each section can set a range of 0 ~ 99 stitches.
- Page 6 II. System Function Setting Description 1. System Info: Operation panel default mode, press the button “ ” key, enter the system monitoring key choose parameter at the project 。 state。through the Code No. Description Unit speed of motor control Motor Current 0.01A Motor Voltage Pedal voltage...
-
Page 7: Monitoring State
3.Lower thread detect mode: Under the normal sewing mode,press“ setting”,enter “DX” accounting state。 Press key shows“JJ&DX”and“JP” interface, parameter on the screen shows current data, press exchang interface,press key could change the current quantity,press“ ”key enter sewing mode。 Remark:1、The quantity lower thread back to zero,long press key 3 secong under the system monitoring state。... -
Page 8: Copy Original Parameter And Resetting Original Parameter
will run several times, and then angle data will appear on the screen, it means motor sensor angle data。 Press key could return back to normal mode from current mode。 Remark:The function used for needle stop un-usual or check whether the parameter data of sensor angle is correct or not when high speed stitching。... -
Page 9: Pattern Design Setting Mode
”key enter parameter interface , enter parameter no. “P79”, appear “0” , Long press“ ”key will appear “yes” 【 press“ press“ ”key exchange to “3”, press“ ”key will adjust to “no”】 ,and press“ ” key for resetting original parameter。 8. Pattern design setting mode: Under normal sewing mode ,... - Page 10 number of stitches is the number of stitches × set the value Output duty cycle of output duty cycle of soft down P-16 0~100 soft down Output duty cycle of Output duty cycle of trimmer and thread tension (too small will affect trimmer and tension solenoid P-17 trimmer and thread 0~100...
- Page 11 Setting initial value of P-36 Setting initial value of counting by piece 0~1000 counting by piece P-37 Time of thread wiper Time of thread wiper 0~800(ms) 0:unavailable 1:Auto count when cycle increased to the set Setting function of value P-38 choosing counting by 2:Auto count when cycle decreased to the set 0/1/2/3/4...
- Page 12 Pedal travel upon Pedal position upon start P-62 10~50(0.1°) start Travel relative to medium pedal Pedal travel upon Pedal position upon start acceleration P-63 10~100(0.1°) acceleration Travel relative to medium pedal Pedal travel at Pedal position at highest rotating speed Travel P-64 highest rotation relative to medium pedal...
- Page 13 line and adding force electromagnet; 0: invalid; 1~15: intensity adjustment Cutting line suction P-85 Cutting line suction Angle set 150~200 Angle Cutting line adding P-86 Cutting lineadding force Angle set 200~300 force Angle Cutting line release P-87 Cutting line release Angle set 300~360 Angle Loose line suction...
- Page 14 offset coefficient Needle compensate stitch length mode 0:normal stitch length 1:Needle compensate stitch lengt Needle compensate (press 114 to set) P-113 stitch length mode 2:reverse sewing by normal stitch length 3: reverse sewing by needle compensate stitch lengt Needle compensate Needle compensate stitch length setting 10~50(70)...
- Page 15 Setting the number of 1~10 times P-137 Mid-back latch 1~10 stitching Lock screen function 0:invaild 1:vaild P-138 setting Lock screen time 30~240 (s) P-139 setting Anti-bird's nest delay The delay time between the end of trimming and P-140 0~500ms before hooking the hook Anti-bird's nest Wire hooking solenoid time...
- Page 16 Speed backstitch Speed backstitch adjust P-172 50~150 adjust Front fixed sewing Front fixed sewing speed, forward sewing adjust P-173 speed, forward 50~150 sewing adjust Front fixed sewing Front fixed sewing speed, back latch sewing adjust P-174 speed, back latch 50~150 sewing adjust Rear fixed sewing Rear fixed sewing speed, forward sewing adjust...
- Page 17 sewing adjustment 4. Error code Error Contents Possible reasons Checking and treatment Code If electric engine plug is well contacted; E011 Motor position sensor signal if electric engine signal detecting device has been Motor signal error E012 failure broken; if sewing machine handwheel correctly installed. If electric engine plug is well contacted;...
- Page 18 Feed motor STEP2 software Current detection loop system working E602 Hardware drivers fault overcurrent properly;Whether the damage to the device driver Feed motor STEP2 Current Current detection loop system working E603 Hardware drivers fault detection circuit properly;Whether the damage to the device driver. Feed motor STEP2 The initial E604 Motor signal error...
- Page 19 6.Definition of Socket 1.Servo motor power socket (number of board position:CN1) Definition Definition 1PIN Phase C 3PIN Phase A 2PIN Phase B 4PIN EARTH 2. Servo motor encoder interface (number of board position:CN7) Definition Definition 3. Interface of Feeding stepper motor encoder (CN9) 1PIN 4PIN 5V-2...
- Page 20 7. Interface of operation box interface (CN11) Definition Definition 1PIN RX(Single) 4PIN GND(Earth) 2PIN TX(Single) 5PIN RX_1 Flash Loader 3PIN 5V-1(Power supply) 6PIN TX_1 Flash Loader 8. Interface of solenoid and needle bar light (number of board position: CN8) Definition Definition 1PIN VDD_DCT(Voltage solenoid)
Need help?
Do you have a question about the H93S and is the answer not in the manual?
Questions and answers