
Related Manuals for Infratech SL Series

Summary of Contents for Infratech SL Series
-
Page 1: Table Of Contents
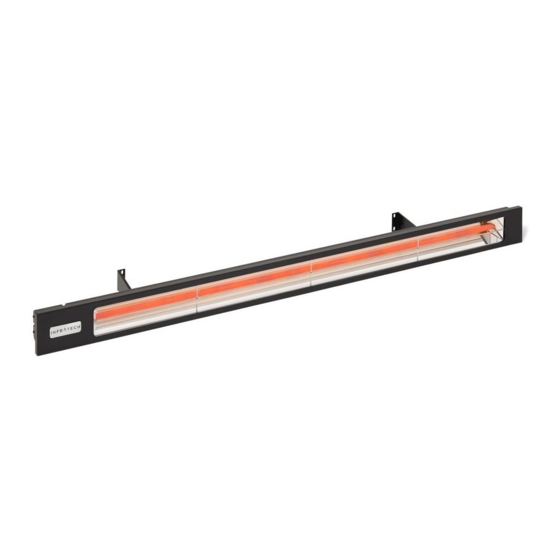
INSTALLATION USE & CARE MANUAL ALL WEATHER SL-SERIES QUARTZ TUBE ELECTRIC INFRARED RADIANT HEATER TABLE OF CONTENTS Warnings Installation Instructions Wiring Instructions Bracket Spacing Mounting Instructions Replacement Element Installation Replacement Parts Heater Coverage Areas General Notes Maintenance Instructions Trouble Shooting Location Suggestions Warranty SAVE THIS MANUAL FOR FUTURE REFERENCE... - Page 2 WARNINGS READ ALL INSTRUCTIONS BEFORE USING HEATER. Unit may be a source of possible shock. NEVER attempt to service heater without disconnecting its power source. Source of possible ignition. WARNING: If not installed, operated and maintained in accordance with the manufacturer’s instructions, this product can expose you to chemicals including nickel, which are known to the State of California to cause cancer.
-
Page 3: Installation Instructions
INSTALLATION INSTRUCTIONS This heater must be permanently installed and hard wired by a licensed electrician in accordance with local electrical codes. Assembly procedure must be performed with no electrical power to unit. Step 1: Check UL/CUL/CE label on heater for proper voltage. Step 2: Follow supplied wiring instructions (see wiring instructions below). -
Page 4: Bracket Spacing
BRACKET SPACING Adjustable wall/ceiling brackets are furnished with all SL-Series Heaters. Brackets have positive stops at 30°and 45°. Brackets are positioned along the “T” slot on back of unit. You must maintain a minimum distance between the mounting brackets to ensure a stable installation. MODEL MINIMUM SPACING BETWEEN BRACKETS SL-Series Brackets are designed for two positive stop positions. -
Page 5: Replacement Element Installation
HEIGHT FROM FLOOR REPLACEMENT ELEMENT INSTALLATION (VISIT INFRATECH-USA.COM FOR VIDEO INSTRUCTIONS) Disconnect power at the breaker. Remove two screws from one end of trim and slide trim off opposite end. Remove grill by grasping it in the middle, flex grill up and lift it off. Unscrew and remove both end reflectors. Unhook element clips at each end of the heater and remove nuts from end of element to remove the existing quartz tube. -
Page 6: Replacement Parts
GENERAL NOTES • INFRATECH QUARTZ TUBE ELECTRIC HEATERS are furnished with wall/ceiling mount swivel brackets. These brackets may be discarded when the heater is hung with chains, or other special bracketing. -
Page 7: Troubleshooting
TROUBLESHOOTING PROBLEM WHAT TO DO Heater does not glow • Check supply voltage to confirm it matches voltage of heating element. Low heat output • A 240V element connected to 110V or 208V will warm, but not glow orange, or generate sufficient heat for typical applications (matching your Voltage is extremely important). - Page 8 (i.e. cleaning products improperly applied). Warrantor is not responsible for consequential or incidental damages. Under no circumstances shall INFRATECH or any of its representatives be held liable for injury to any person or damage to any property, however arising.