
Related Manuals for TentBox Cargo


Summary of Contents for TentBox Cargo
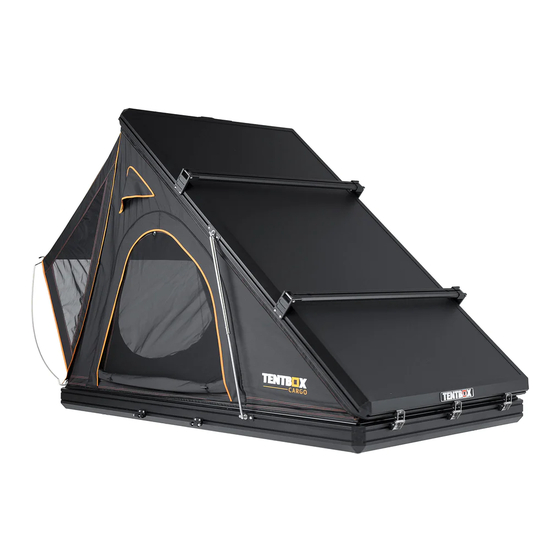
- Page 1 W E L C O M E T O T H E A D V E N T U R E C A R G O USER GUIDE It is essential that you read and understand this guide before attemting to mount or use your TentBox...
- Page 2 Available at: www.tent-box.com/learn/installation Questions If you have any questions regarding the installation or use of your TentBox, please get in touch with our support team. Do not install your TentBox if you do not understand these instructions. Email: support@tent-box.com TentBox Community Don't forget to join our facebook community to share stories and TentBox tips.
- Page 3 How to assemble your TentBox You will need to attach several parts to your TentBox Cargo, before it is ready to use. All of the attachments fit directly to the accessory rails on the outside edges. Our installation videos give a much clearer explanation of this process.
-
Page 4: Attaching The Handle
The pole bases are the metal components into which your porch poles slot into. Step 1: Using the small bolts, in combination with the small metal plates, you can slide the pole bases along the bottom accessory rail, on the rear side of your TentBox (the side that opens up). - Page 5 You must attach the brackets for your ladder, which can be positioned at either side, or the rear, depending on how you want to use your TentBox. Step 1: Using the small bolts, in combination with the small metal plates, you can slide the ladder mounts along the bottom accessory rail, and tighten them in place using the allen keys provided. ...
- Page 6 Make sure to tighten the bolts securely using the provided allen key. ⓘ You can position the two closing buckles on the rear of your TentBox, or have one ⓘ on each side. It will be easier to close the buckles if you position them along the sides, as opposed to the rear, but it is down to personal preference.
- Page 7 How to use your TentBox Opening your TentBox Step 1: Unbuckle your TentBox, and push up from the rear. The gas struts will do the rest. Step 2: Insert the tent poles into the pole bases, and prop open the porch that covers...
- Page 8 Closing your TentBox Step 1: Remove the porch poles Step 2: Pull the elastic cord up, so it is pulling the fabric of your TentBox inwards, which stops it needing to be tucked in so much. Step 3: Using the handle, pull your TentBox closed.
- Page 9 1. With the help of another person, carefully lift your TentBox onto your roof bars and position centrally. 2. Fix the TentBox to your roof bars at 4 points (4 corners), using the fixing parts, as shown below. Ensure that you tighten the nuts adequately, and that your TentBox is secure.
- Page 10 We would suggest doing this once a year. Storage You can keep your TentBox on your vehicle all year round, as it is designed to withstand all weathers. If you would prefer to remove your TentBox from your vehicle when you are not using it, or over winter time, it is best to store it inside, in a dry place.
-
Page 11: Warranty Information
TentBox, including second hand sales. This document extends the warranty of the TentBox for a period of 24 months from the date of purchase. This warranty covers the repair or the replacement of the faulty parts at our discretion. -
Page 12: Further Safety Information
TentBox in a safe and suitable location. •DO NOT use your TentBox if there is any visible damage to any part of it or its components, instead contact us to see how we can help. This is especially applicable to buckles and fixing parts.
Need help?
Do you have a question about the Cargo and is the answer not in the manual?
Questions and answers