Advertisement
Quick Links
Advertisement

Related Manuals for BCP SKY636


Summary of Contents for BCP SKY636
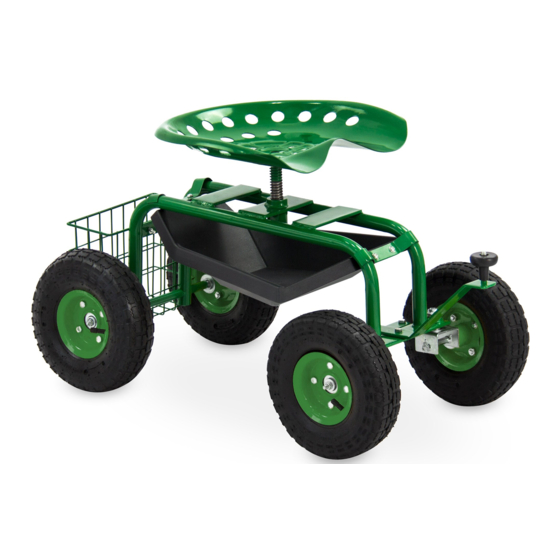
- Page 1 INSTRUCTION MANUAL Rolling Garden Work Seat SKY636 Ver. 2...
- Page 2 As shoppers, we’re always trying to find the perfect balance between quality & value. At BCP, we believe we’ve achieved that. Our diverse catalog of everyday essentials is tailored especially to our customers & guaranteed to hit that sweet spot of high quality & low price.
-
Page 3: Tools Required
NOTICE • Please do not exceed the weight limitations of this item. • Do not stand on or use any part of this item as a step ladder. • Firmly secure all bolts, screws and knobs before use. • Reconfirm that all bolts, screws, and knobs are secure every 90 days. •... - Page 4 HARDWARE M8 NUT M16 LARGE COTTER PIN WASHER 2 PCS 1 PC 1 PC PARTS FRAME SEAT PLASTIC TRAY BASKET 1 PC 1 PC 1 PC 1 PC REINFORCING HANDLE TRAY BRACKET WHEEL PLATE 3 PCS 1 PC 2 PCS 4 PCS REAR AXLE STEERING...
- Page 5 PRODUCT ASSEMBLY Place a part E reinforcing plate into the D basket and attach it to the rear of the part A frame with two part 1 bolt sets.
- Page 6 PRODUCT ASSEMBLY Place two part G tray brackets on the frame and attach the part C plastic tray with four part 1 bolt sets and two part E reinforcing plates.
- Page 7 PRODUCT ASSEMBLY Attach the part J steering connector with two part 2 bolt sets.
- Page 8 PRODUCT ASSEMBLY Attach the part F handle with a part 2 bolt set and part 3 bolt set. Remove the nuts and washers from the part I rear axle. Slide the rear axle into the rear of the frame.
-
Page 9: Product Assembly
PRODUCT ASSEMBLY Slide two part 6 washers onto the rear axle. Slide on two part H wheels, then replace the washers/nuts to secure the wheels. Slide two part 6 washers onto the front axle. Slide on two part H wheels and secure with two part 5 washers and two part 7 nuts. - Page 10 PRODUCT ASSEMBLY Attach the part B seat to the seat post with four part 4 bolt sets. Place the part 8 large washer on the bottom of the seat post and secure with a part 9 cotter pin. Use needle nose pliers to bend the pin and secure the seat post.
- Page 11 Earn points while you shop. Join today! Give your friends 15% o their first order! For each successful referral you’ll receive 100 points. bestchoiceproducts.com...
-
Page 12: Help Center
HELP CENTER HELP CENTER Question about your product? We're here to help. Visit us at: Question about your product? We're here to help. Visit us at: help.bestchoiceproducts.com help.bestchoiceproducts.com CHAT CHAT Product Assembly Product Assembly Returns & Refunds Returns & Refunds PRODUCT WARRANTY INFORMATION PRODUCT WARRANTY INFORMATION All items can be returned for any reason within 60 days of the receipt and will receive a full refund as long...
Need help?
Do you have a question about the SKY636 and is the answer not in the manual?
Questions and answers