Table of Contents
Advertisement
Quick Links
Advertisement
Table of Contents

Subscribe to Our Youtube Channel
Related Manuals for AeonAir RPAC14DZHB


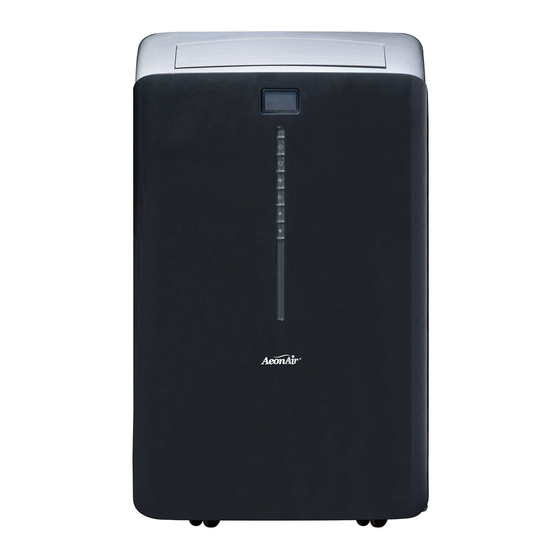
Summary of Contents for AeonAir RPAC14DZHB
- Page 1 RPAC14DZHB U.S. Pat. No. 9057529B2...
- Page 5 10.8...
- Page 6 Important: Not for use with casement windows. 2. Insert window panel extension (O) into the window panel (P). Lightly tighten the preassembled screws in the window panel (P) to hold the extension (O) in place. Important: The window panel is designed to fit windows between 28.3 in.
- Page 7 5. Install the window panel (P) by expanding Horizontal window it to fit the length of the window and fully tightening the pre-assembled screws in the middle. Screw come attached Screw come attached Vertical window 7. Plug the unit into a 115V/60Hz grounded electrical outlet.
- Page 8 LCD Display Note:The default display is room temperature Medium Fan Speed Heating Mode Display Set Temperature Stop Warning Light Stop warning light :...
- Page 9 Important: Never unscrew and remove the drain cover from the drain port at the rear of the unit while the unit is in air conditioning mode. When the surrounding humidity is high, water may not fully evaporate. It will therefore be necessary to drain excess water from the internal tank of the unit.
- Page 16 Pull the air filter cover upward in the direction of the arrow and remove the air filter.
- Page 17 Stop warning Stop warning...
- Page 19 A7305-150-A-D2 A7301-970...
- Page 20 RPAC14DZHB U.S. Pat. No. 9057529B2...
- Page 24 10.8...
- Page 25 1. Choisissez un emplacement approprié pour l'appareil, en vous assurant d'avoir accès à une prise de courant. N'utilisez pas l'appareil avec des fenêtres à battants. Le panneau de fenêtre convient uniquement à des fenêtres de 28,3 po à 55,1 po. Il est possible que vous ayez à...
- Page 26 5. Installez le panneau de fenêtre (P) en l'allongeant jusqu'à ce qu'il corresponde à la largeur de la fenêtre, puis en serrant complètement les vis préassemblées qui se trouvent au centre. 6. Connectez le raccord de la buse d'évacuation (L) à la sortie d'air (F) située à l'arrière de l'appareil. Placez l'appareil à...
- Page 27 Temp rature r gi e é é é...
- Page 28 Ne dévissez jamais le capuchon de vidange de la sortie d'eau situé à l'arrière de l'appareil lorsque celui-ci est en mode climatisation. Si l'humidité ambiante est élevée, l'eau pourrait ne pas s'évaporer complètement. Il peut donc s'avérer nécessaire de vider l'excès d'eau du réservoir interne de l'appareil.
- Page 35 tirez le panneau protecteur vers le haut, dans le sens de la fl che, puis enlevez le filtre.
- Page 36 Retirez toutes les sources de chaleur de la pièce et déplacez l'appareil à proximité de l'endroit où vous vous trouvez. Ce climatiseur portatif produit un refroidissement localisé uniquement. Il doit être placé à proximité de l'endroit où vous vous trouvez pour offrir un résultat optimal.
- Page 38 A7305-150-A-D2 A7301-970...
Need help?
Do you have a question about the RPAC14DZHB and is the answer not in the manual?
Questions and answers