Advertisement
OLAER ( Schweiz ) AG
DISMANTLING THE ACCUMULATOR
- Disconnect and close the hydropneumatic accumulator inlet, and discharge the
hydraulic fluid from the accumulator.
- Remove the accumulator from its mounting and lay it horizontally in a vice or other
fixation system. Take care not to damage the accumulator.
- Where necessary, remove the lead seal from the protective cap(s) of the gas inlet
valve. Unscrew the protective cap(s).
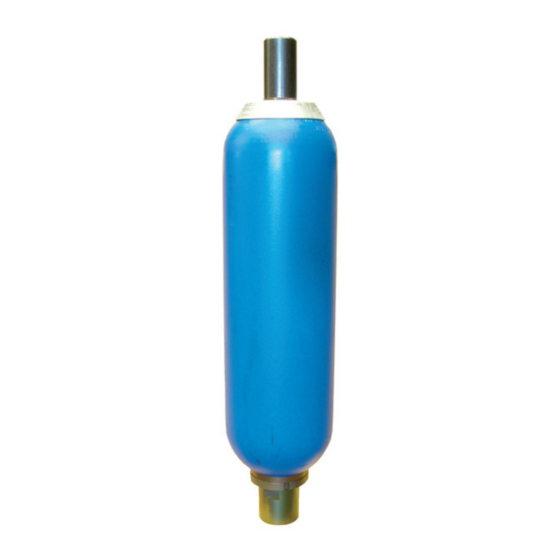
- Deflate the bladder using the OLAER tester and pressurizer instrument (Fig. 1).
Operate the tester and pressurizer instrument as described in OSP 746.
- Unscrew the gas inlet valve (Fig. 2).
- Release the gas inlet valve sub-assembly nut, and remove the nameplate (Fig. 3).
- Unscrew the flange or reduction from the hydraulic fluid end.
Dismantle the venting screw, without damaging the gasket ring (Fig. 4).
- Release the ring nut and remove gland ring (Fig. 5).
- Carefully push the hydraulic valve inside the vessel casing (Fig. 6).
- Extract the O-ring.
- Separate the divided anti-extrusion ring/ retention ring from the hydraulic valve
sub-assembly, carefully fold together, and remove from the vessel (Fig. 7).
- Remove the hydraulic valve.
- Extract the bladder through the hydraulic end opening (Fig. 8).
Bonnstrasse 3
CH - 3186 Düdingen
Telephone 026 / 492 70 00
Telefax 026 / 492 70 70
E-Mail info@olaer.ch
www.olaer.ch
MAINTENANCE AND
SERVICE
Repair Instructions
23.02.2000 HD
OSP 810
Series IHV
Advertisement
Table of Contents

Summary of Contents for OLAER IHV Series
- Page 1 - Where necessary, remove the lead seal from the protective cap(s) of the gas inlet valve. Unscrew the protective cap(s). - Deflate the bladder using the OLAER tester and pressurizer instrument (Fig. 1). Operate the tester and pressurizer instrument as described in OSP 746.
- Page 2 CLEANING, INSPECTION AND REPAIRS - Carefully clean all metallic parts of the accumulator and - Mount the O-ring and the gland ring (Fig. 11). dry with compressed air. - Screw the ring nut on. Centralise the parts. With a plastic - Inspect the vessel for any internal damage.
- Page 3 .OI0ER 1800-0 ILSO L https ://oilsolutions .corn.au/ sales@oilsolutions.com.au 1800-645765 Solutions...
Need help?
Do you have a question about the IHV Series and is the answer not in the manual?
Questions and answers