Table of Contents
Advertisement
Quick Links
Advertisement
Table of Contents

Related Manuals for Kallista P50035


Summary of Contents for Kallista P50035
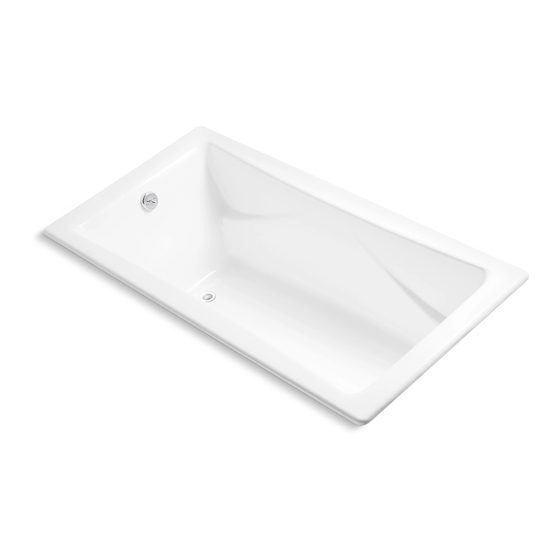
- Page 1 Installation Guide Cast Iron Bath Whirlpool P50035 1019455-2-E...
-
Page 2: Important Information
Do not relocate the whirlpool pump, or make other modifications to the whirlpool system, as this could adversely affect the performance and safe operation of the whirlpool. Kallista shall not be liable under its warranty or otherwise for personal injury or damage caused by any such unauthorized modification. -
Page 3: Table Of Contents
Troubleshooting Procedures ............13 Tools and Materials Plus: • Conventional Woodworking Tools and Materials • Drop Cloth • Metal Shims • 2x4s Silicone Sealant Tin Snips Kallista 1019455-2-E... -
Page 4: Before You Begin
Inspect the whirlpool for damage before you begin installation. You must install this whirlpool to an adequately supported, level subfloor. Kallista reserves the right to make revisions in the design of products without notice, as specified in the Price Book. -
Page 5: Roughing-In Dimensions
24" (610 mm) W x 14" (356 mm) H 72" (1829 mm) (397 mm) 2-1/2" 3/4" 36" (914 mm) (64 mm) (19 mm) 20-7/8" 2-7/8" (530 mm) (73 mm) 1/4" 1-1/2" OD (6 mm) 3" (76 mm) 1. Roughing-In Dimensions Kallista 1019455-2-E... -
Page 6: Prepare The Site - Concrete Construction
Provide a 1/16″ (2 mm) gap between the whirlpool rim and the concrete or brick framing. Frame the floor, or construct a frame for a raised installation, in accordance with the roughing-in section of this guide. Position the plumbing according to the roughing-in information. Cap the supplies, and check for leaks. 1019455-2-E Kallista... -
Page 7: Prepare The Site - Wood Construction
Install the drain to the whirlpool according to the drain manufacturer’s instructions. Do not connect the trap at this time. Position a clean drop cloth or similar material in the bottom of the whirlpool. Be careful not to scratch the surface of the whirlpool. Kallista 1019455-2-E... -
Page 8: Install The Whirlpool
Install the faucet valving according to the faucet manufacturer’s instructions. Do not install the faucet trim until instructed. Open the hot and cold water supplies, and check the supply connections for leakage. Run water into the whirlpool, and check the drain connections for leakage. 1019455-2-E Kallista... -
Page 9: Make Electrical Connections
Follow local electrical codes. Bond in accordance with national and local codes. A wiring harness has been pre-wired at the factory, allowing communication between the keypad, all features, and the control. No additional wiring is required, but ensure that all wires are securely fastened. Kallista 1019455-2-E... -
Page 10: Test Run The Whirlpool
Turn on each of the whirlpool features and verify proper function. Check for any water leakage on the whirlpool’s back side. For additional information on whirlpool operation, see “Confirm Proper Operation” section. 1019455-2-E Kallista... -
Page 11: Complete The Finished Wall/Deck
Remove plaster by carefully scraping with a wood edge. Do not use metal scrapers, wire brushes, or other metal tools. Use a powder-type detergent on a damp cloth to provide mild abrasive action to any residual plaster. Kallista 1019455-2-E... -
Page 12: Confirm Proper Operation
104°F (40°C). Press the power On/Off icon a second time to turn the whirlpool off. NOTE: A built-in timer automatically stops the pump and motor after approximately 20 minutes of operation. 1019455-2-E Kallista... -
Page 13: Remote Control Operation
B. Jet not installed correctly. B. Reinstall jet; check for O-ring damage. C. Jets are blocked. C. Remove blockage. User keypad is A. Control program is locked. A. Reset GFCI or RCD. illuminated, but does not respond to buttons or outer ring. Kallista 1019455-2-E... - Page 14 D. Heater does not work. D. Replace heater. E. Control does not work. E. Replace control. 12. Noisy operation. A. Pump banding straps have not A. Cut pump banding straps with tin been cut. snips. 1019455-2-E Kallista...
- Page 15 B. Antenna on wiring harness is B. Replace wiring harness. damaged. C. Remote control not C. See homeowners guide or service programmed correctly. manual. D. Remote control does not work. D. Replace remote control. E. Control does not work. E. Replace control. Kallista 1019455-2-E...
- Page 16 USA/Canada: 1-888-4-KALLISTA Fax: 1-888-272-3094 kallista.com ©2019 KALLISTA 1019455-2-E...
Need help?
Do you have a question about the P50035 and is the answer not in the manual?
Questions and answers