Advertisement
Table of Contents
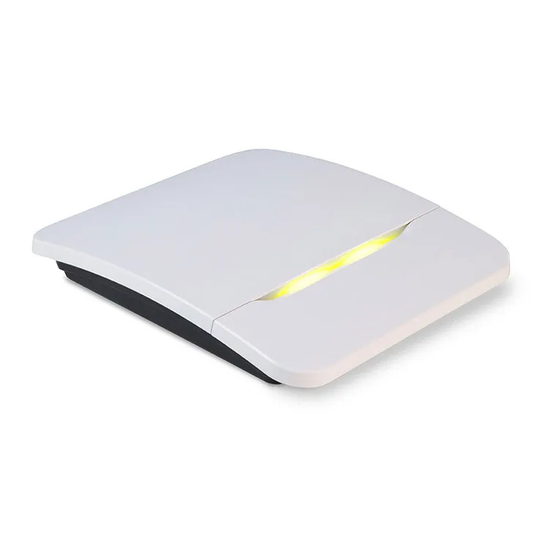
Daintree
Wireless Area Controller (WAC60)
®
Daintree
®
(WAC60)
BEFORE YOU BEGIN
Read these instructions completely and carefully.
Save these instructions for future use.
WARNING
Risk of electrical shock. Disconnect power before servicing or
installing product.
Install in accordance with National Electric Code and local codes.
Use this document to set up your Wireless Are Controller's
(WAC) network configuration. Each WAC is programmed with
a default network configuration. Use the procedure below if
you want to change the default setup.
1
Installation Process
1. Remove the top cover from the WAC. Use the four tabs on the
underside of the WAC cover to unclip the cover.
2. Plug one end of an Ethernet cable into Ethernet Port 1 on the
WAC (shown in Fig. 1).
3. Plug the other end of the cable into an Ethernet port on
your laptop.
• Turn OFF Wi-Fi on your laptop.
• Confirm the laptop's Ethernet interface is configured for DHCP.
4. Initiate the WAC setup procedure as follows:
A. Press and hold "Button A" on the WAC (shown in Fig. 2).
B. Plug the 12VDC adapter supplied with the WAC into a
100-240VAC 50/60 Hz outlet.
C. Continue holding Button A for 45 seconds after power is
applied. The WAC status indicator will start flashing green.
5. Wait two minutes for the laptop to fallback to a link-local IP
address.
Technical Note: Computers running Windows and OS X fallback
to using a link-local address when their network interface is
configured to use DHCP, and a DHCP server doesn't allocate an
IP address. This will always happen as the WAC and laptop are
directly connected, i.e., there will be no DHCP server.
Wireless Area Controller
CAUTION
Risk of injury. Wear safety glasses and gloves during installation and
servicing.
6. To access the WAC's web page, open a web browser and
navigate to https://169.254.199.101
7. Log in using the following credentials:
Username: webadmin
Password: webadmin
8. Click on the Status menu on the WAC's web page. Record the
IEEE address; it should match the value on the WAC label. It is
used for identification and validation when the WAC is added
to CSM.
Fig. 1: WAC to Laptop Ethernet Connection
12V dc
Adapter
WAC60
Connections
12V dc
Ethernet 1
Power
Fig. 2: WAC Button A
Configuration Guide
WAC60 | DT118
Laptop
Computer
Advertisement
Table of Contents

Summary of Contents for Daintree WAC60
- Page 1 Daintree Wireless Area Controller (WAC60) Configuration Guide ® WAC60 | DT118 Daintree Wireless Area Controller ® (WAC60) BEFORE YOU BEGIN CAUTION Read these instructions completely and carefully. Risk of injury. Wear safety glasses and gloves during installation and Save these instructions for future use.
- Page 2 Daintree Wireless Area Controller (WAC60) Configuration Guide ® Installation Process (continued) Connect WAC to Operational Network 9. Click on the Configuration -> System Controller menu: 1. Disconnect the Ethernet cable between the WAC and laptop. • Enter the hostname or IP address of your 2.
Need help?
Do you have a question about the WAC60 and is the answer not in the manual?
Questions and answers