Table of Contents
Advertisement
Quick Links
Installed by: ����������������������������������������������������������
Installer phone: ���������������������������� Date installed: ����������������
OVERVIEW
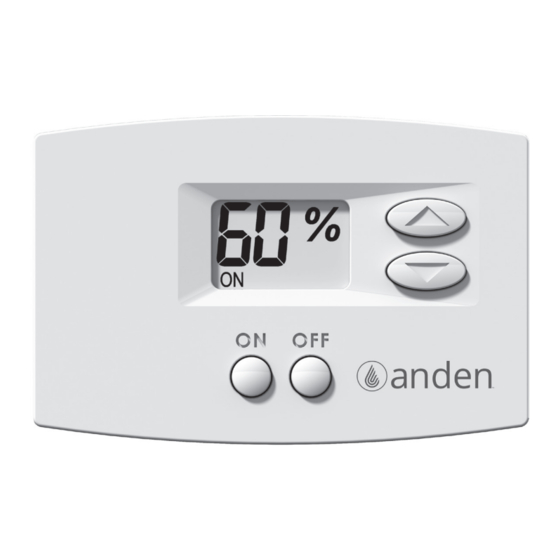
The control allows the user to set and adjust the humidity setting and turn dehumidification on
or off from a convenient location. In this application, the Model A77 uses an onboard sensor to
monitor the relative humidity (%RH) in the space in which it is located and displays the measured
relative humidity on the digital display.
READ AND SAVE THESE INSTRUCTIONS
Model A77
Dehumidifier Control
Installation & Operating Instructions
90-2483
1
Advertisement
Table of Contents

Subscribe to Our Youtube Channel
Related Manuals for Anden A77

Summary of Contents for Anden A77
- Page 1 The control allows the user to set and adjust the humidity setting and turn dehumidification on or off from a convenient location. In this application, the Model A77 uses an onboard sensor to monitor the relative humidity (%RH) in the space in which it is located and displays the measured relative humidity on the digital display.
-
Page 2: Table Of Contents
This control is not a 120 Volt (line voltage) device. Wiring A77 with Dehumidifier Models A70, A95, A95F, A130, A130F, A210V1, A320V1 and A320V3............7 CAUTION SYSTEM CHECKOUT . -
Page 3: Location Recommendations
LOCATION RECOMMENDATIONS INSTALLATION MOUNT CONTROL MOUNT CONTROL • In the area where moisture levels need to be monitored and controlled. FIGURE 2 – DISASSEMBLE CONTROL • On an interior wall. • At/near canopy height. • At least 18" from an outside wall. DO NOT MOUNT CONTROL •... -
Page 4: Wiring A77 With Dehumidifier Models A70, A95, A95F, A130, A130F, A210V1, A320V1 And A320V3
REQUIRED COMPONENTS WIRING A77 WITH DEHUMIDIFIER MODELS A70, A95, A95F, A130, A130F, A210V1 AND A320V1 • 18-22 gauge wire (field supplied), 4 wires required, run new cable as needed. 1. Disconnect power to the • (2) #8 x 1-1/2" mounting screws (supplied) dehumidifier and HVAC system. -
Page 5: System Checkout
6. Press and hold the MODE button for 3 seconds to enter the Installer Set Up menu. REMOTE DISABLED will appear on the display when Installer Set Up is entered. Model A77 will be functional. 7. Press the button to change to REMOTE ENABLED. -
Page 6: Test Mode
1. Press and hold the ON button for 5 seconds to enter Test Mode. 1. Press the ON button on the dehumidifier user interface and on the Model A77 control. a. Verify the measured humidity is displayed on the Model A77 screen. - Page 7 DEHUMIDIFIER DIAGNOSTIC CODES humidity reading. after being stored in an uncontrolled temperature When a dehumidifier error occurs, the diagnostic code will be displayed on the A77 screen. and humidity environment. Offset has been applied to Change the offset. the humidity reading.
- Page 8 Model A77. 1. Check the low temperature sensor connection at Use a short section of 4-wire cable to reconnect Cycle Power the Model A77 to the control board. Turn the Temperature the power board. dehumidifier back on and increase the dryness Thermistor 2.
- Page 9 WARRANTY REGISTRATION Visit us online at anden.com to register your Anden product. If you do not have online access, please mail a postcard with your name, address, phone number, email address, product purchased, model number, date of purchase, and dealer name and address to: Research Products Corporation, P.O.
Need help?
Do you have a question about the A77 and is the answer not in the manual?
Questions and answers