Nokia 6255 Disassembly Manual
Hide thumbs
Also See for 6255:
- User manual (105 pages) ,
- Rf description and troubleshooting (78 pages) ,
- Description and troubleshooting (76 pages)

Related Manuals for Nokia 6255


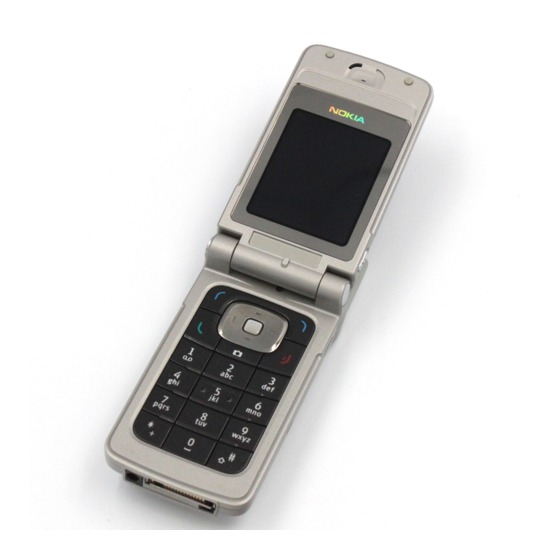
Summary of Contents for Nokia 6255
- Page 1 Nokia Customer Care 6255/6255i/6256/6256i (RM-19) Mobile Terminal Disassembly ©2005 Nokia Corporation Issue 2 05/2005 Company Confidential...
- Page 2 6255/6255i/6256/6256i (RM-19) Disassembly Nokia Customer Care This page intentionally left blank. ©2005 Nokia Corporation Page 2 Company Confidential Issue 2 05/2005...
-
Page 3: Before You Begin
Nokia Customer Care Disassembly Before You Begin You need the following equipment to disassemble the 6255/6255i/6256/6256i: • ESD protection = Always follow ESD protection guidelines when disassembling and assembling the mobile terminals. To avoid potential ESD damage, the recommendation is to treat all assemblies and components as if they are sensitive to ESD. - Page 4 6255/6255i/6256/6256i (RM-19) Disassembly Nokia Customer Care 2. Remove the Co-label and B-cover Base Screw a. Open the mobile terminal, and use tweezers to remove the co-label from the base of the B-cover. b. Remove the single screw at the base of the B-cover.
- Page 5 6255/6255i/6256/6256i (RM-19) Nokia Customer Care Disassembly 4. Remove the Screw Grommet Use tweezers to remove the rubber screw grommet. 5. Remove the Screws Remove the four screws as indicated below. Caution: Do NOT insert the screwdriver here ©2005 Nokia Corporation...
- Page 6 6255/6255i/6256/6256i (RM-19) Disassembly Nokia Customer Care 6. Remove the D-Cover from the C-cover Use the opening tool to pry the D-cover from the C-cover at the locations shown below. ©2005 Nokia Corporation Page 6 Company Confidential Issue 2 05/2005...
- Page 7 6255/6255i/6256/6256i (RM-19) Nokia Customer Care Disassembly 7. Separate the Flex Cable Using tweezers, carefully pry the flex cable connection off of the PWB. Be sure to grasp the connector body rather than the steel cover. Caution: Do not scrape the PWB with the tweezers ©2005 Nokia Corporation...
- Page 8 6255/6255i/6256/6256i (RM-19) Disassembly Nokia Customer Care 8. Remove the PWB Engine from the C-cover Unhook the clasp, and lift the PWB to dislodge it from the guide pins and remove it from the C-cover in the order shown. Guide pins...
- Page 9 6255/6255i/6256/6256i (RM-19) Nokia Customer Care Disassembly 9. Remove the Hinge Cap Use a screwdriver to push the hinge cap out of the hinge assembly as shown below. ©2005 Nokia Corporation Issue 2 05/2005 Company Confidential Page 9...
- Page 10 6255/6255i/6256/6256i (RM-19) Disassembly Nokia Customer Care 10. Separate the B-cover from the C-cover With the mobile terminal in the open position: a. Apply pressure on the hinge with the screwdriver. b. Apply opposing pressure to the middle of the B/C-cover assembly to separate them.
- Page 11 6255/6255i/6256/6256i (RM-19) Nokia Customer Care Disassembly 11. Remove the Four Screws from the A-cover 12. Remove the Inner Housing from the B-Cover Lift the housing off carefully because the UI might stick to the housing. ©2005 Nokia Corporation Issue 2 05/2005...
- Page 12 6255/6255i/6256/6256i (RM-19) Disassembly Nokia Customer Care 13. Remove the Main LCD Display Pry the LCD connector flex pad off of the PWB. Be sure to grasp the connector body rather than the cover. Caution: Do not scrape the PWB with the tweezers 14.
- Page 13 6255/6255i/6256/6256i (RM-19) Nokia Customer Care Disassembly 15. Remove the Camera Lid Use the tweezers to remove the camera lid. Pry open here with the tweezers 16. Remove the Secondary LCD Display from the B-cover 17. Remove the Speaker Use the tweezers to grasp the speaker gasket by the rubber flap and remove the gasket and speaker from the B-cover.
- Page 14 6255/6255i/6256/6256i (RM-19) Disassembly Nokia Customer Care 18. Remove the Hinge Use the screwdriver to push the hinge out of the D-cover. 19. Remove the DC Jack, Vibra Motor, and Microphone Use tweezers to remove the DC jack, vibra motor, and microphone from the D-cover.
- Page 15 6255/6255i/6256/6256i (RM-19) Nokia Customer Care Disassembly 21. Remove the Whip Antenna Twist the antenna stub counter-clockwise to separate it from the D-cover. ©2005 Nokia Corporation Issue 2 05/2005 Company Confidential Page 15...
- Page 16 6255/6255i/6256/6256i (RM-19) Disassembly Nokia Customer Care 22. Remove the D-cover Card Trap a. Push the bottom guide pin out of the D-cover slot. b. Pull out the top of the card trap. c. Slide the card trap out of the D-cover.
- Page 17 6255/6255i/6256/6256i (RM-19) Nokia Customer Care Disassembly 23. Remove the Rubber Grommet ©2005 Nokia Corporation Issue 2 05/2005 Company Confidential Page 17...
- Page 18 6255/6255i/6256/6256i (RM-19) Disassembly Nokia Customer Care This page intentionally left blank. ©2005 Nokia Corporation Page 18 Company Confidential Issue 2 05/2005...
Need help?
Do you have a question about the 6255 and is the answer not in the manual?
Questions and answers