Subscribe to Our Youtube Channel
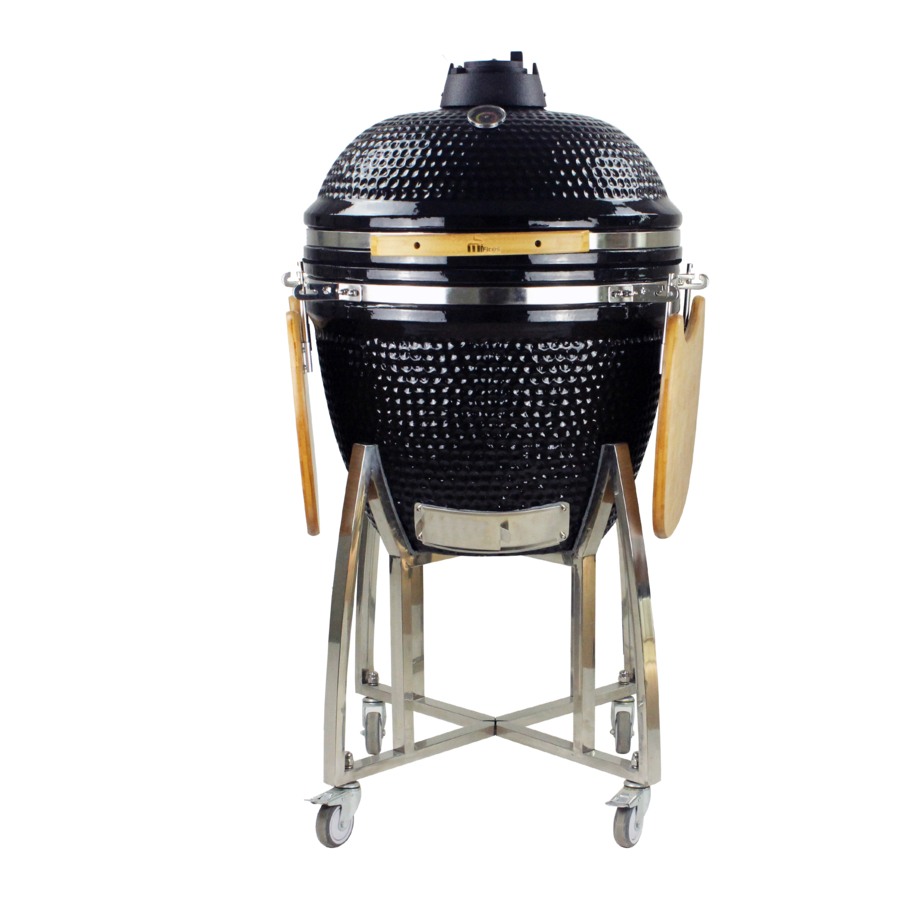
Summary of Contents for Mi-Fires Mi-Kamado
- Page 1 Installation and Operation Manual MODEL: Mi-Kamado www.mi-fires.com Version_1_01_2021_Mi-Kamado...
- Page 2 Over the years, we have cooked on everything In Japan the Mi-Kamado was a round clay from high-end stainless steel gas grills to pot with a removable domed lid designed for inexpensive briquette charcoal grills.
-
Page 3: Table Of Contents
Fundamentals & Assembled Mi-Kamado Grill ........ - Page 4 Learn how to control them, and you’ll The Mi-Kamado has a two damper system that know how to control your fire. facilitates easy heat control. By adjusting both The innovative grill design simplifies air control.
-
Page 5: Lighting Your Mi-Kamado Grill
LIGHTING YOUR MI-KAMADO GRILL CHARCOAL & AIR FLOW LIGHTING 1. Build a mound of charcoal that starts just 1. Light the charcoal with a fire starter cube or below the holes in the side of the fire box with two, chimney starter, electric starter or other the peak of the mound just below the top of the method. -
Page 6: Cooking Temperature Guide
10 minutes to build a small bed of hot embers. • Light the lump charcoal according to the • Monitor the Mi-Kamado until it has risen to the instructions on page 5. desired temperature. • Close the lid and fully open the top and bottom •... -
Page 7: Cooking Configuration: Baking
Heat Deflector Heat Deflector Elevator Elevator MI-KAMADO GRILL: BAKING The top vent has two cast iron disks that are 3. Make sure the bottom draft door is fully attached by a screw. open. Open the top vent fully and monitor the temperature until it reaches your desired The top disk with the small holes is called a “daisy... -
Page 8: Cooking Configuration: Roasting
(EV) Elevator Heat Deflector Elevator Heat Deflector MI-KAMADO GRILL: ROASTING 2. Place the cooking grate on top of the Heat The top vent has two cast iron disks that are Deflector, and close the dome. attached by a screw. 3. Make sure the bottom draft door is fully The top disk with the small holes is called a “daisy... -
Page 9: Cooking Configuration: Grilling
GRILLING (Figure 2) This configuration is the standard way of grilling If you’re grilling delicate foods like seafood, fish on your Mi-Kamado Grill. Great for steaks, or vegetables you can use the Heat Deflector hamburgers, chicken breasts or anything you... -
Page 10: Cooking Configuration: Smoking
Elevator Heat Deflector Elevator Heat Deflector MI-KAMADO GRILL: SMOKING For smoking, it’s best to close the bottom draft 4. Close the top vent and turn the daisy wheel so door down to a 2 inch opening. Control the air it is fully open. Wait 5-10 minutes and check the flow with the top vent by fully closing the bottom temperature. -
Page 11: Care & Maintenance
MOLD ■ Do not use cleaning chemicals or soap and If your Mi-Kamado Grill is not used for an extended water. period of time, moisture can be trapped inside the ■ Do not soak in water. It may cause it to crack grill and you may see areas of mould or mildew on with the next use. -
Page 12: Frequently Asked Questions
Mi-Kamado grill. grill. 5. DO NOT remove your Mi-Kamado from the 2. DO NOT use your Mi-Kamado indoors or in an cart or approved grill table and place it on a wooden deck, table or other surface. It can enclosed area. - Page 13 Mould has grown in my Mi-Kamado. How can I What about cleaning? remove it safely? Welcome to the worlds first self cleaning out door...
- Page 14 / or charcoal. In addition its design allows If you really wanted to be kind to your Mi-Kamado cooking of dozens of hours with a uniform heat Grill Dome you could put a good stainless oil distribution.
- Page 15 Q: How do I apply my new gaskets? A: Start by removing a small section of paper from back of the felt strip to expose the adhesive. Press the gasket firmly down onto the rim removing paper as needed. Bend the gasket around the rim as you press down, being careful not to let the gasket material hang over the inside edge of the rim.
-
Page 16: Manufacturers Warranty
WARRANTY purchaser. This warranty is based on normal and domestic The finish of your Mi-Kamado may appear to have use and service of the product. Damages or crack lines. This is not cracking of the ceramic. breakage caused by accidents, natural disasters,... - Page 18 MI-Flues Ltd Taymin Business Park Mitcham Road Blackpool, Lancashire sales@mi-flues.com FY4 4QN sales@mi-fires.com www.mi-fires.com...

Need help?
Do you have a question about the Mi-Kamado and is the answer not in the manual?
Questions and answers