Advertisement
Quick Links
Advertisement

Summary of Contents for Installer's Choice OSCFO2
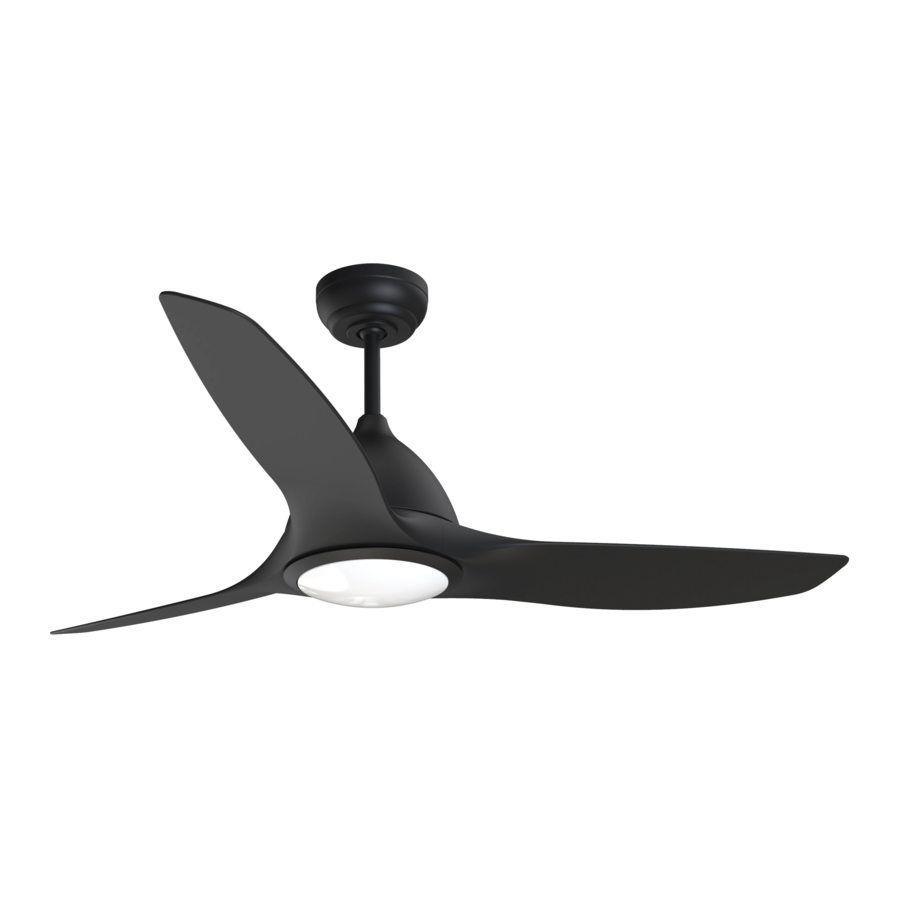
- Page 1 Model:OSCFO2 Smart Ceiling Fan Manual...
- Page 3 LIGHT ON/OFF STOP Unpack your fan and check the contents. You should have the following items: a. Fan blades (3) b. Ceiling mounting bracket c. Canopy d. Canopy cover e. Ball/downrod assembly f. Coupling cover g. Fan housing h. Fan motor assembly i.
- Page 5 5. ATTACHING THE GSN BLADES Screw Step 1. Attach the blade to the flywheel using the screws with spring washer in the bag as shown in figure 5. Screw Star screw into flywheel.Repeat for the two remaining screws. Step 2. Repeat for the remaining blades. Step 3.
-
Page 6: Hanging The Fan
7.HANGING THE FAN CUL Listed electrial Ceiling Washers mounting bracket Hook Mounting screws (supplied with 120V Wires electrical box) Fig 8 Downrod Canopy Canopy cover Coupling cover bracket as shown in fig 8. Set screws Hitch pin Retaining clip through the ball/downrod.(Fig 9) Fig 9 the motor housing (fig.9).Carefully insert the position, as noted in the circle inset of Fig.9. -
Page 7: Electric Connections
8.ELECTRIC CONNECTIONS WARNING: To avoid possible electrical shock, be sure you have turned off the power at the main circuit panel. Follow the steps below to connect the fan to your household Receiver wiring. Use the wire connecting nuts suppled Ceiling with your fan. - Page 8 9. FINISHING THE INSTRUCTION Outlet box Ceiling mounting bracket Screws Screws Canopy Canopy cover Fig 13 Fig 13 10. INSTALLING THE LED LIGHT KIT AND LAMP SHADE NOTE: Before starting installation, disconnect the power by turning off the circuit breaker or removing the fuse at fuse box. Step 1.
- Page 9 11. Operation for remote KINDLY REMINDERS: Learning code maching mode is useed between emitter and receiver,Turn "ON" the supply power within 30 seconds and press the emitter's "LI" and "Hi"button for 3 seconds, it can load normally after hearing the "BEE" which means learning successfully and it can works normally.(PS:Learing mode is not acepted after turn "ON"...
-
Page 10: Troubleshooting
12.TROUBLESHOOTING... -
Page 11: Product Specifications
QIACHIP Product Specifications Applications Light/Fan Operating Voltage 110V/220V Depending on model <300WCeiling Fan/ <200WLED Light Max Load Power <0.5W Standby Power consumption -20℃ ~80℃ Working temperature RF 433Mhz Remote & Mobile App Control Control Method Load & Neutral Wire Wiring Method RF 433Mhz Remote Control (Right Diagram) LEDLight Indicator LEDLight... - Page 12 QIACHIP Mobile App Pairing Instructions: Step one: Initiate pairing status Initiate pairing status by Pressing LIGHT & HI together for at least 10 seconds until you hear along beep sound from the receive or the LED light switch off. Step two: Finishing the pairing progress in Mobile App a.
Need help?
Do you have a question about the OSCFO2 and is the answer not in the manual?
Questions and answers