
Related Manuals for LOUQE RAW S1

Summary of Contents for LOUQE RAW S1
- Page 1 USER MANUAL RAW S1 LQ-RAS101-CA-0GG LOUQE AB Lövgatan 30, 169 32 Solna Sweden hello@louqe.com www.louqe.com...
-
Page 2: Box Content
RAW S1 USER MANUAL BOX CONTENT LOUQE RAW S1 Case INSIDE PLASTIC BAG Torx key M3x8 button head #6-32 UNC LOUQE AB Lövgatan 30, 169 32 Solna Sweden hello@louqe.com www.louqe.com... - Page 3 RAW S1 USER MANUAL ILLUSTRATION CLOTH ASSEMBLY STEPS SCREWS None in this step Place the case upside down • NOTE: Place the case on a cloth to avoid scratches LOUQE AB Lövgatan 30, 169 32 Solna Sweden hello@louqe.com www.louqe.com...
- Page 4 RAW S1 USER MANUAL ILLUSTRATION ASSEMBLY STEPS SCREWS Detach the USB-C extension cable None in this step Lift the quick lock • Pull out the USB-C extension cable from its position • LOUQE AB Lövgatan 30, 169 32 Solna Sweden...
- Page 5 RAW S1 USER MANUAL ILLUSTRATION ASSEMBLY STEPS SCREWS Detach the power button None in this step Lift the quick lock • Apply inwards pressure on the power button to tilt it • inwards NOTE: Make sure that the aluminum button clears the unibody LOUQE AB Lövgatan 30, 169 32 Solna Sweden...
- Page 6 RAW S1 USER MANUAL ILLUSTRATION ASSEMBLY STEPS SCREWS Unscrew the screws in the corners of the case • LOUQE AB Lövgatan 30, 169 32 Solna Sweden hello@louqe.com www.louqe.com...
- Page 7 RAW S1 USER MANUAL ILLUSTRATION ASSEMBLY STEPS SCREWS None in this step Pull out the core from the unibody by the handle • LOUQE AB Lövgatan 30, 169 32 Solna Sweden hello@louqe.com www.louqe.com...
- Page 8 RAW S1 USER MANUAL ILLUSTRATION ASSEMBLY STEPS SCREWS None in this step Install the motherboard I/O shield included with • your motherboard LOUQE AB Lövgatan 30, 169 32 Solna Sweden hello@louqe.com www.louqe.com...
- Page 9 RAW S1 USER MANUAL ILLUSTRATION ASSEMBLY STEPS SCREWS Install the motherboard by aligning it with the I/O • shield and screw it in place using four M3x8 button head screws Connect PCI-e riser cable into the motherboards • PCI-e slot...
- Page 10 RAW S1 USER MANUAL ILLUSTRATION PWR SW ASSEMBLY STEPS SCREWS None in this step Connect the power button switch cables to your • motherboard’s PWR SW pins. NOTE: You may need to consult your motherboard user manual LOUQE AB Lövgatan 30, 169 32 Solna Sweden...
- Page 11 RAW S1 USER MANUAL ILLUSTRATION ASSEMBLY STEPS SCREWS Remove the PSU bracket by unscrewing the four • M3x6 countersunk screws LOUQE AB Lövgatan 30, 169 32 Solna Sweden hello@louqe.com www.louqe.com...
- Page 12 RAW S1 USER MANUAL ILLUSTRATION ASSEMBLY STEPS SCREWS Attach the power supply unit to the PSU bracket • using the four #6-32 UNC PSU screws LOUQE AB Lövgatan 30, 169 32 Solna Sweden hello@louqe.com www.louqe.com...
- Page 13 RAW S1 USER MANUAL ILLUSTRATION ASSEMBLY STEPS SCREWS Connect the power cables needed for the PSU • and feed them to an appropriate position Attach the PSU bracket and power supply unit, • using the four M3x6 countersunk screws Connect both the 24-pin power cable and the CPU •...
- Page 14 RAW S1 USER MANUAL ILLUSTRATION ASSEMBLY STEPS SCREWS None in this step Unscrew the GPU knob • Insert the graphics card and slot it into the PCI-E • riser Screw down the GPU knob • Connect PCI-e power feed cables to the graphics •...
- Page 15 RAW S1 USER MANUAL ILLUSTRATION ASSEMBLY STEPS SCREWS OPTIONAL STEP Use screws included with your fan Attach a 120 mm fan to the fan bracket in exhaust • configuration LOUQE AB Lövgatan 30, 169 32 Solna Sweden hello@louqe.com www.louqe.com...
- Page 16 RAW S1 USER MANUAL ILLUSTRATION ASSEMBLY STEPS SCREWS None in this step Slide the assembled core gently into the unibody. • NOTE: Make sure no cables are protruding outside of the unibody LOUQE AB Lövgatan 30, 169 32 Solna Sweden...
- Page 17 RAW S1 USER MANUAL ILLUSTRATION ASSEMBLY STEPS SCREWS None in this step Reattach the power button Apply outward pressure to slot the power button in its • position, the PCB should sit flat against the body Push down the quick lock •...
- Page 18 RAW S1 USER MANUAL ILLUSTRATION ASSEMBLY STEPS SCREWS None in this step Re-attach the USB-C extension Insert the USB-C extension cable to original position • Push down the quick lock. • Insert the other end of the extension cable to •...
- Page 19 RAW S1 USER MANUAL ILLUSTRATION ASSEMBLY STEPS SCREWS Re-attach the screws in the corners of the case • LOUQE AB Lövgatan 30, 169 32 Solna Sweden hello@louqe.com www.louqe.com...
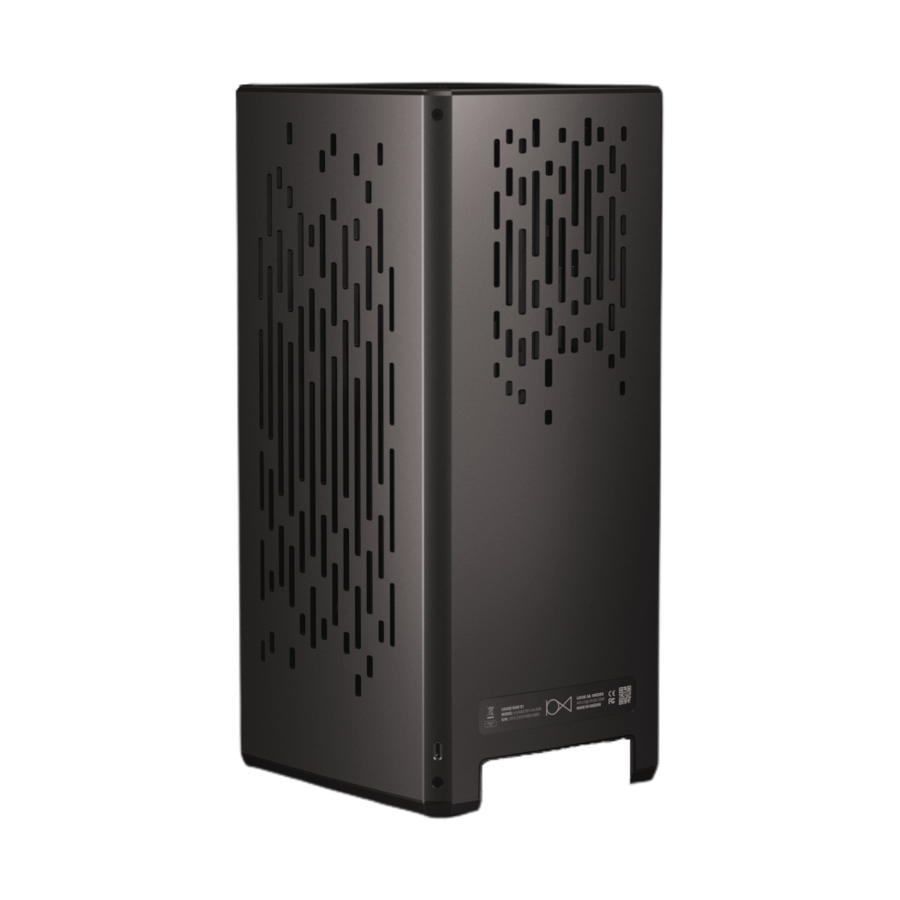
- Page 20 RAW S1 USER MANUAL FINISHED RESULT LOUQE AB Lövgatan 30, 169 32 Solna Sweden hello@louqe.com www.louqe.com...
- Page 21 LOUQE AB Lövgatan 30, 169 32 Solna Sweden hello@louqe.com www.louqe.com...
Need help?
Do you have a question about the RAW S1 and is the answer not in the manual?
Questions and answers